How to Install VirtualBox on Linux Mint 20
VirtualBox is one of the conventional solutions for creating a
virtual machine. It has versions for all modern operating systems,
including Windows, macOS, Linux, Solaris and OpenSolaris.
VirtualBox users can load multiple guest OSes under a single host operating-system (host OS). Each guest can be started, paused and stopped independently within its own virtual machine (VM). The user can independently configure each VM and run it under a choice of software-based virtualization or hardware assisted virtualization if the underlying host hardware supports this. The host OS and guest OSs and applications can communicate with each other through a number of mechanisms including a common clipboard and a virtualized network facility. Guest VMs can also directly communicate with each other if configured to do so.
In this guide, we will install VirtualBox on Linux Mint 20. Although I'm using Linux Mint 20 Ulyana as example, this walkthrough should also works on any Ubuntu derivatives.
Update System's Package Information
As usual, we must update our system's package information from all configured sources.
$ sudo apt update
Then perform upgrade if there's any upgradeable packages.
$ sudo apt upgradeVirtualBox Installation
In this step we will install VirtualBox and its additions. This addition will add extra functionalities, some of them are:
- Mouse pointer integration
- Shared folders
- Better video support
- Seamless windows
- Time synchronization between host and guest system
- Shared clipboard
Back to your shell, type this command:
Note: This process could take some time, please be patient.
Type this command:
$ sudo apt install virtualbox virtualbox-guest-additions-iso virtualbox-qt
The system will respond with something like below:
Reading package lists... Done
Building dependency tree
Reading state information... Done
The following additional packages will be installed:
  libgsoap-2.8.91 liblzf1 libqt5opengl5 libqt5printsupport5 libvncserver1 virtualbox-dkms
Suggested packages:
  vde2
The following NEW packages will be installed:
  libgsoap-2.8.91 liblzf1 libqt5opengl5 libqt5printsupport5 libvncserver1 virtualbox virtualbox-dkms
  virtualbox-guest-additions-iso virtualbox-qt
0 upgraded, 9 newly installed, 0 to remove and 544 not upgraded.
Need to get 89,4 MB of archives.
After this operation, 242 MB of additional disk space will be used.
Do you want to continue? [Y/n]
To continue installation press "Y" followed by "Enter". The system will then download all required files and install it to our system. Again, this process might take a while, please be patient.
Verify Installation
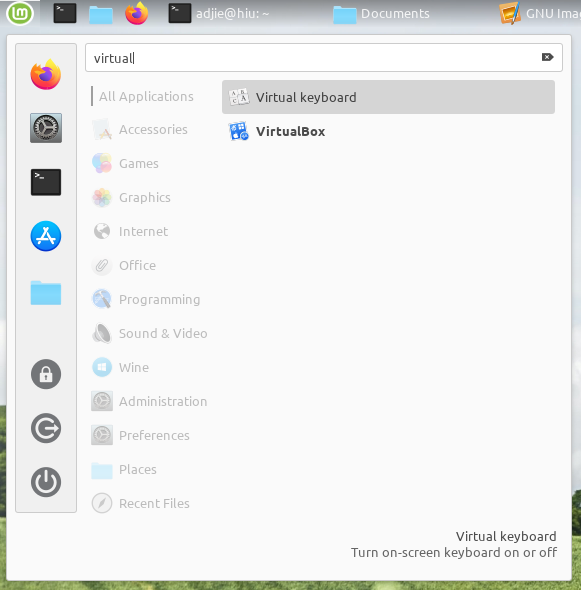
If the installation process completed successfully, we will have a new shortcut to VirtualBox in our application menu. Click to open it.
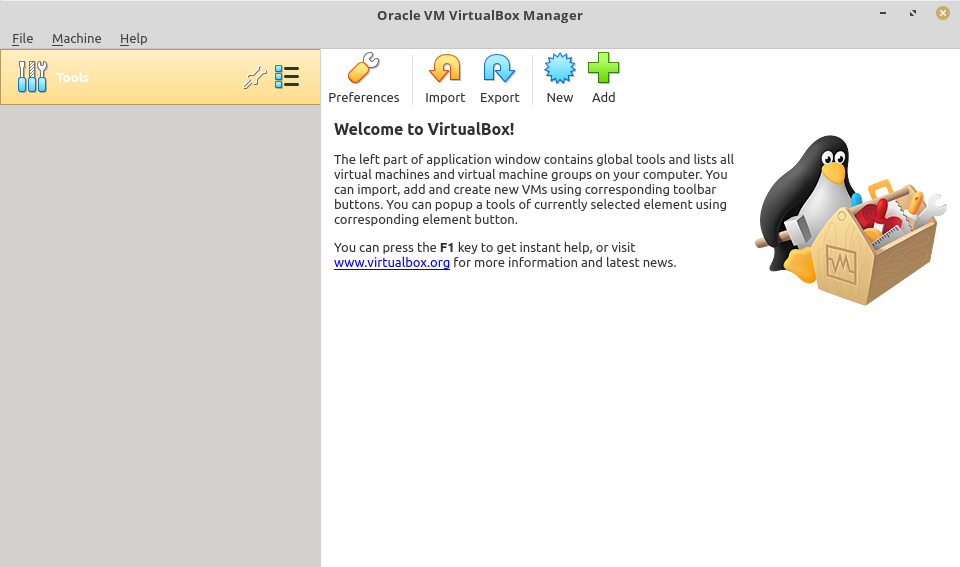
After clicked the menu, VirtualBox window will appear.
Add Guest OS
Once we have running installation of VirtualBox, we can add guest OSes.
Download Guest OS Installation Medium
To add guest OS, first we need to have its installation medium. In this tutorial I will use Debian for our guest OS. Also, for
the sake of simplicity, I'll use Debian's small installation image. This image is smaller in size than its full installation counterpart.
Once download finished, we can create a new Virtual Machine in our host OS.
Create and Configure Virtual Machine
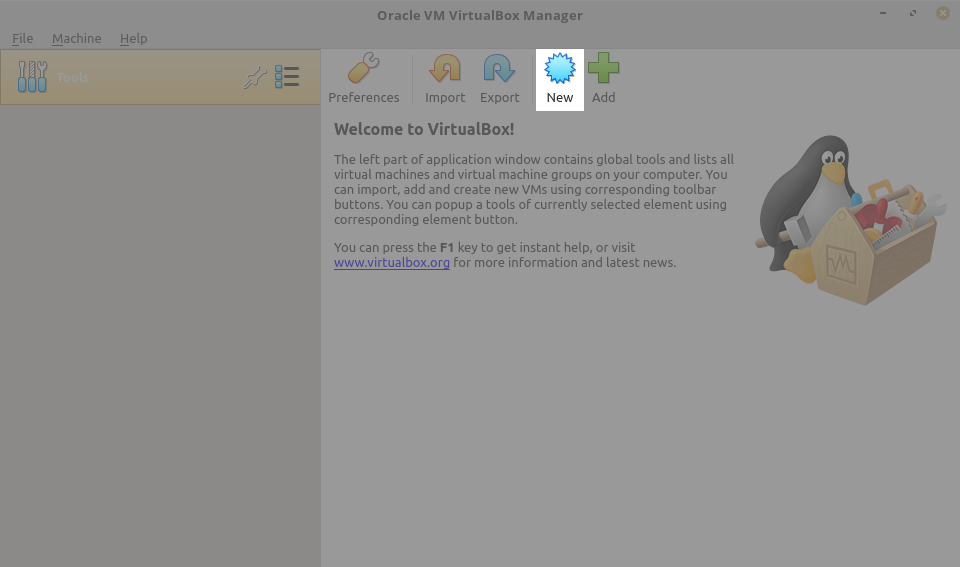
In main VirtualBox window, click on New button.
A child window will appear like below. For this new VM, let's create a machine with 1GB of memory with 8GB disk space.
You can adjust your machine size according to your requirement.
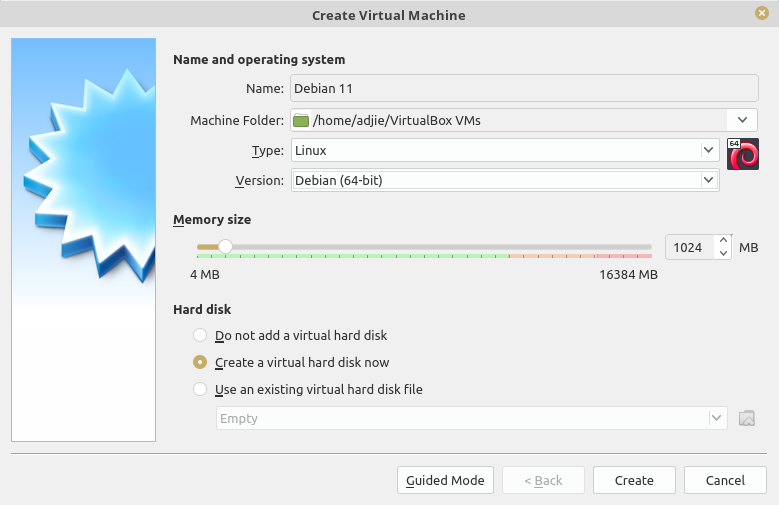
In this window:
- set "Type" to "Linux"
- set "Version" to "Debian 64-bit"
- change the "Memory size" to "1024 MB"
- choose "Create a virtual hard disk now"
- click "Create" button at the bottom
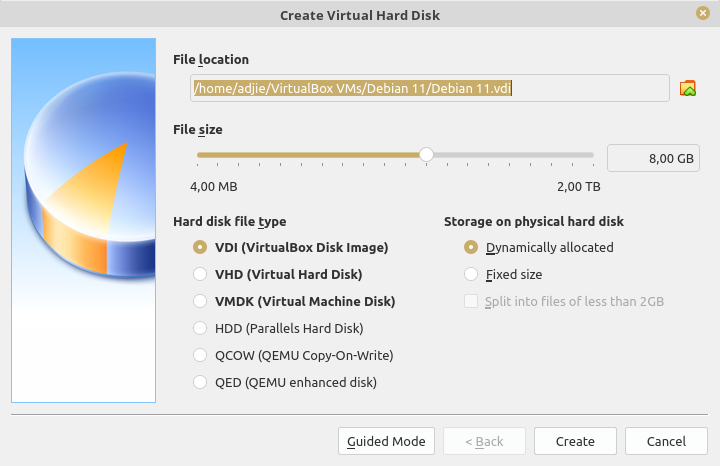
In this window:
- edit "File size" to "8.00 GB"
- choose "VDI (VirtualBox Disk Image)"
- choose "Dynamically allocated"
- click "Create" button at the bottom
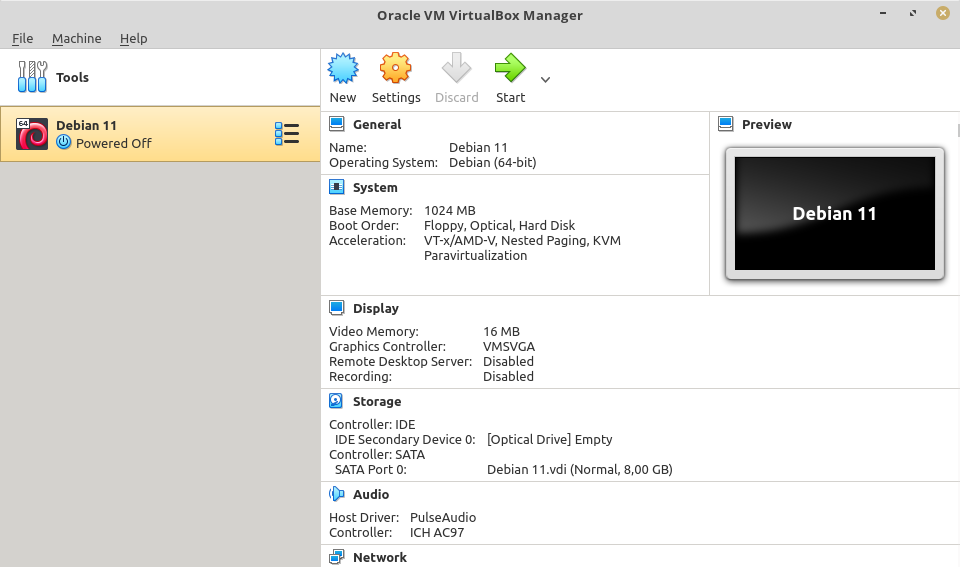
Optical Drive Configuration
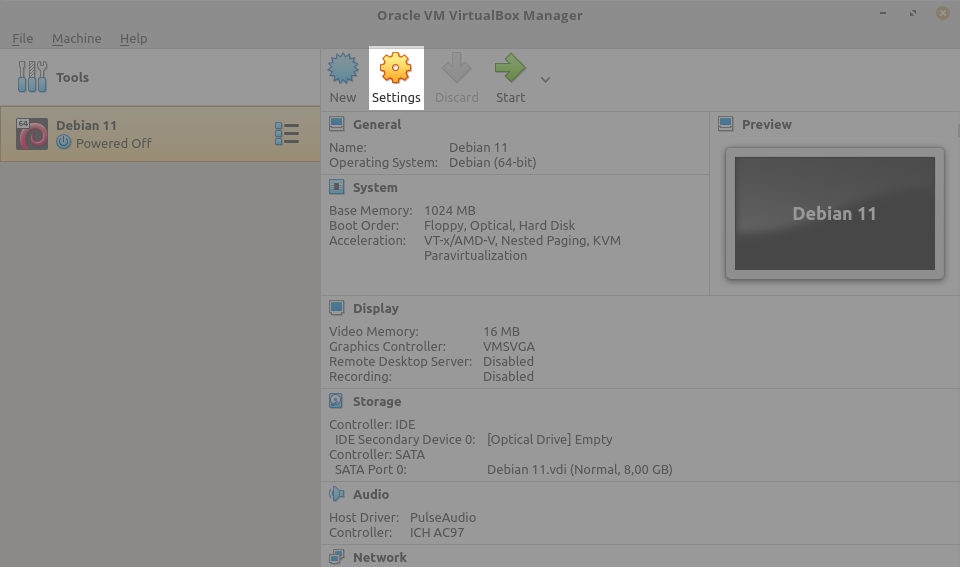
After we've successfully created our new VM, let's continue with OS installation. We need to mount our ISO beforehand. To do this, go to VM Settings menu.
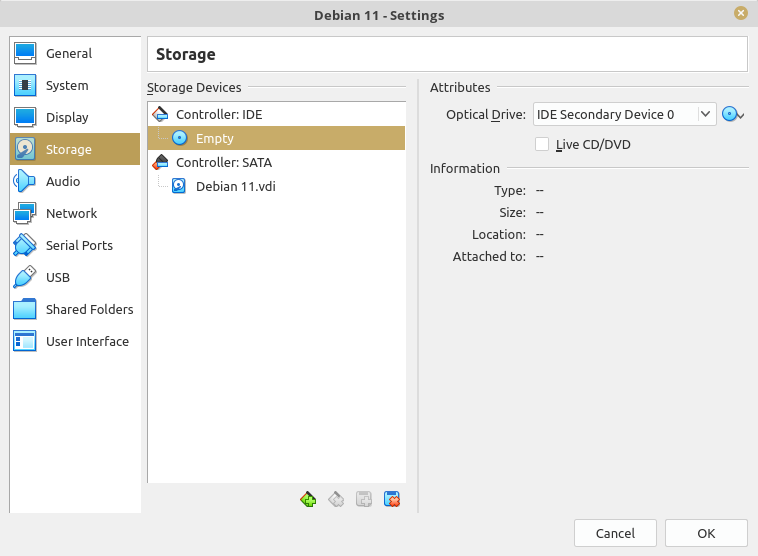
In the Settings window, go to "Storage".
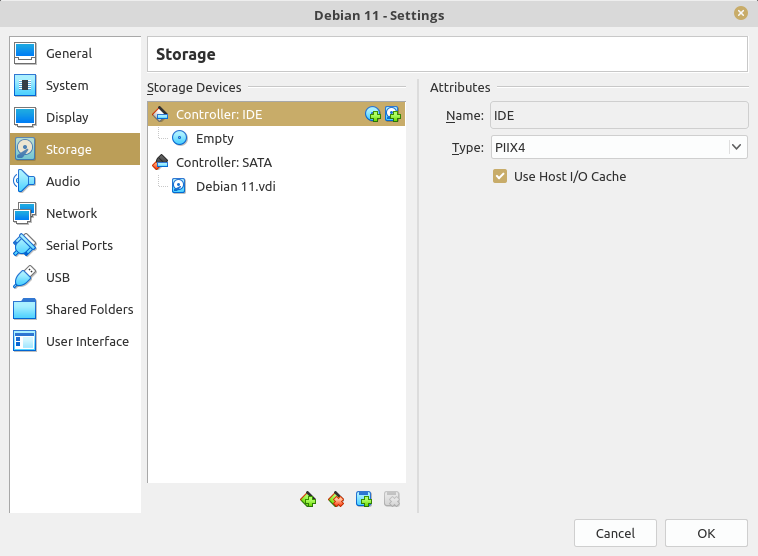
We need to mount our ISO in a virtual CD/DVD. By default, VirtualBox has created a virtual CD/DVD in our VM. We just need to mount it. To mount the ISO, click on "Empty" below "Controller: IDE" at "Storage Devices" section.
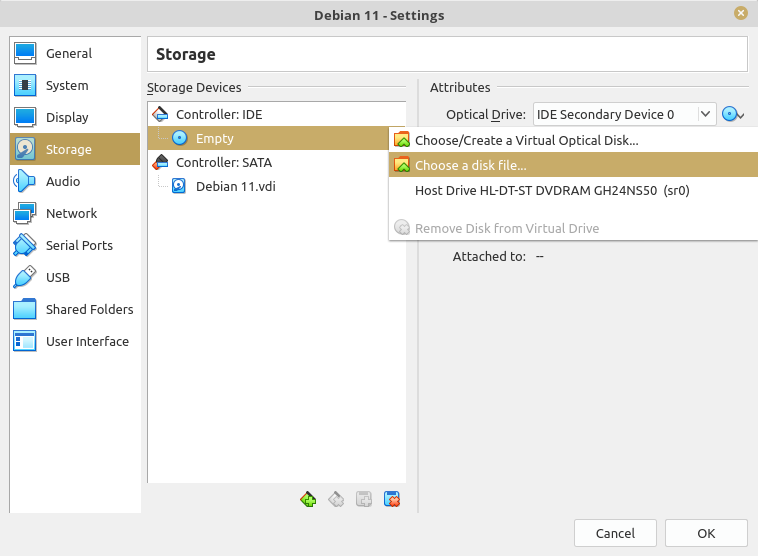
Next, click on the CD icon at the right side. A popup will shown, choose "Choose a disk file ..."
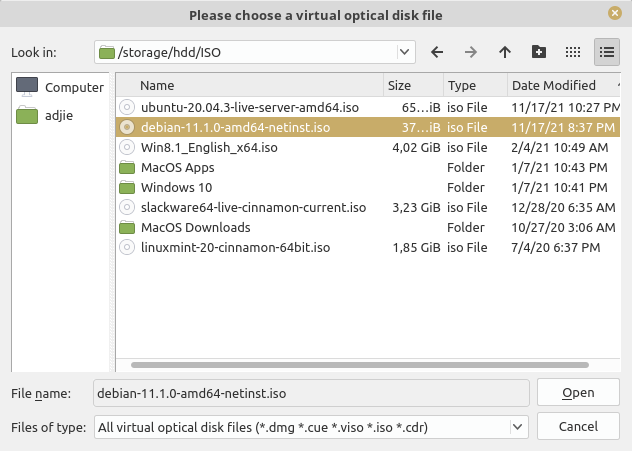
You'll asked for your virtual optical disk file location. Find the file and then click "Open"
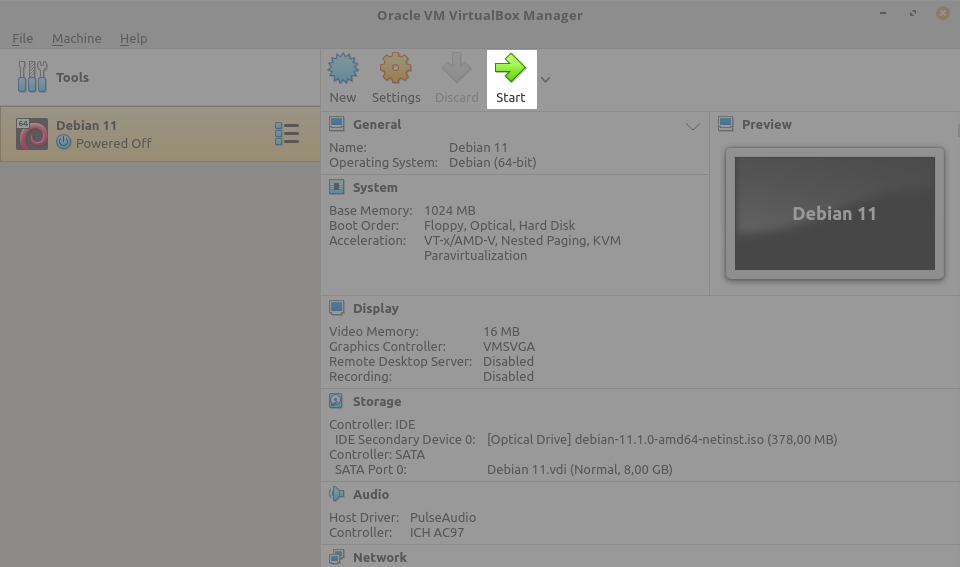
Your VM settings window now should be similar with below:
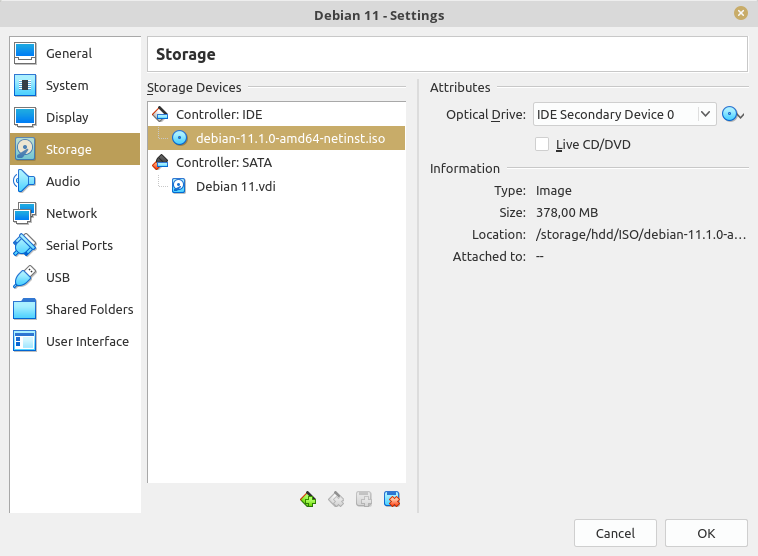
Click "OK" to close VM Settings window. Now we're ready to install our guest OS.
Guest OS Installation
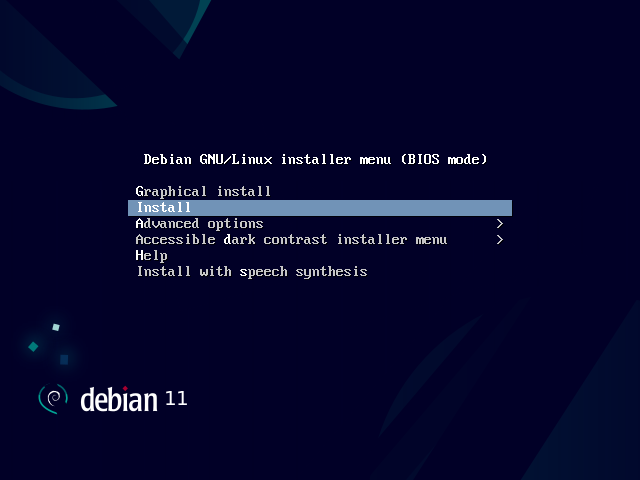
To start our VM, just click on "Start" button at the top menu.
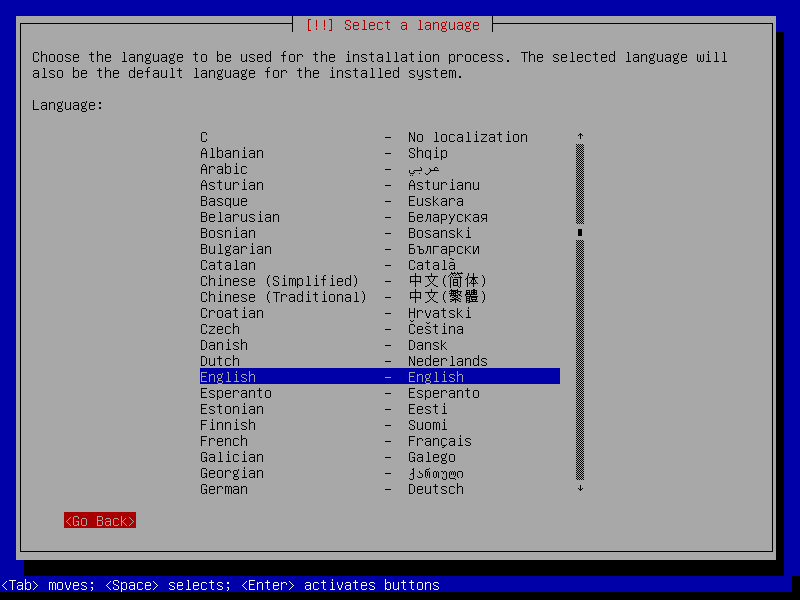
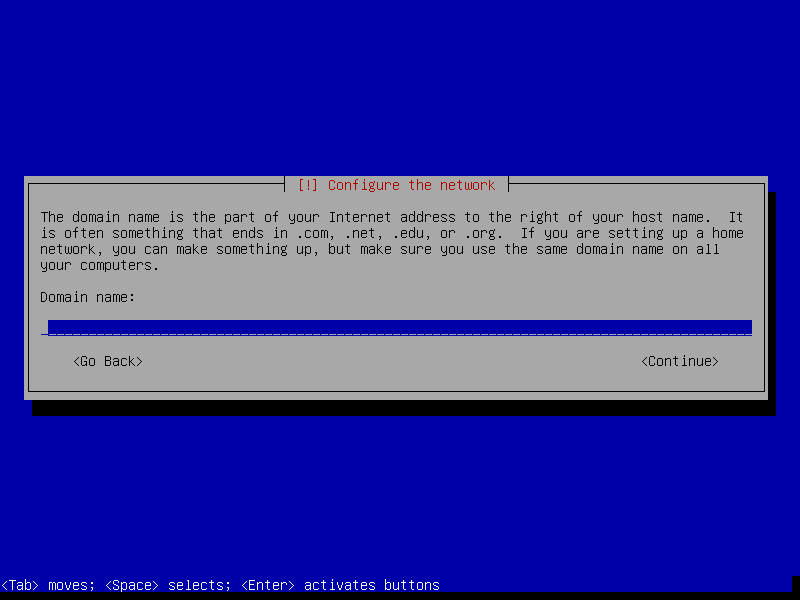
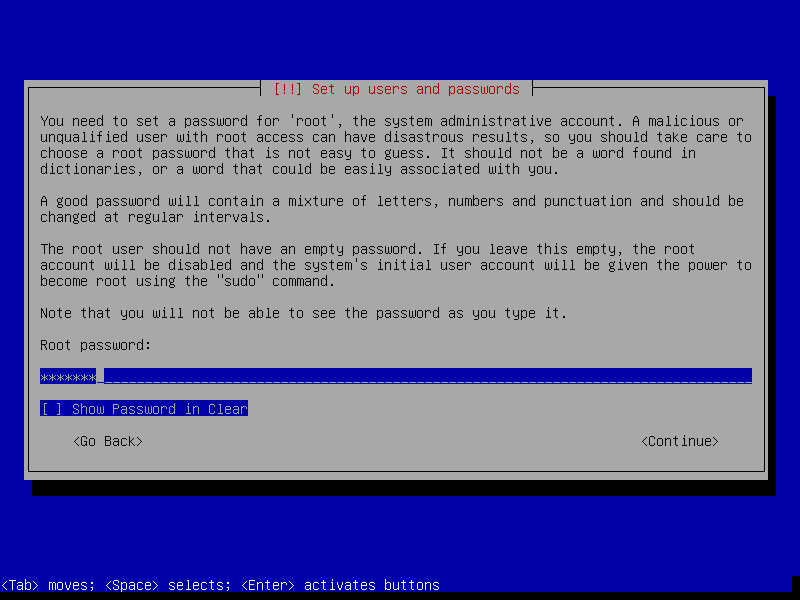
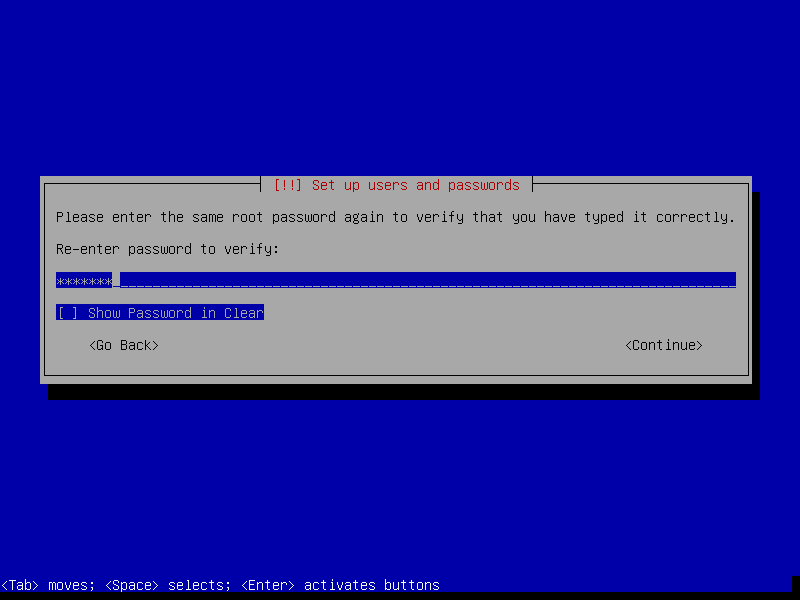
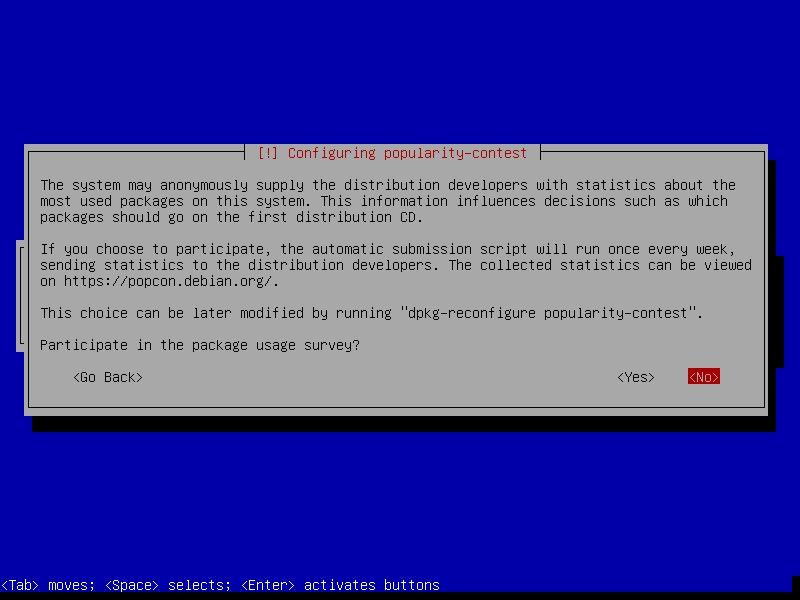
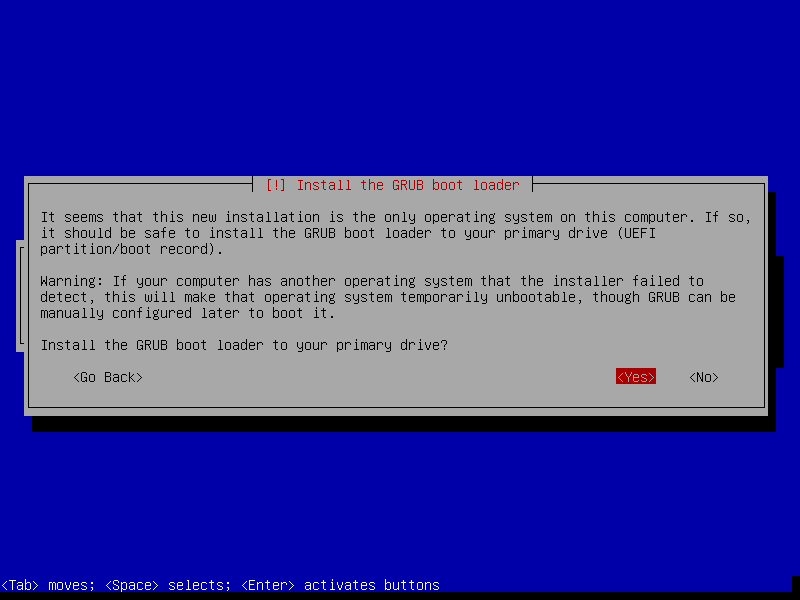
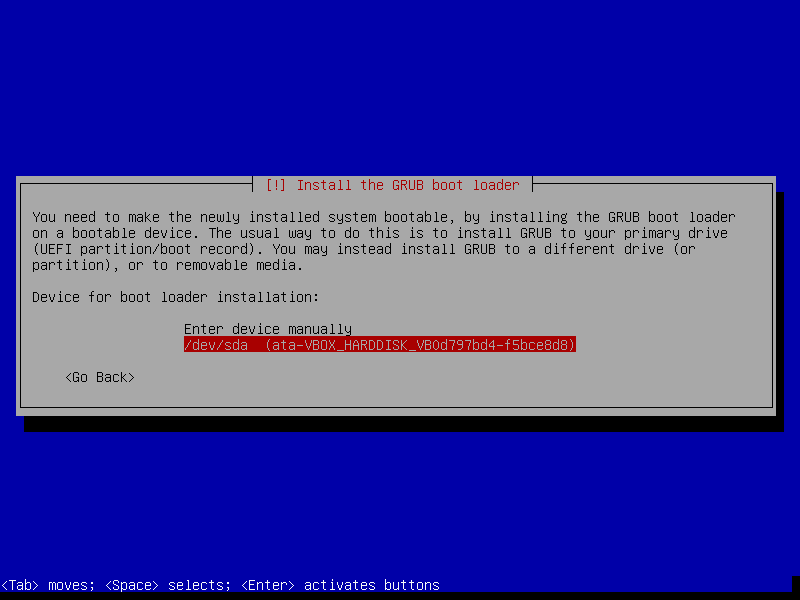
The guest OS installation itself is very similar with real OS installation. I'll only attach screenshots and won't cover all details about the installation process.
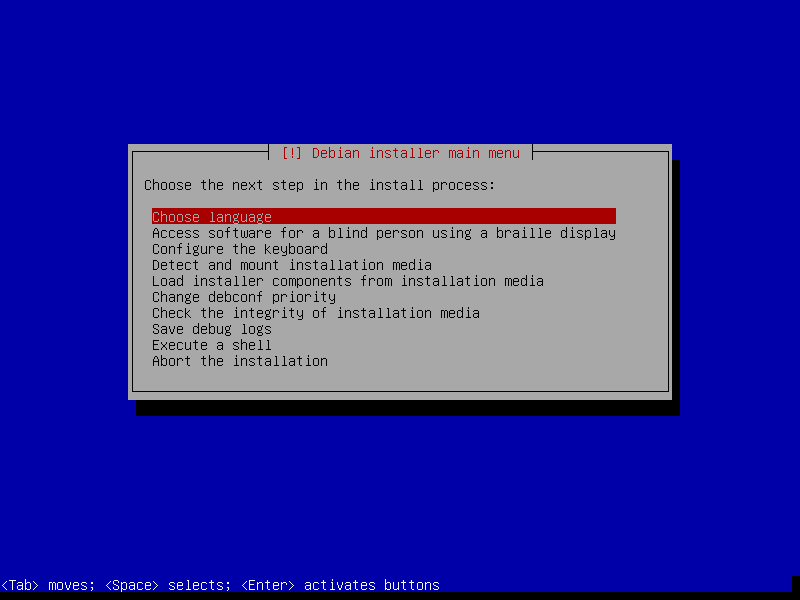
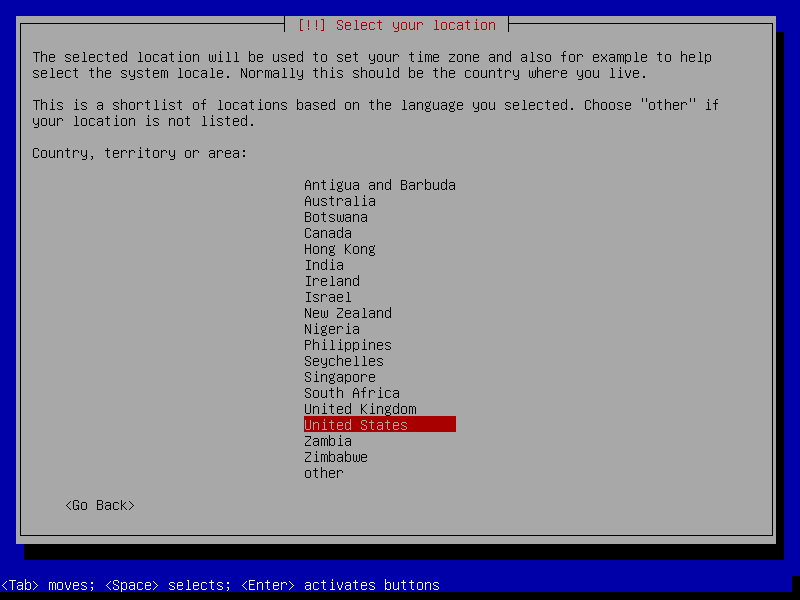
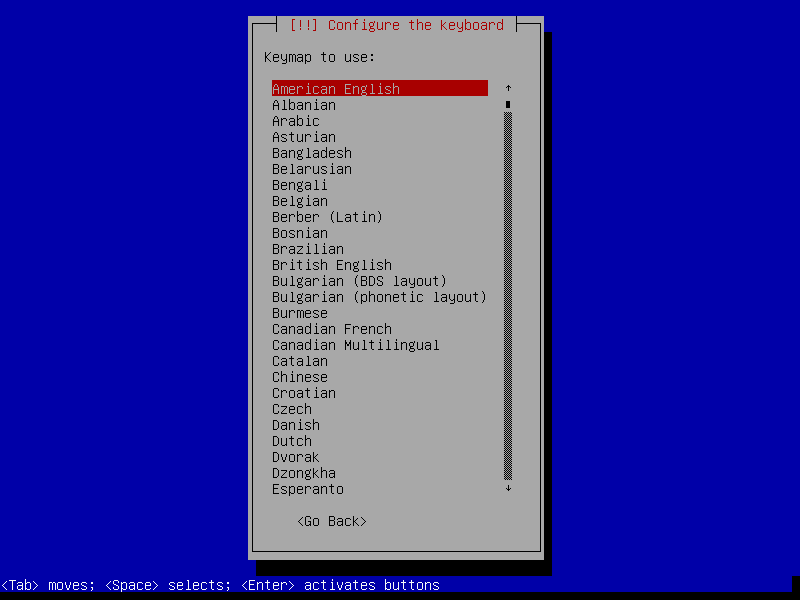
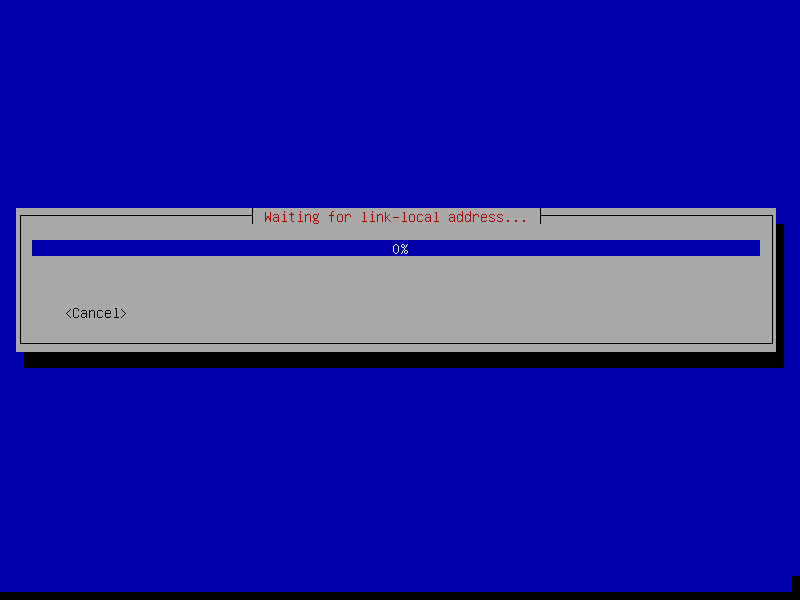
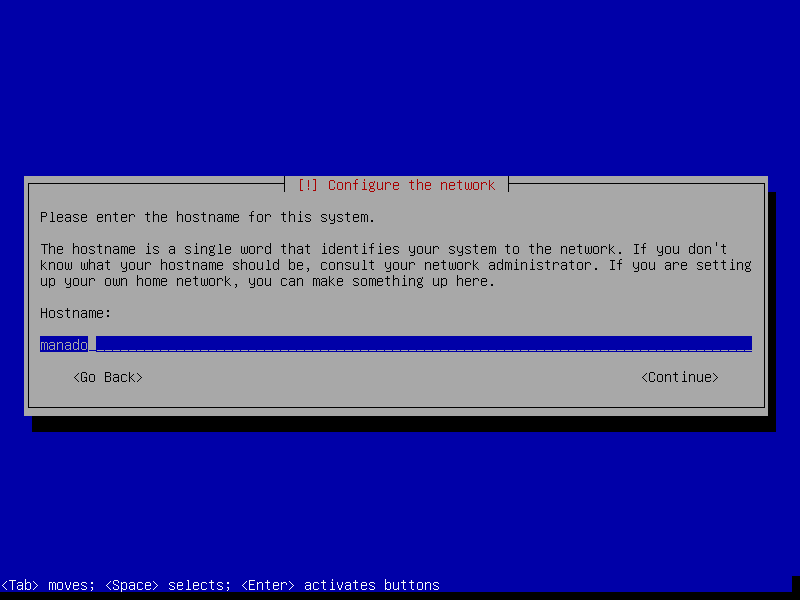
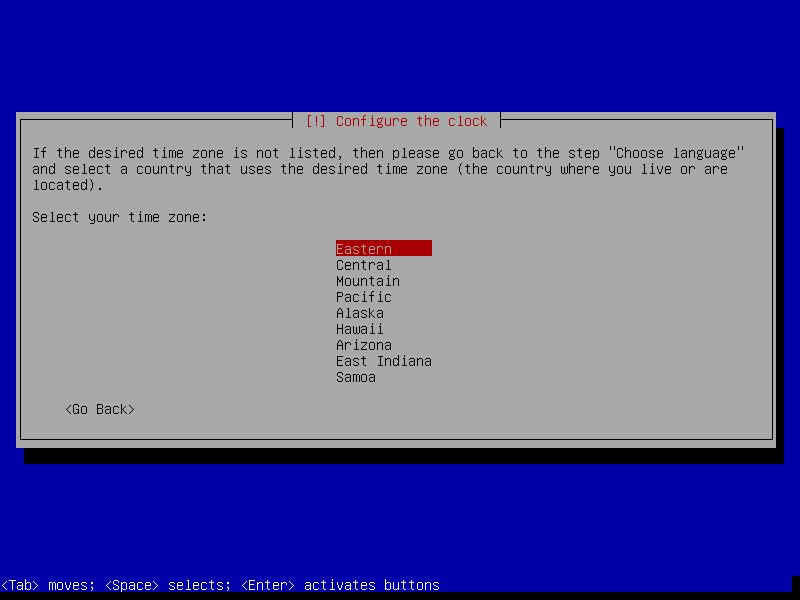
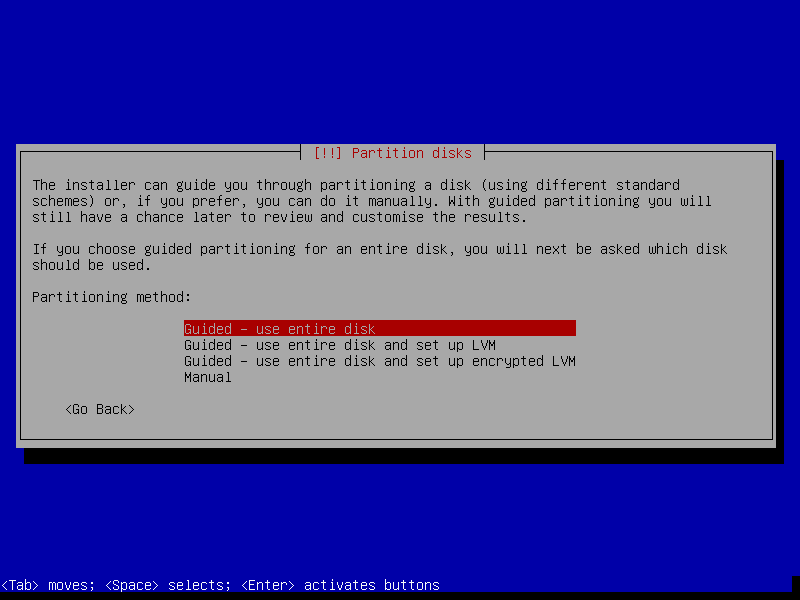
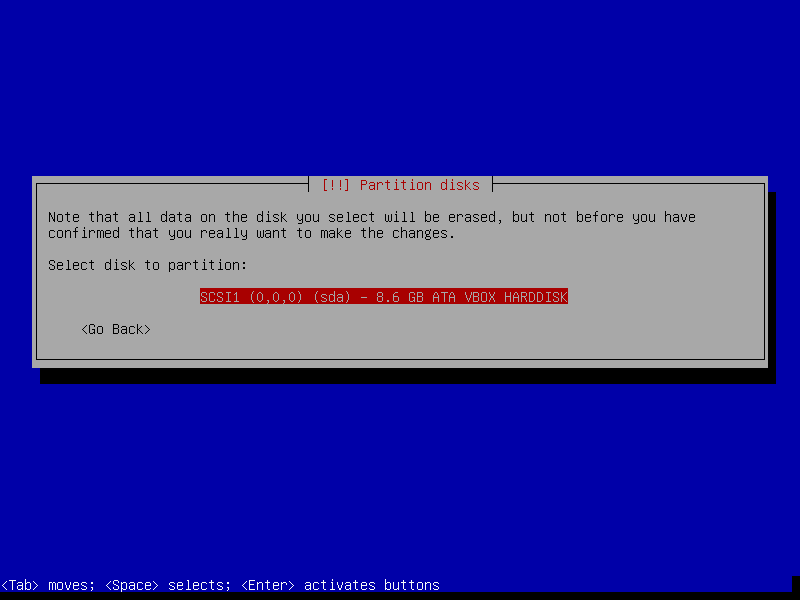
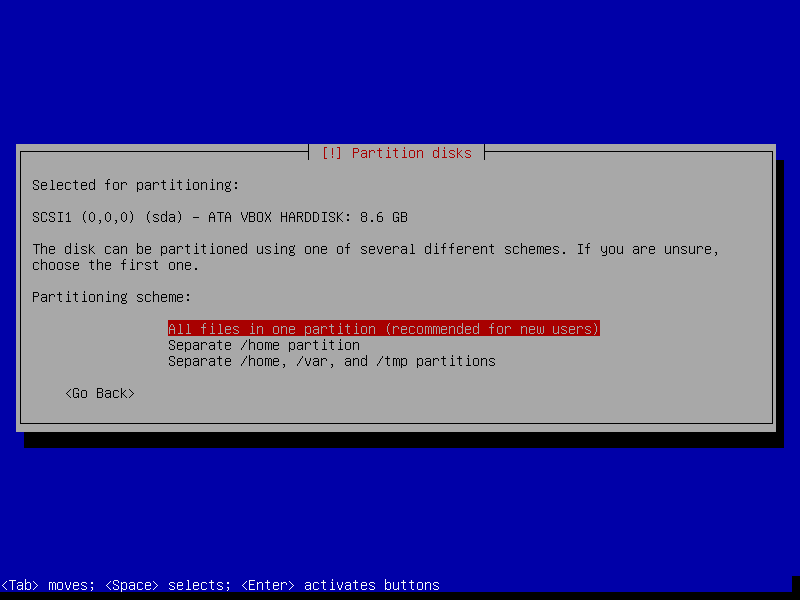


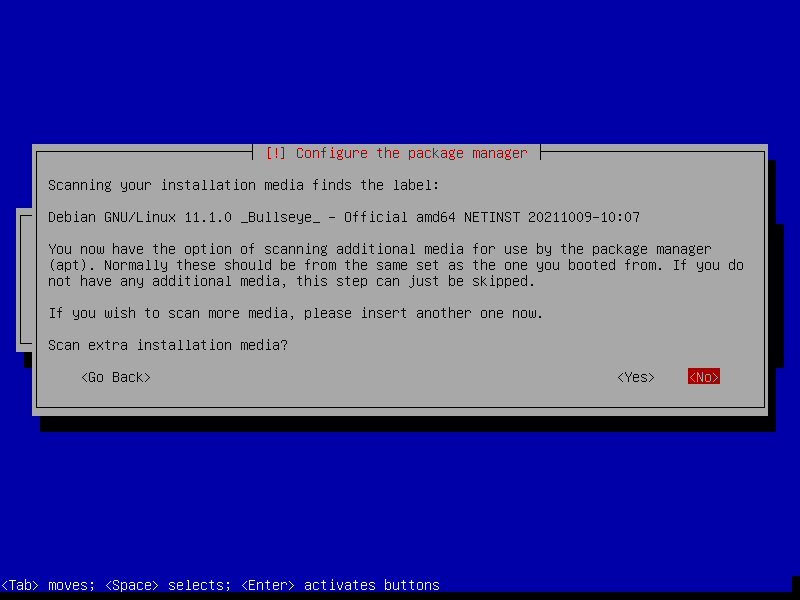
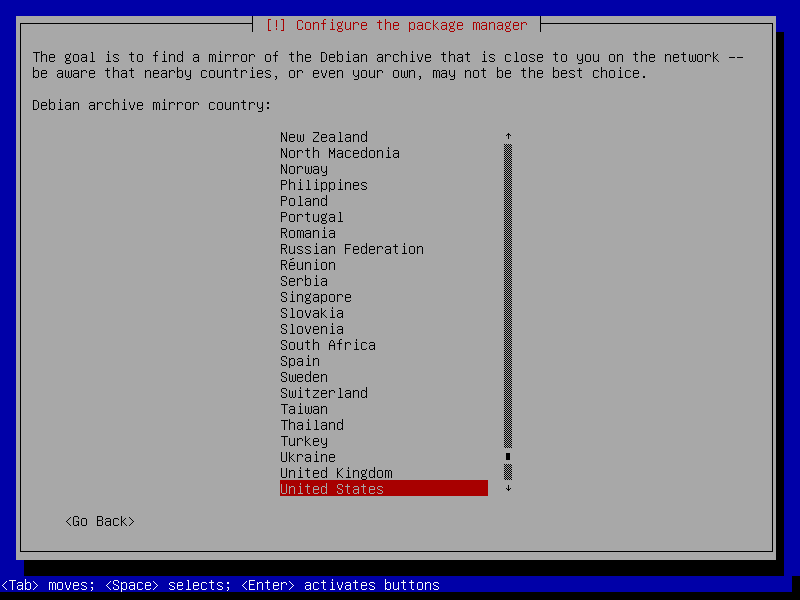
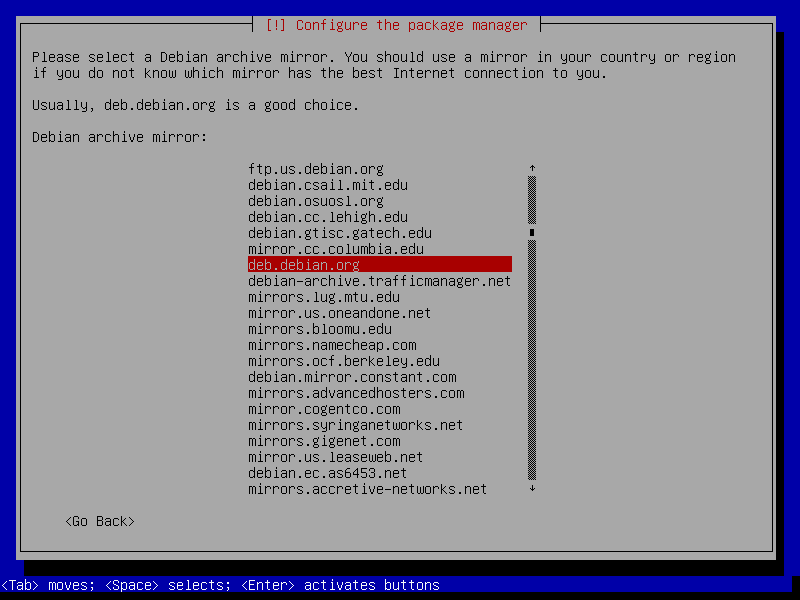

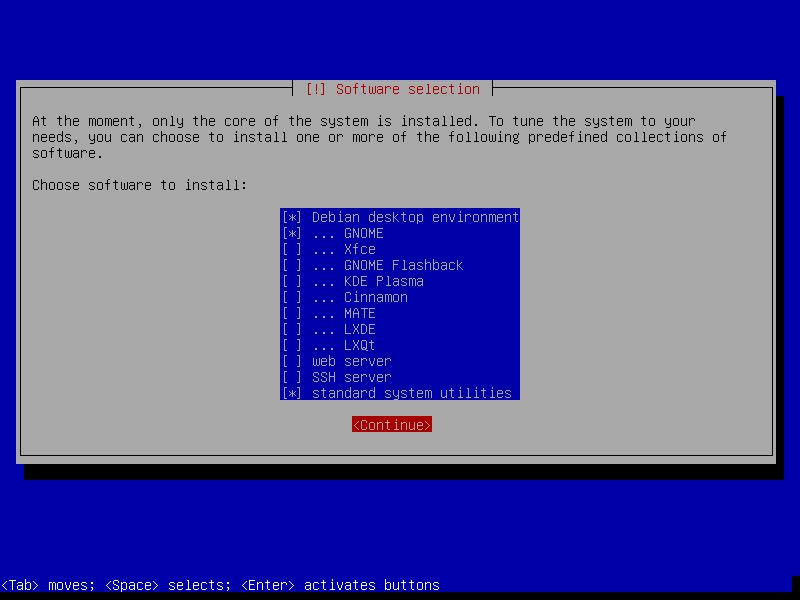
After this screen, the installer will download necessary packages and then install it to our VM. This process could take a while, so please be patient.
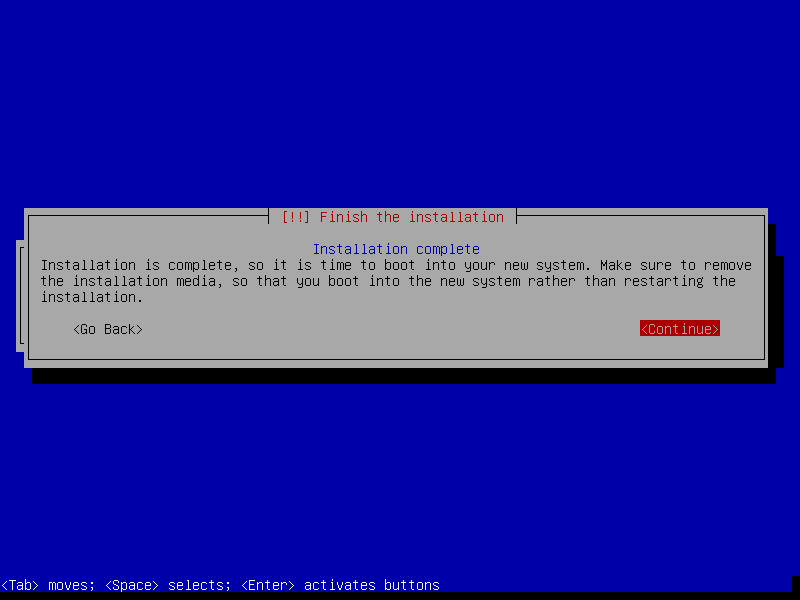
That's our last screen of Debian installation. This means our installation has finished. Pressing "Enter" will restart our VM and boot into our newly OS.
Network Configuration
Using VirtualBox, we could have a virtual network between:
- guest OS and host OS
- guest OS and other guest OS
To achieve this, we'll need to configure a few things. I'll cover this in my next article.
Final Words
I hope that you now know how to install VirtualBox on Linux Mint 20 Ulyana or any Ubuntu/Debian derivatives. If you run into any issues or have any feedback feel free to drop a comment below.