How to Install FreeBSD 13.1

About FreeBSD
FreeBSD is a free and open-source Unix-like operating system descended from the Berkeley Software Distribution (BSD), which was based on Research Unix. In 2005, FreeBSD was the most popular open-source BSD operating system, accounting for more than three-quarters of all installed and permissively licensed BSD systems.
FreeBSD has similarities with Linux, with two major differences in scope and licensing: FreeBSD maintains a complete system, i.e. the project delivers a kernel, device drivers, userland utilities, and documentation, as opposed to Linux only delivering a kernel and drivers, and relying on third-parties for system software. FreeBSD source code is generally released under a permissive BSD license, as opposed to the copyleft GPL used by Linux.
Supported Environment
There are several different ways of getting FreeBSD to run, depending on the environment.
- Virtual Machine images for those who prefer to install on a virtual environment like KVM ("qcow2"), VMWare ("vmdk"), Hyper-V ("vhd"), and raw device images.
- SD card images for embedded systems such as Raspberry Pi or BeagleBone Black.
- Installation images to install FreeBSD on a hard drive for the usual desktop, laptop, or server systems
In this article, we will cover the latter: install FreeBSD on a hard drive. Basically, there are four steps required:
- Backup important data
- Download installation image
- Create installation media
- Installation and configuration
Pre-installation Tasks
- Decide Where to Install FreeBSD
If FreeBSD will be the only operating system installed, this step can be skipped. But if FreeBSD will share the disk with another operating system, decide which disk or partition will be used for FreeBSD. - Backup Important Data
This step can be skipped if the install location is a empty. - Collect network information
Some FreeBSD installation methods require a network connection in order to download the installation files. After any installation, the installer will offer to setup the system’s network interfaces.
If the network has a DHCP server, it can be used to provide automatic network configuration. Otherwise, the following information must be obtained from the local network administrator or ISP:IP address
Subnet mask
IP address of default gateway
Domain name of the network
IP addresses of the network’s DNS servers
Installation Media Preparation
Download Installation Image
The FreeBSD installer is not an application that can be run from within another operating system. Instead, download a FreeBSD installation file, burn it to the media associated with its file type and size (CD, DVD, or USB), and boot the system to install from the inserted media.
FreeBSD installation files are available at www.freebsd.org/where/.
Each installation file’s name includes the release version of FreeBSD, the architecture, and the type of file.
For example, to install FreeBSD 13.1 on an amd64 system from a DVD, download FreeBSD-13.1-RELEASE-amd64-dvd1.iso, burn this file to a DVD, and boot the system with the DVD inserted.
Currently, the most common desktop and laptop processor type and used in most modern systems is amd64. Intel® calls it Intel64.
Other manufacturers sometimes call it x86-64. Here's the URL to download FreeBSD 13.1 for amd64 architecture: https://download.freebsd.org/releases/amd64/amd64/ISO-IMAGES/13.1/
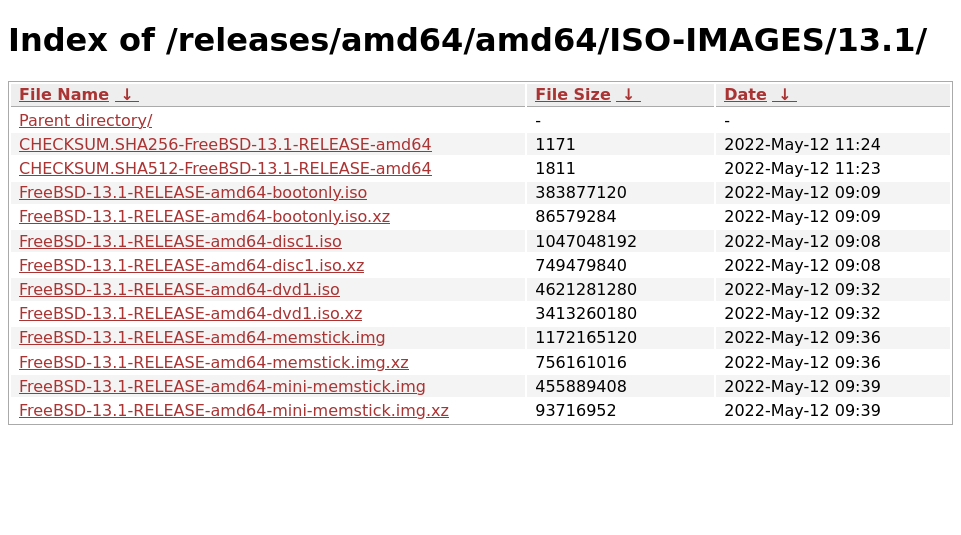
Installation files are available in several formats. The formats vary depending on computer architecture and media type:
-bootonly.iso: This is the smallest installation file as it only contains the installer. A working Internet connection is required during installation as the installer will download the files it needs to complete the FreeBSD installation. This file should be burned to a CD using a CD burning application.-disc1.iso: This file contains all of the files needed to install FreeBSD, its source, and the Ports Collection. It should be burned to a CD using a CD burning application.-dvd1.iso: This file contains all of the files needed to install FreeBSD, its source, and the Ports Collection. It also contains a set of popular binary packages for installing a window manager and some applications so that a complete system can be installed from media without requiring a connection to the Internet. This file should be burned to a DVD using a DVD burning application.-memstick.img: This file contains all of the files needed to install FreeBSD, its source, and the Ports Collection. It should be burned to a USB stick using the instructions below.-mini-memstick.img: Like-bootonly.iso, does not include installation files, but downloads them as needed. A working internet connection is required during installation.
Download -bootonly.iso, -disc1.iso or -dvd1.iso to use optical disc based installation. Otherwise download -memstick.img or -mini-memstick.img to use flash drive based installation. Other than installation media creation, they should share similar steps for FreeBSD installation.
Create Installation Media
There are many ways to boot the
installer but the simplest way is to create a bootable USB stick to
boot the system to be installed with. In Linux, we can use dd command:
$ sudo dd if=FreeBSD-13.1-RELEASE-amd64-memstick.img of=/dev/sdX bs=1024k status=progressReplace /dev/sdX with your USB flashdisk device path. The dd process should take a few minutes depends on your USB flashdisk speed.
Once the dd process completed, we can reboot our system and start the installation process.
System Installation and Configuration
When the system boots for the first time, it will show boot menu like below:
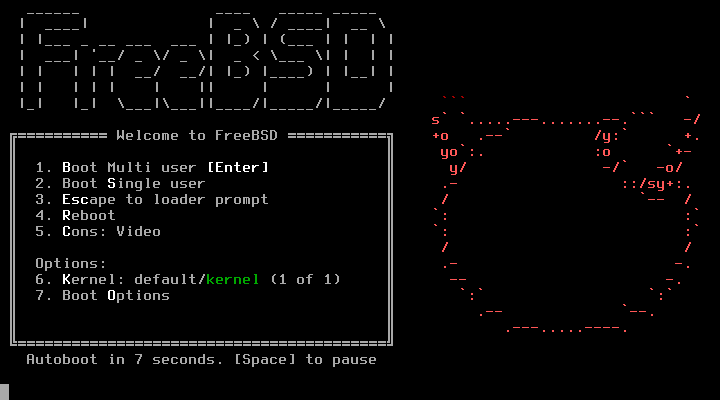
Press "Enter" to proceed with installation.
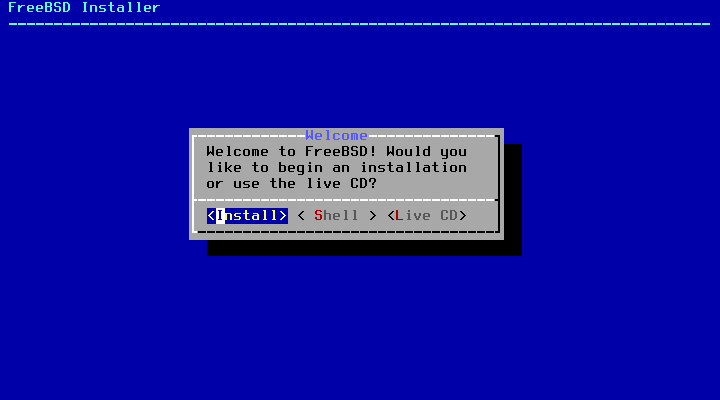
Choose "<Install>".
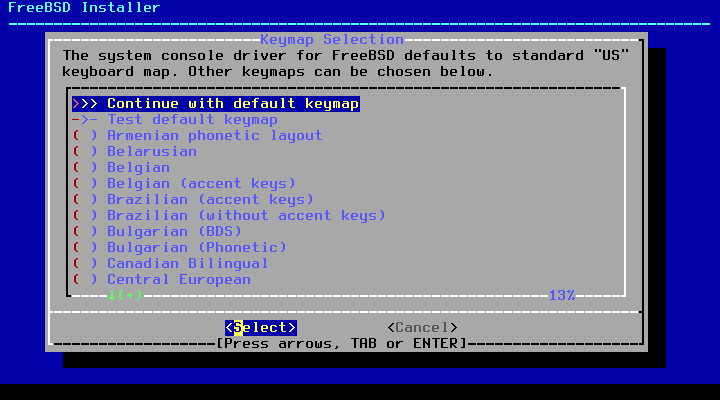
Set system keymap.

Set system hostname.

Choose optional system components.
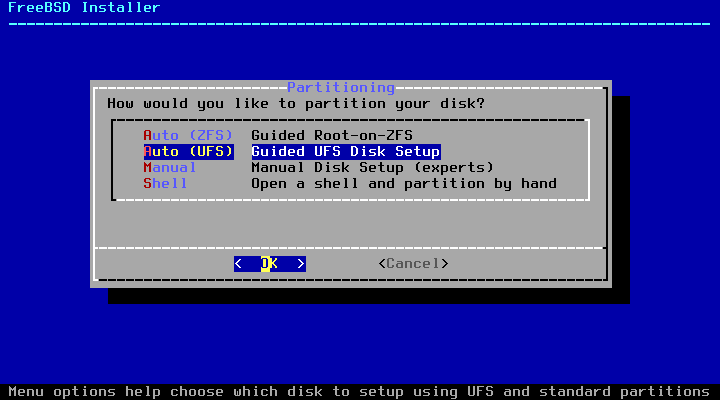
Choose partition type.
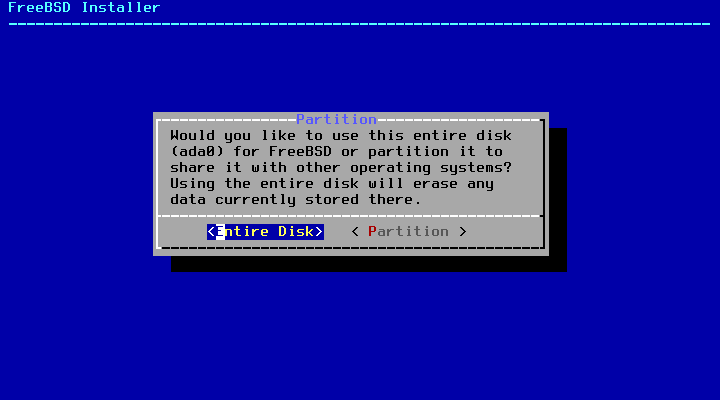
Use "<Entire Disk>" for empty disk. Otherwise choose "<Partition>" to select which partition for FreeBSD to be installed on.
Make sure the target disk is correct.
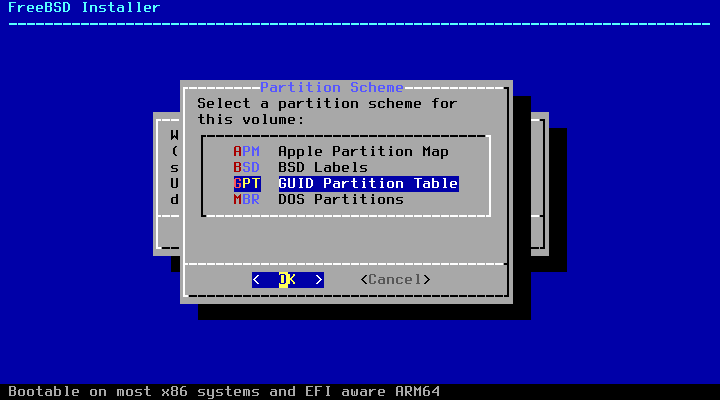
Most modern systems use GPT now.
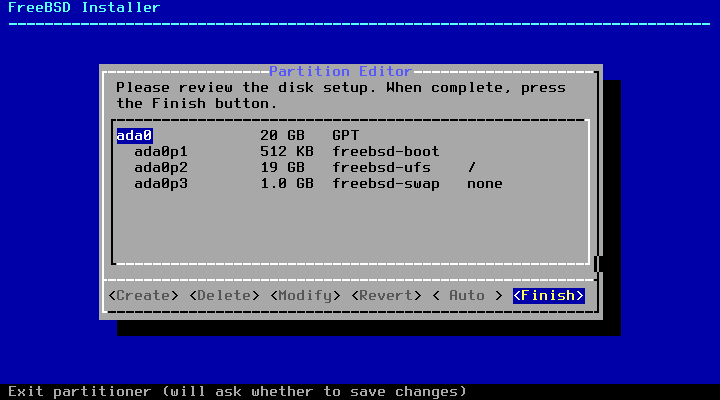
Automatic partition by FreeBSD installer.
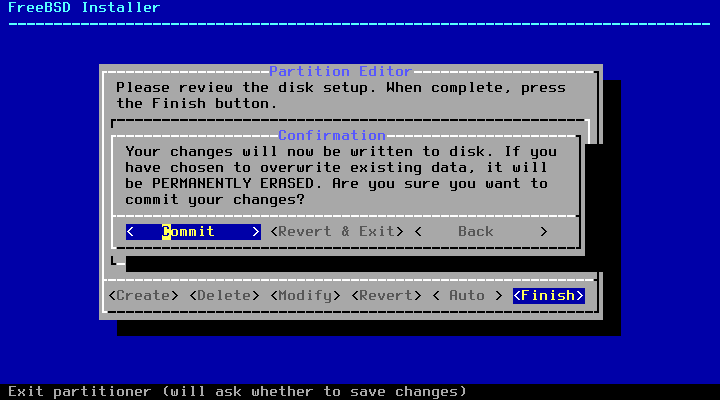
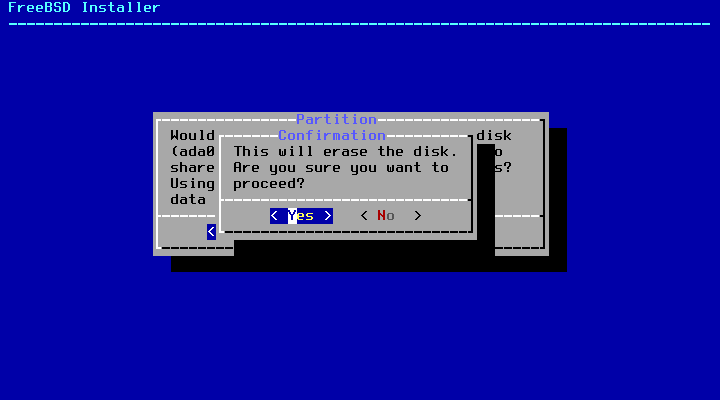
Final confirmation before formatting disk.

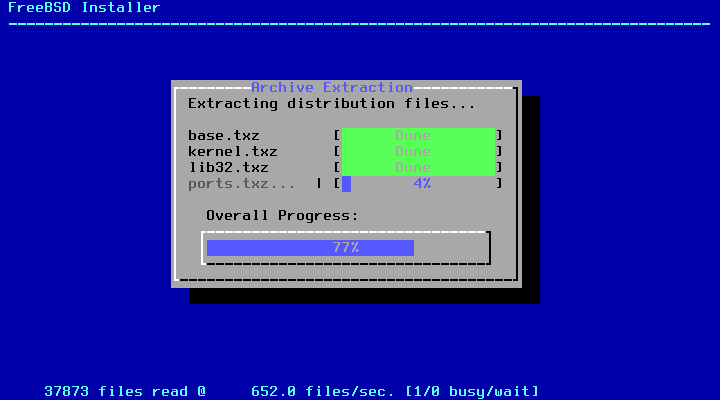
Installing files. Once this process finished, it will ask for root password.
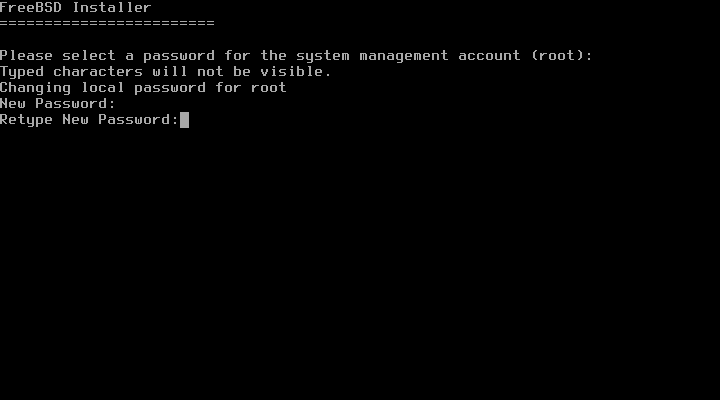
Enter root password for this system.
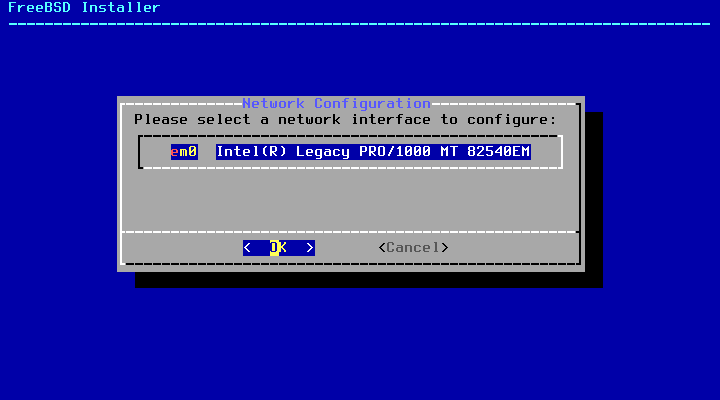
Select network interface(s).
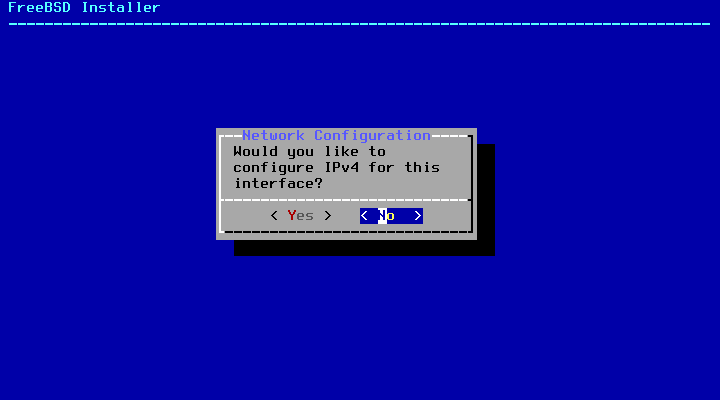
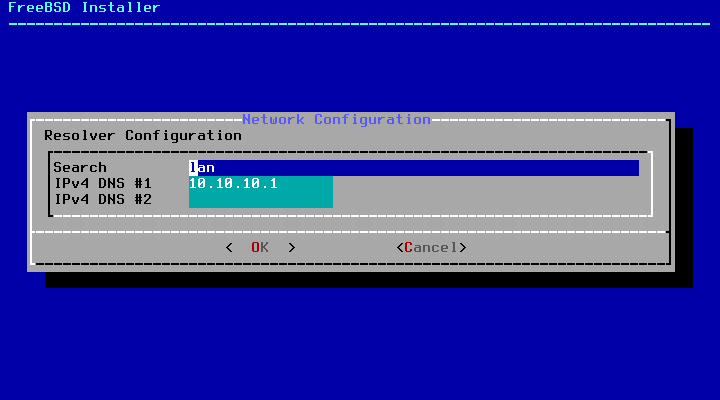
Network configuration.

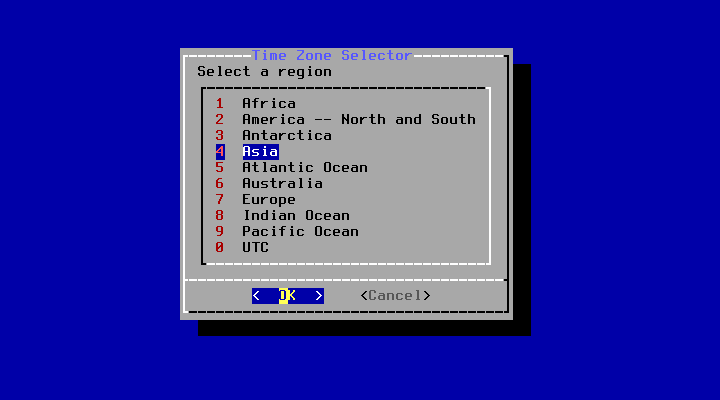
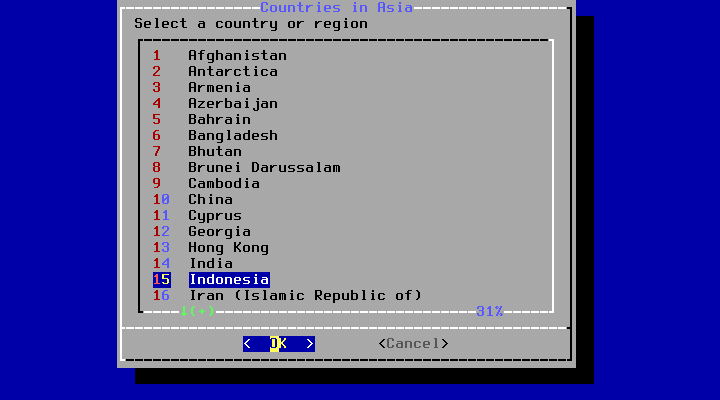
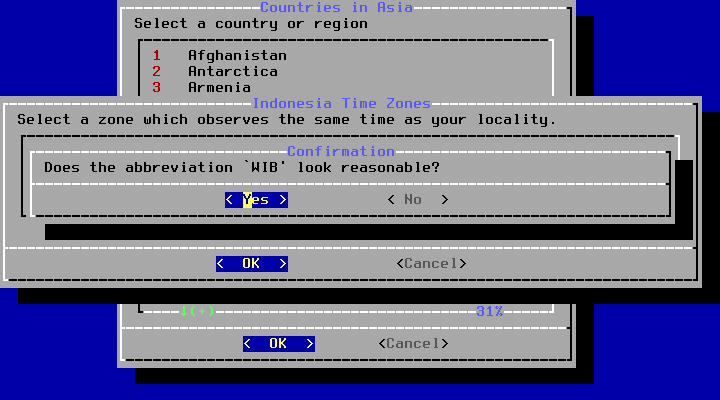
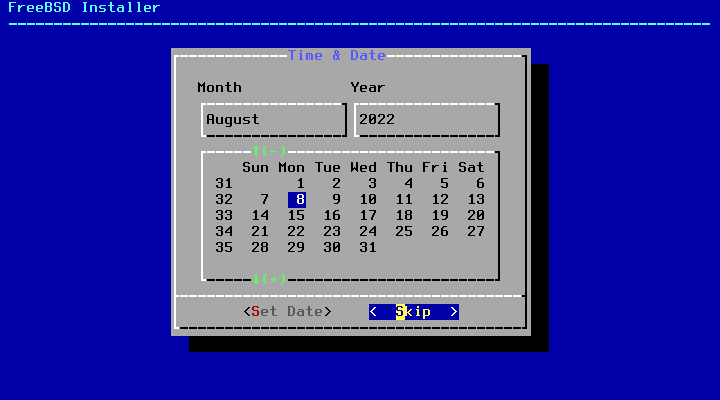
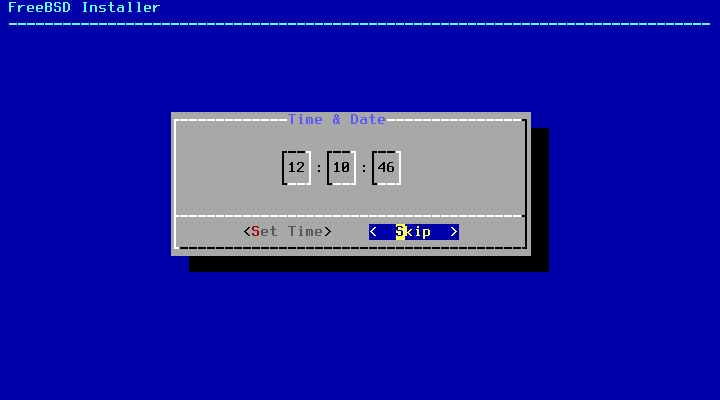
Setting Timezone

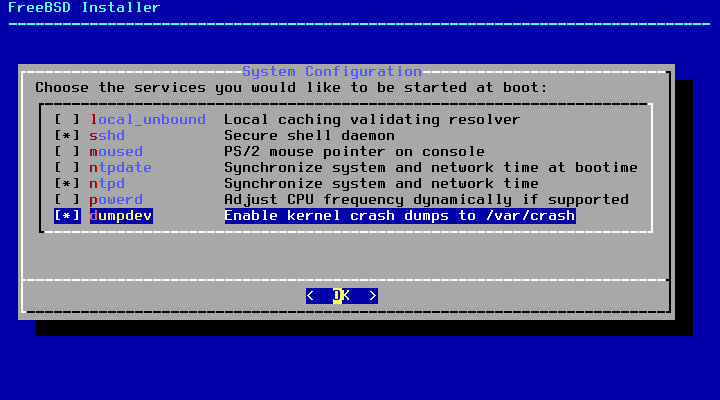
Choosing What Services to be Started at Boot
Security Related Configuration

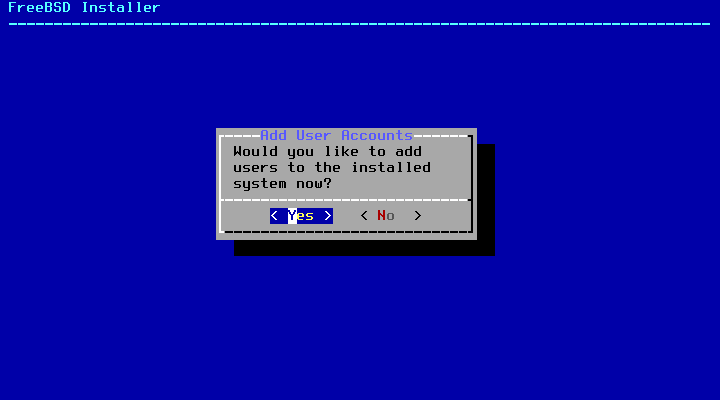
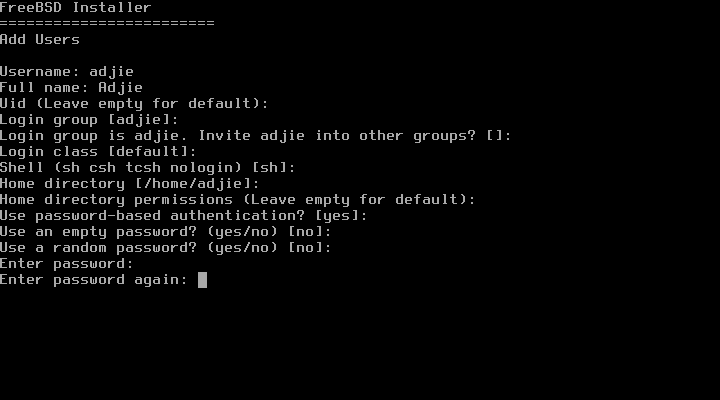
Add User Account

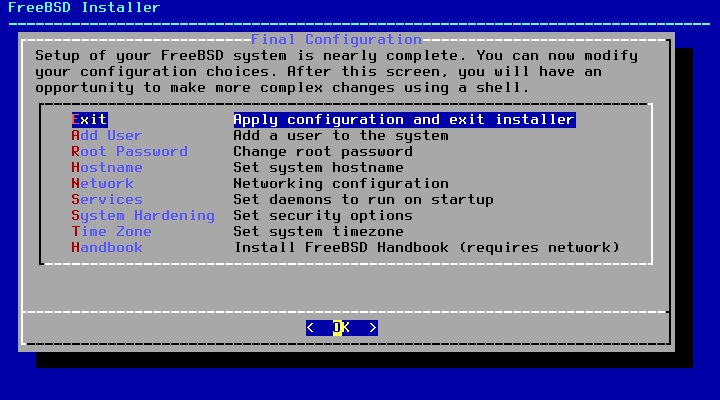
Almost There
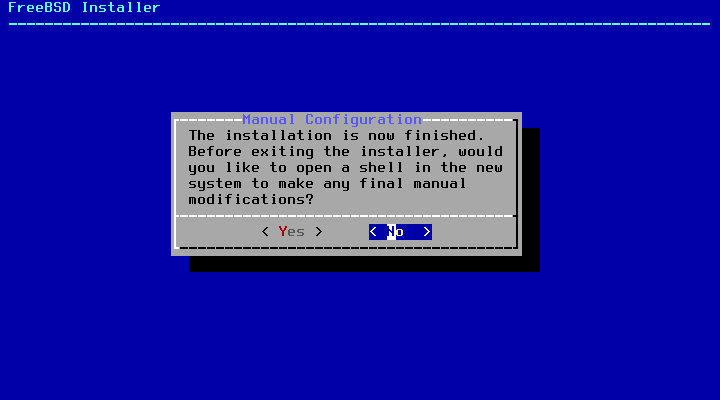
Make sure the installation media has been removed from the system. The system should boot into newly installed FreeBSD 13.1.
Final Words
I hope that you now know how to install FreeBSD 13.1 on a hard drive. If you run into any issues or have any feedback feel free to drop a comment below.