How to Install Ubuntu Server 22.04 Jammy Jellyfish LTS

About Ubuntu
Ubuntu is a Linux distribution based on Debian and composed mostly of free and open-source software. Ubuntu has three official editions: Desktop, Server, and Core. All the three editions can run on the computer alone, or in a virtual machine like VirtualBox or Proxmox.
Ubuntu is released every six months, with long-term support (LTS) releases every two years. As of April 2021, the most recent long-term support (LTS) release is 22.04 with codename Jammy Jellyfish.
In this article I'll show you how to install Ubuntu 22.04 Jammy Jellyfish Server edition to our computer.
Pre-requisites
- Empty USB flashdisk with minimum size 4GB.
- Internet connection.
Installation Media Preparation
Download Installation Image
First and foremost, we need to download an installation media. Fire up web browser and open this URL:
https://ubuntu.com/download/server
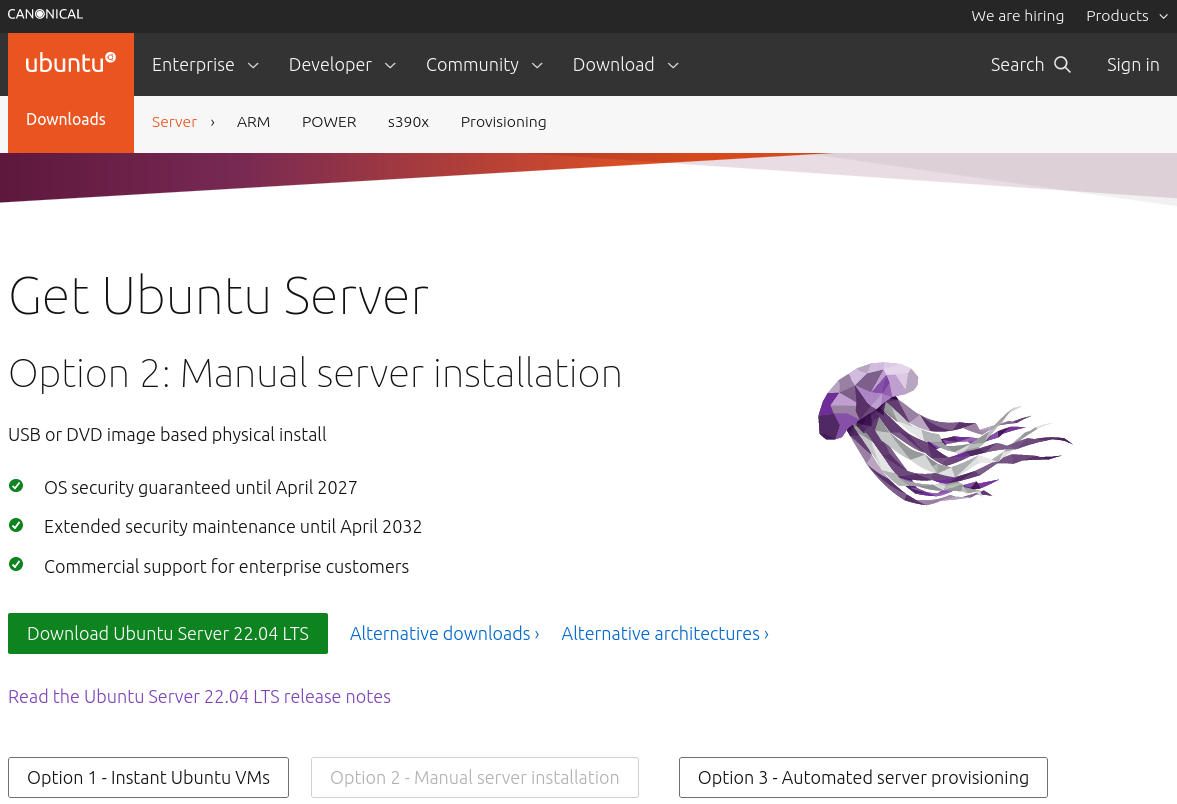
We will install Ubuntu 22.04 into our system, so we click on "Option 2: Manual server installation" and then "Download Ubuntu Server 22.04 LTS" button. In a few seconds, a download window will appear.
Verify Installation Image
Once the installation media has been downloaded, we must verify its SHA256 checksum. In Linux, we can verify by using shasum command. Go to your download directory, run this command:
$ echo "84aeaf7823c8c61baa0ae862d0a06b03409394800000b3235854a6b38eb4856f *ubuntu-22.04-live-server-amd64.iso" | shasum -a 256 --checkYou should get following output:
ubuntu-22.04-live-server-amd64.iso: OK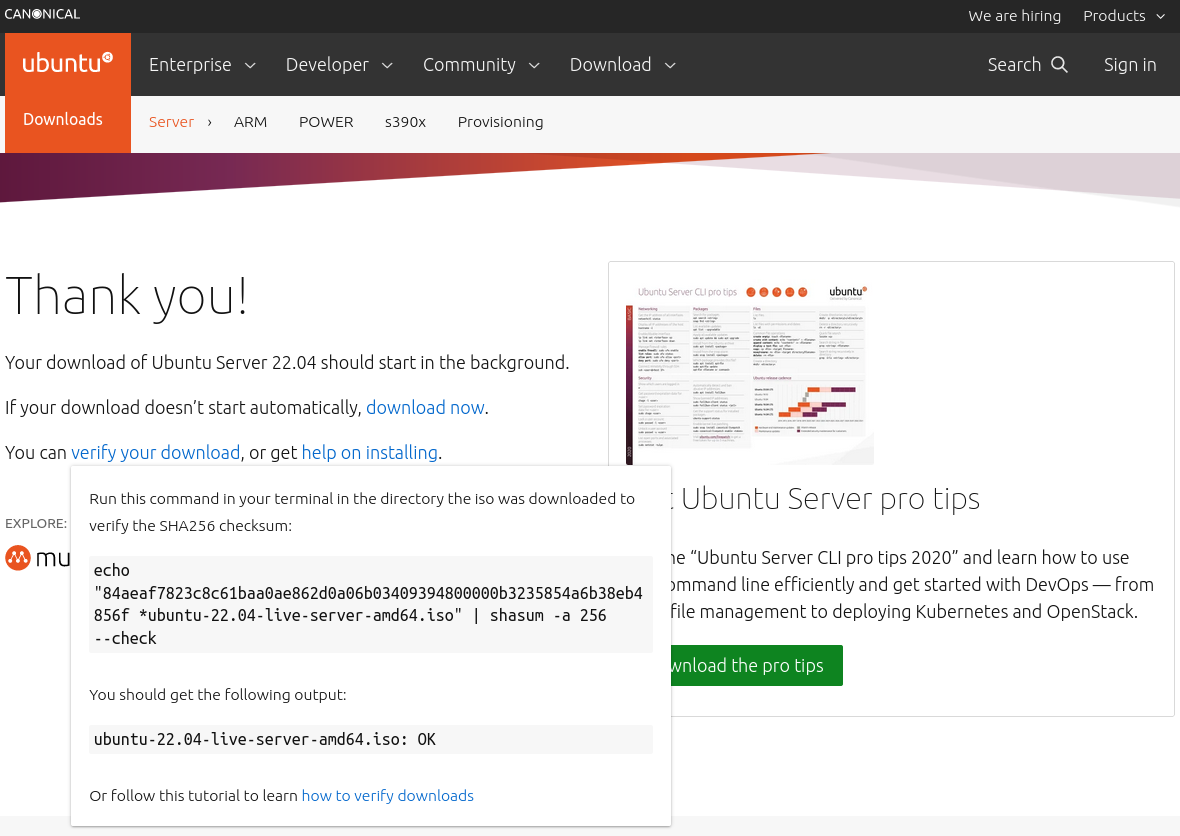
Create Installation Media
There are many ways to boot the installer but the simplest way is to create a bootable USB stick to boot the system to be installed with. In Linux, we can use dd command:
$ sudo dd if=ubuntu-22.04-live-server-amd64 of=/dev/sdX bs=1024k status=progressReplace /dev/sdX with your USB flashdisk device path. The dd process should take a few minutes depends on your USB flashdisk speed.
Once the dd process completed, we can reboot our system and start the installation process.
System Installation and Configuration
In general, the installer can be used with the up and down arrow and space or enter keys and a little typing. Tab and shift-tab move the focus down and up respectively. Home / End / Page Up / Page Down can be used to navigate through long lists more quickly in the usual way.
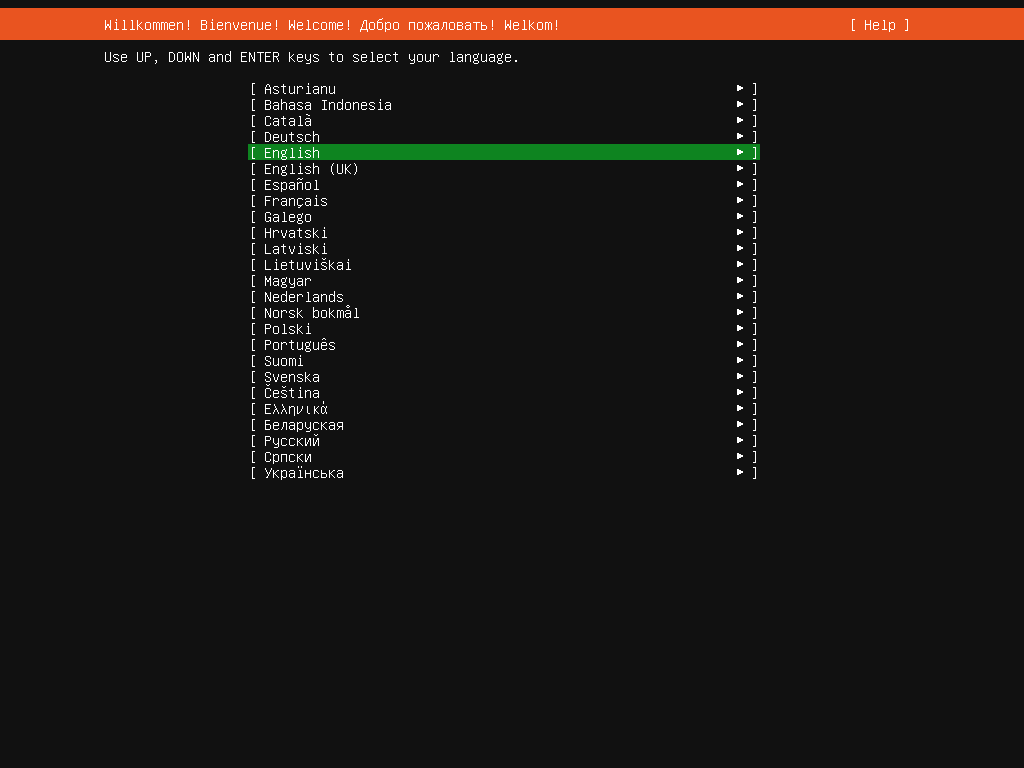
The installation starts with language selection. Choose your preferred language followed by "Enter".
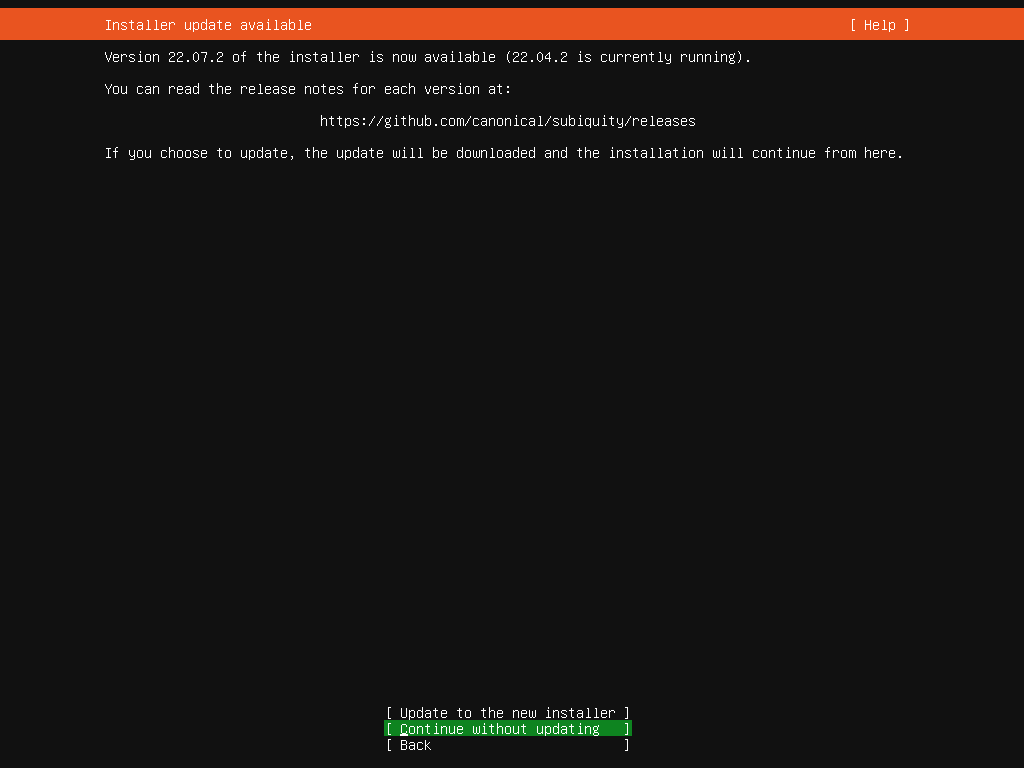
If you're connected with internet and there's an update available, the installer will ask you to update the installer or use current installer. There's should be little to no difference between them for us as standard user.
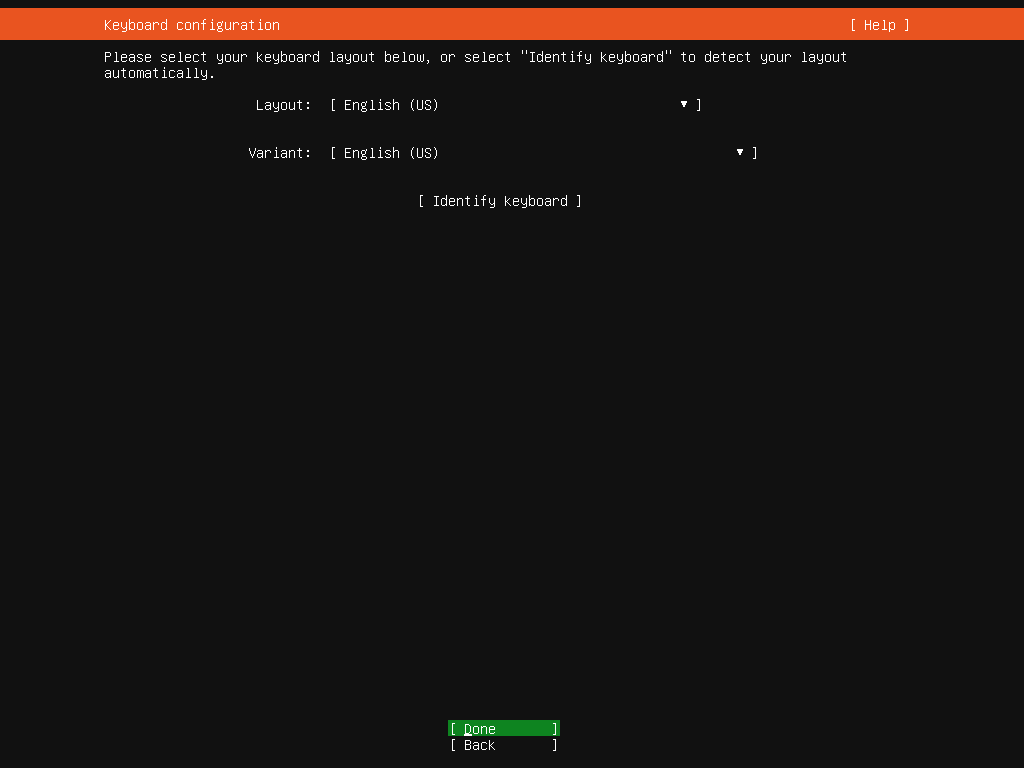
Next, it will ask your keyboard layout. Usually it's US English, but you could use any layout you prefer.
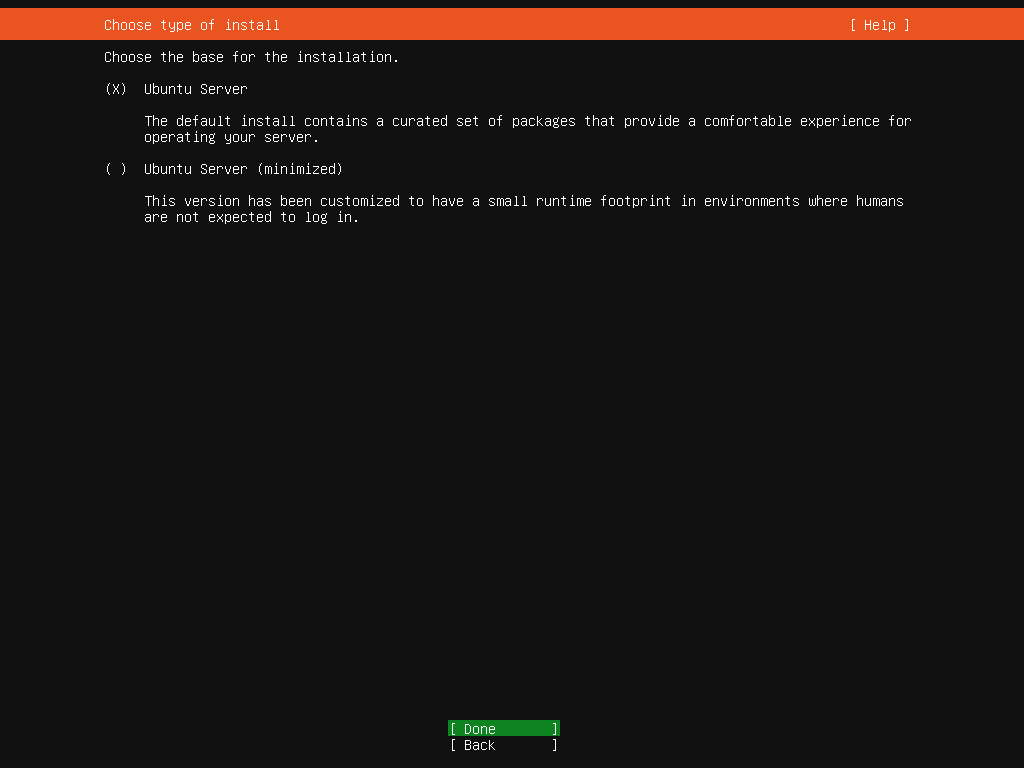
Then it will ask whether you'll choose default or minimal installation. For the purpose of this tutorial, I choose default installation.
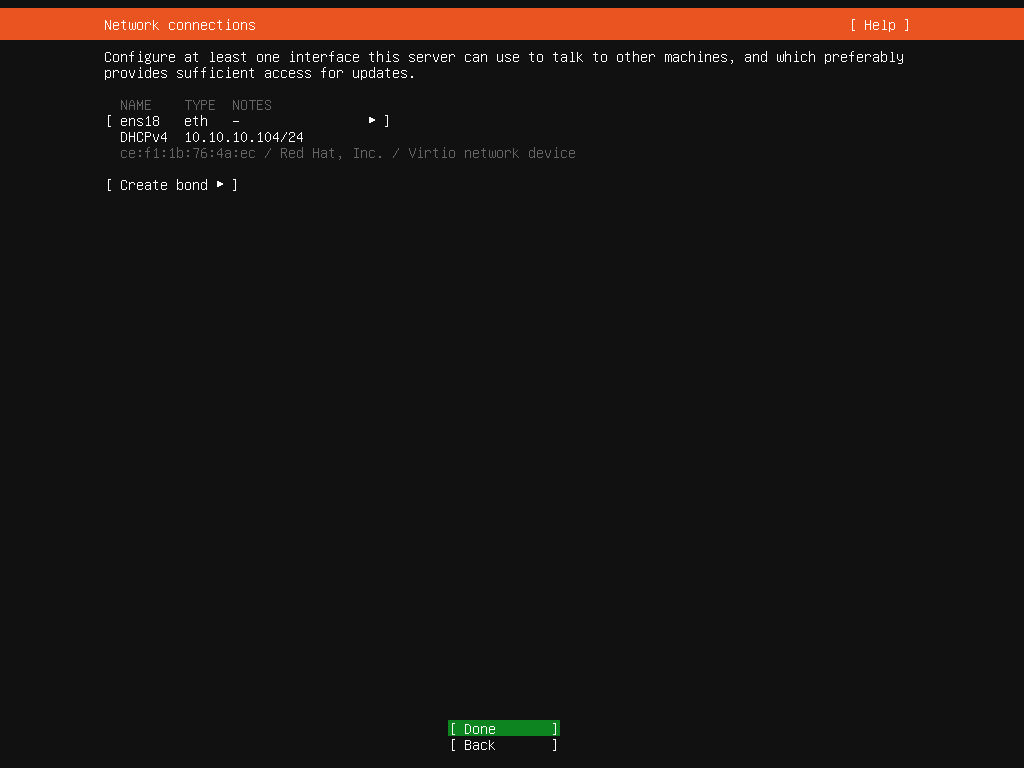
Next it will ask for network configuration. If your network uses DHCP, it should be filled automatically. Otherwise, enter your system's network configuration.
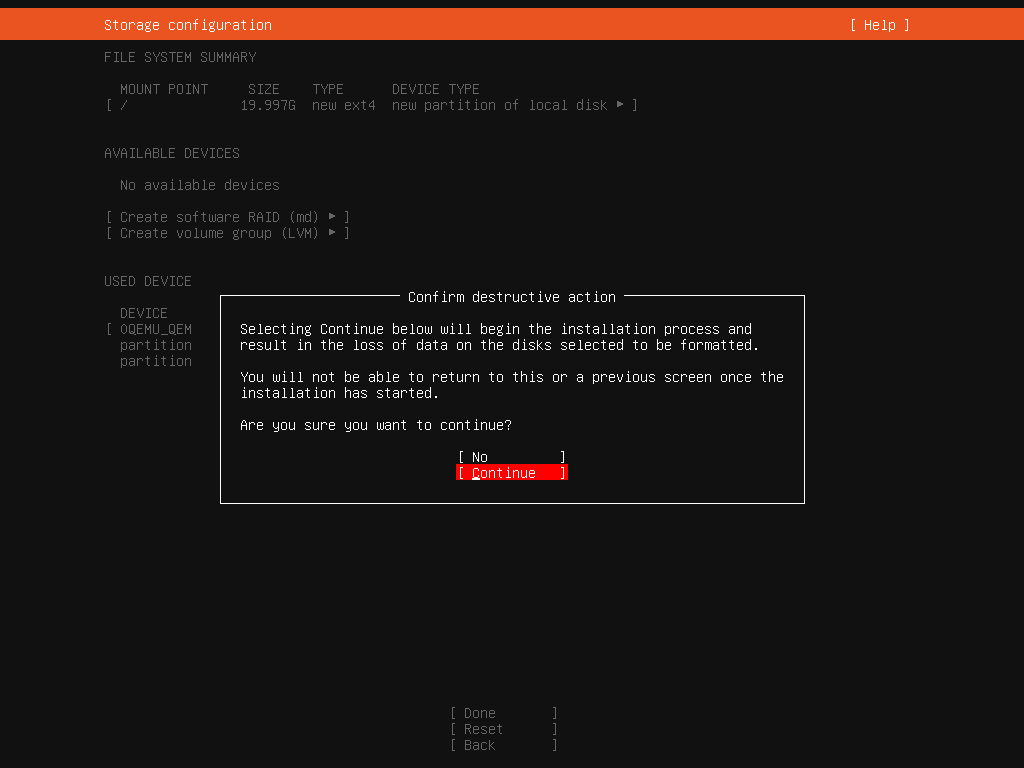
After network configuration, the installer will ask about your disk partition. You can use a whole disk if or a partition if you have partitioned your disk before.
Please be extra cautious in this step. It could easily destroy your data if you mistakenly choosing disk partition.
For the purpose of this article, I unchecked the option "Set up this disk as an LVM group". If you know what you're doing, you can set LVM using this option.
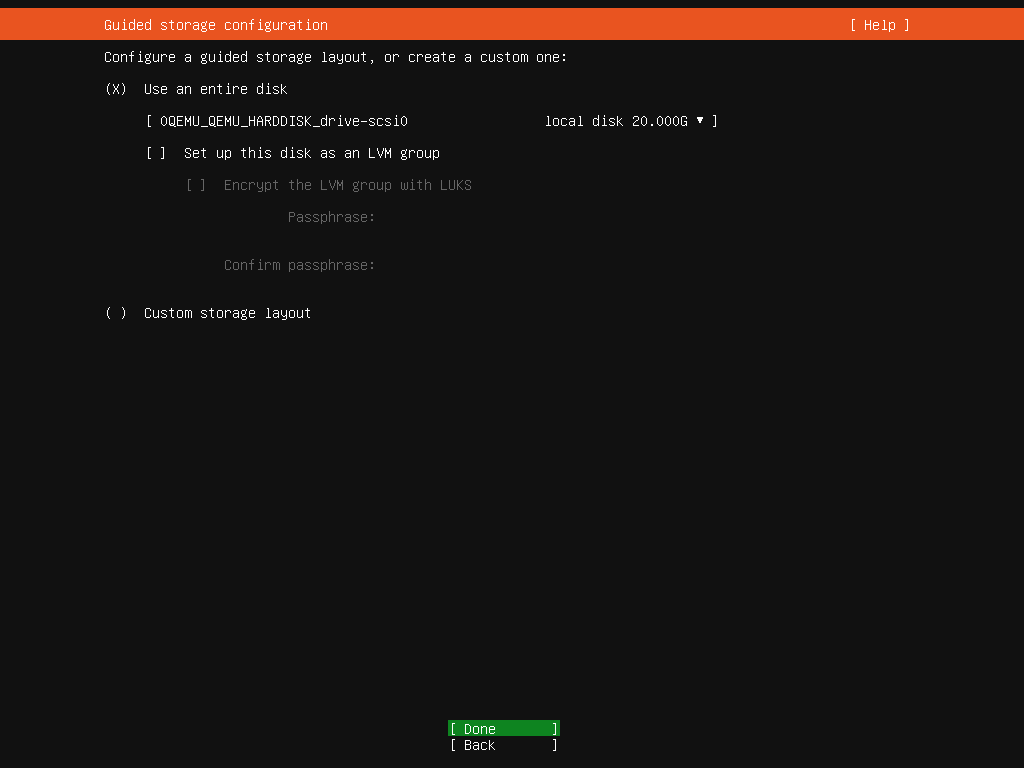
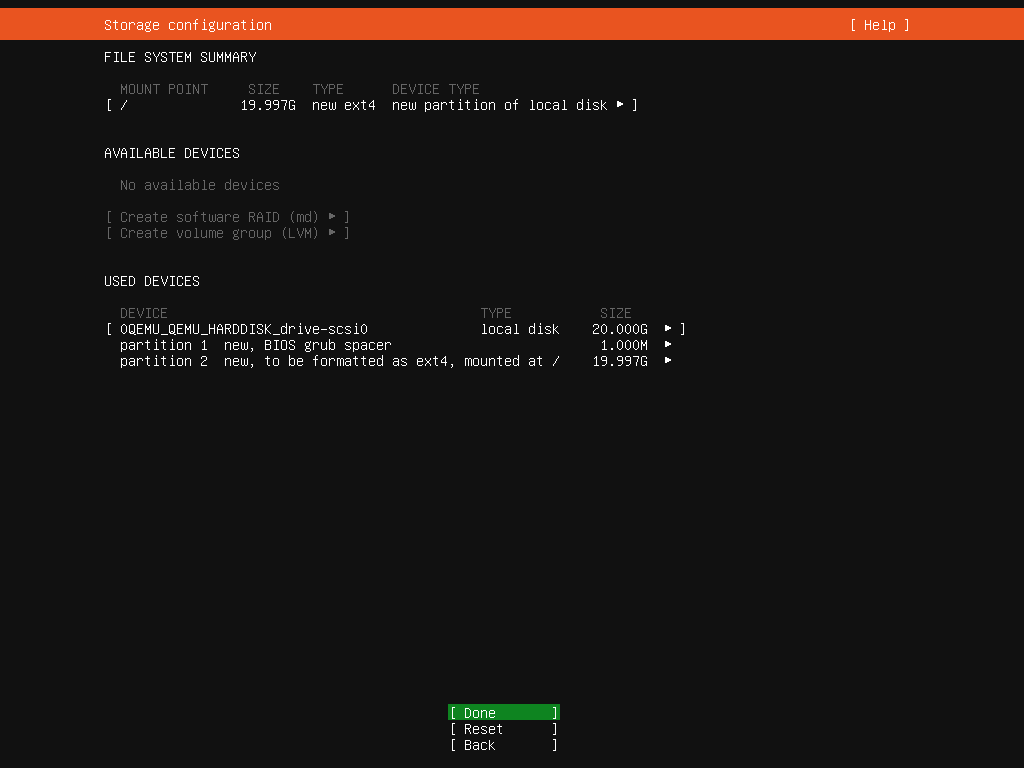
The installer will ask for confirmation for the last time.
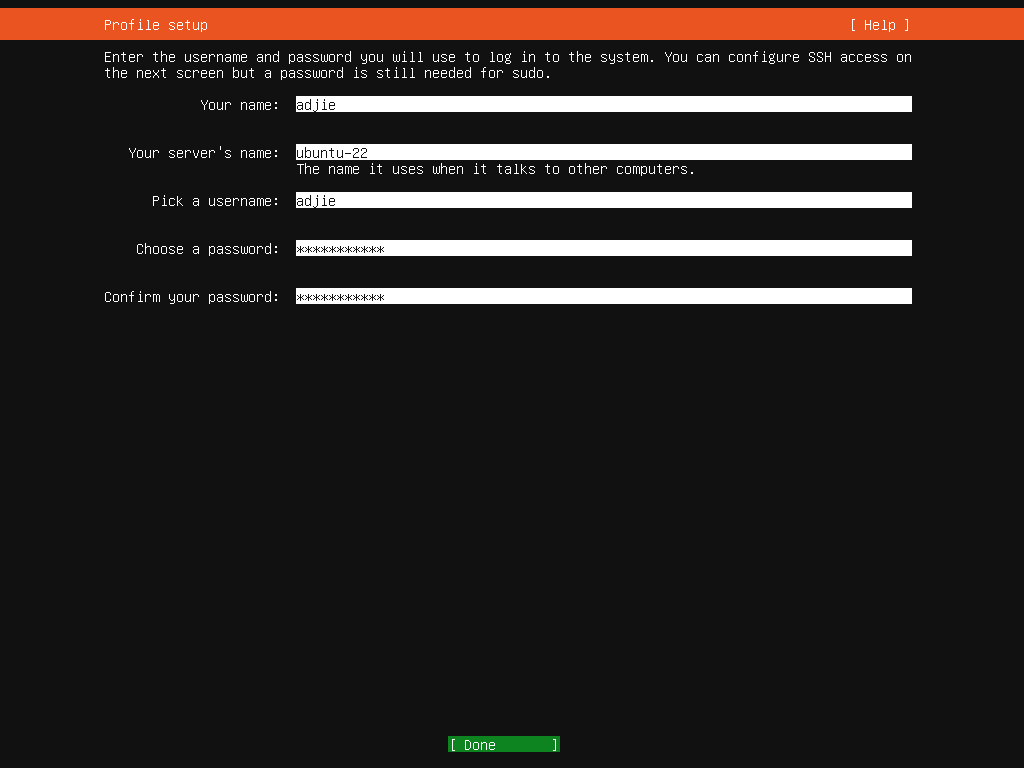
Once the partition has been set, the installer will ask for user profile.
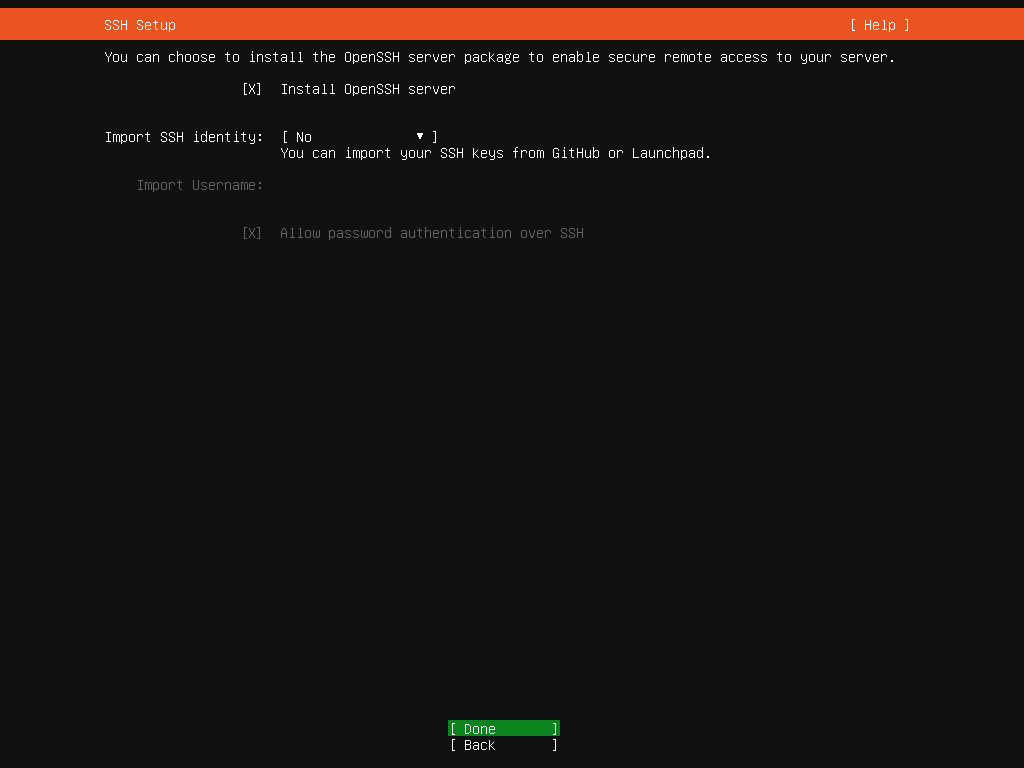
Then it will ask for SSH Setup. I will access this system remotely, so I choose to install OpenSSH server.
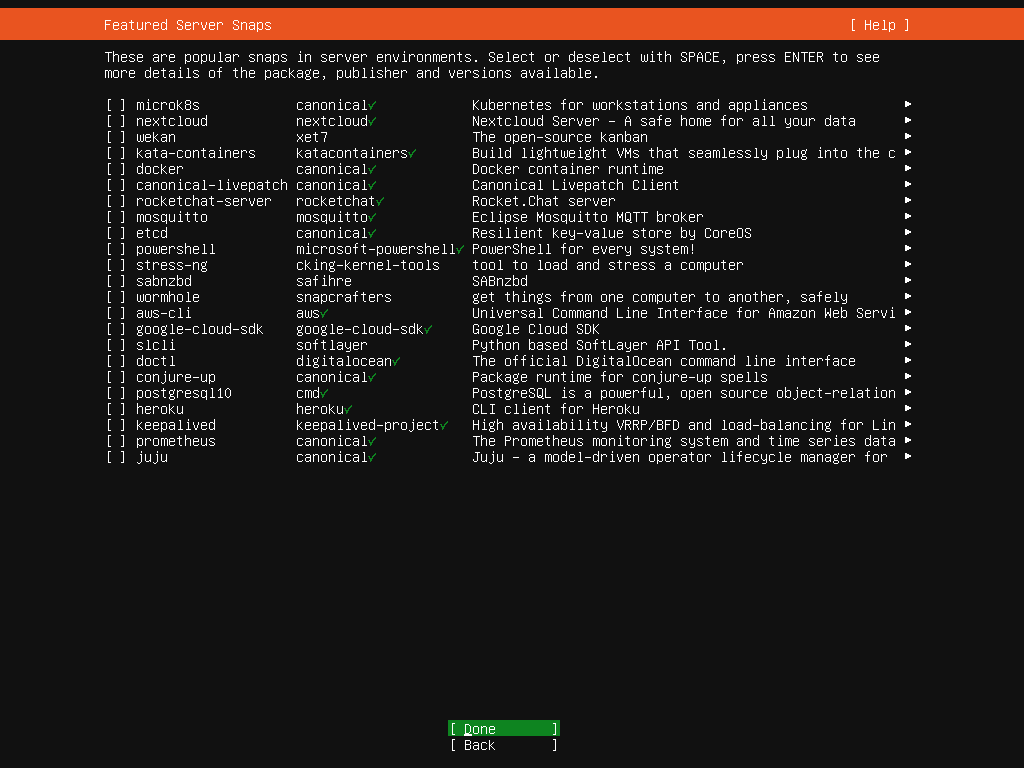
For the last step, the installer will offer you to install server snaps. If you were to run service like Docker, PostgreSQL, Kubernetes, etc. you can install it here.
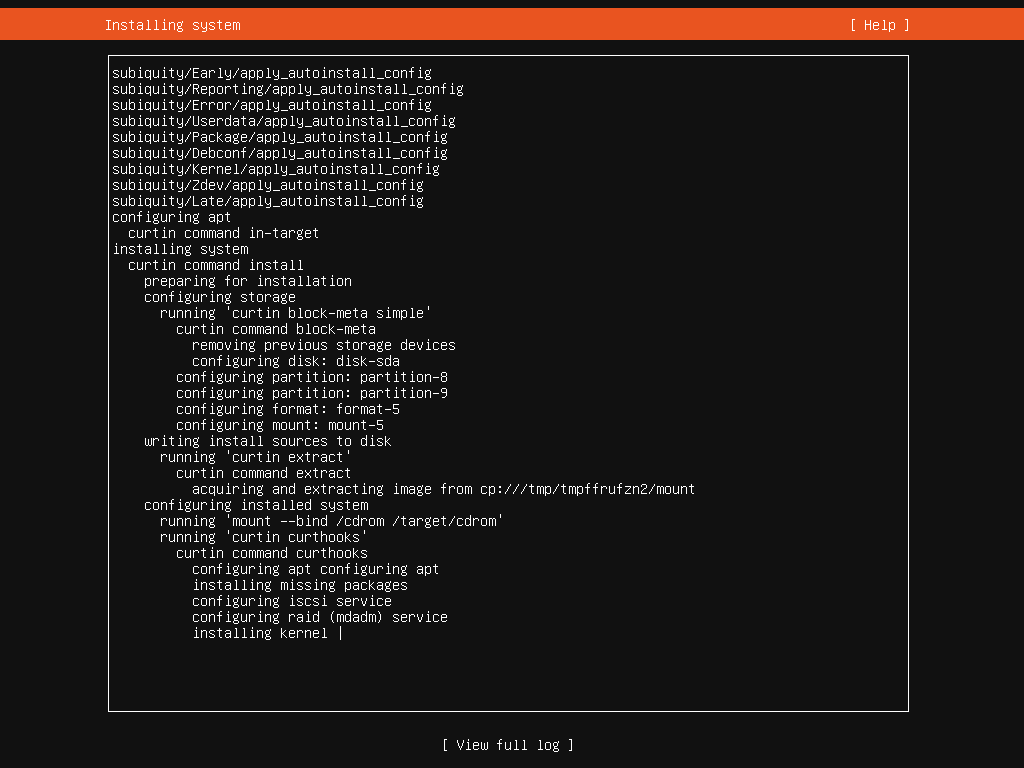
The system will proceed with installation process. This could take a while.
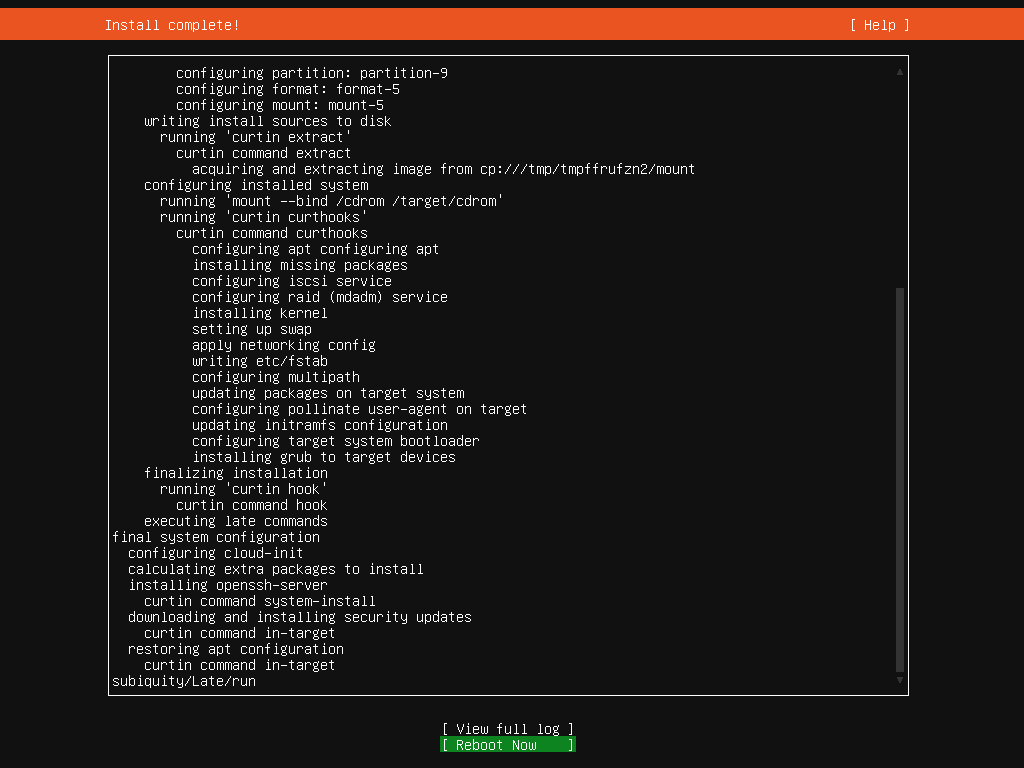
Once the installation process has finished, it will have a "Reboot Now" button in the bottom. As the button suggests, it will reboot your system into our newly installed Ubuntu 22.04 Jammy Jellyfish.
First Boot after Installation
Once the system boot, we can login using credential we've set before.
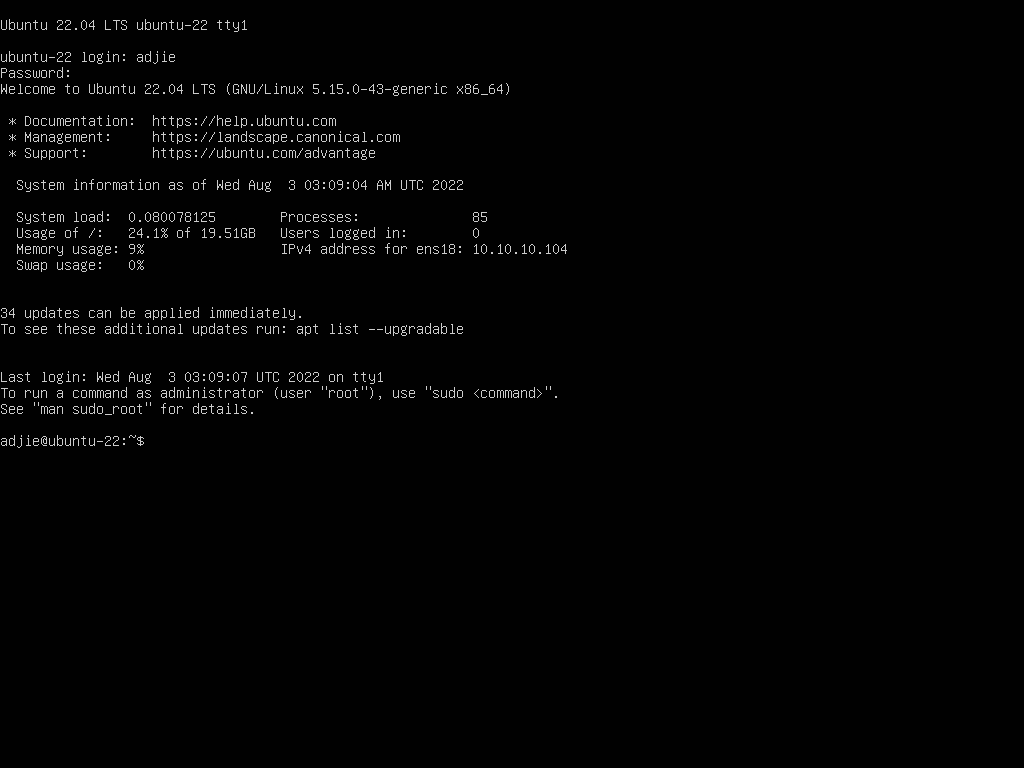
Voila! We've successfully installed Ubuntu Server 22.04 Jammy Jellyfish to our system.
Final Words
I hope that you now know how to install Ubuntu Server 22.04 Jammy Jellyfish. If you run into any issues or have any feedback feel free to drop a comment below.