How to Install XFCE desktop in Ubuntu 22.04 LTS

Xfce or XFCE is a free and open-source desktop environment for Linux and Unix-like operating systems. It is a lightweight, highly customizable desktop environment for the Linux platform.
In my previous article, I wrote a guide to install Xfce to a Ubuntu 20.04 system. Now, we’ll try to install it to a Ubuntu 22.04 system.
Why Xfce?
- Lightweight
– Have you tried to run Gnome on a Core 2 Duo processor recently? If
the answer is yes, I salute you. You're a very patient. As a matter of
fact, this is not the case with Xfce. Due to its simplicity nature, it
will runs fine on old systems.
- Simplicity – For me, when we're running Gnome or KDE, they're very bloated and does not follow the KIS (Keep It Simple) principle. On the other hand, Xfce promotes simplicity from its core. From the placement of icons to the menu bar, everything can be understood in a short period.
- Stability – In terms of stability, instead of releasing a new version every six months, the team behind Xfce believes in a more reliable experience and this is the only reason why Xfce is often paired with Debian because they both bring the same vibe of stability.
XFCE Installation in Ubuntu 22.04 Jammy Jellyfish
To install the XFCE desktop on a Ubuntu 22.04 system we can use the apt
install command.
$ sudo apt install xfce4 xfce4-terminal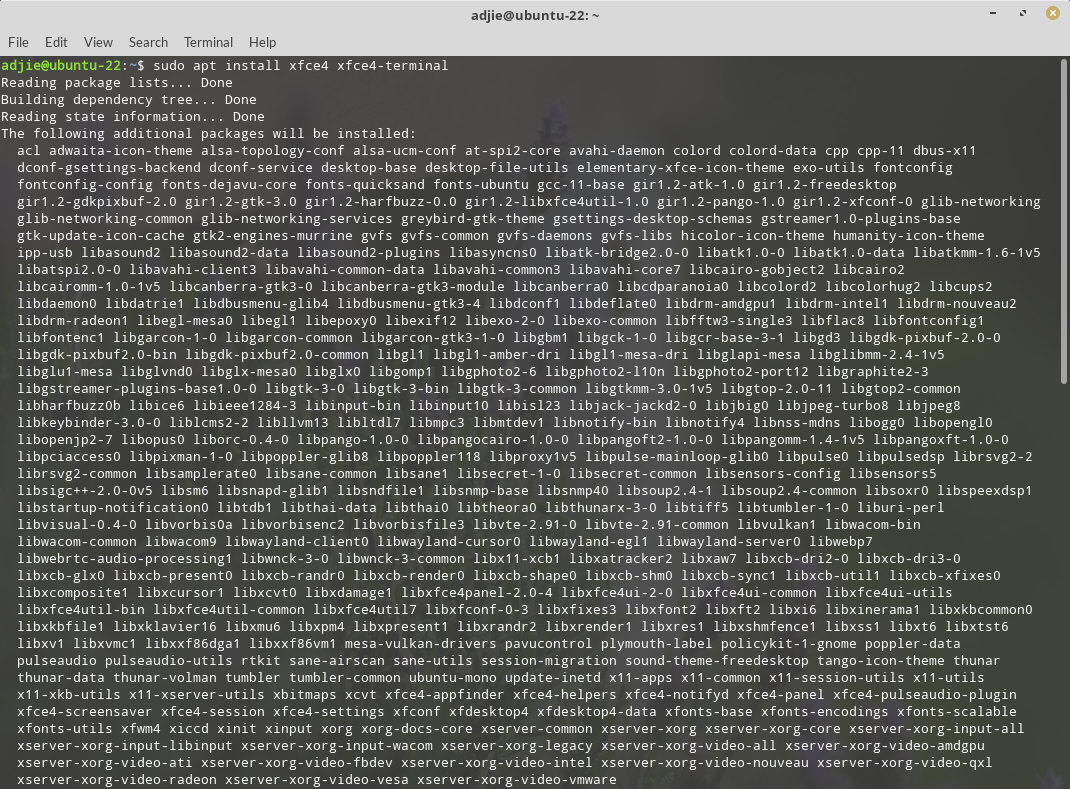
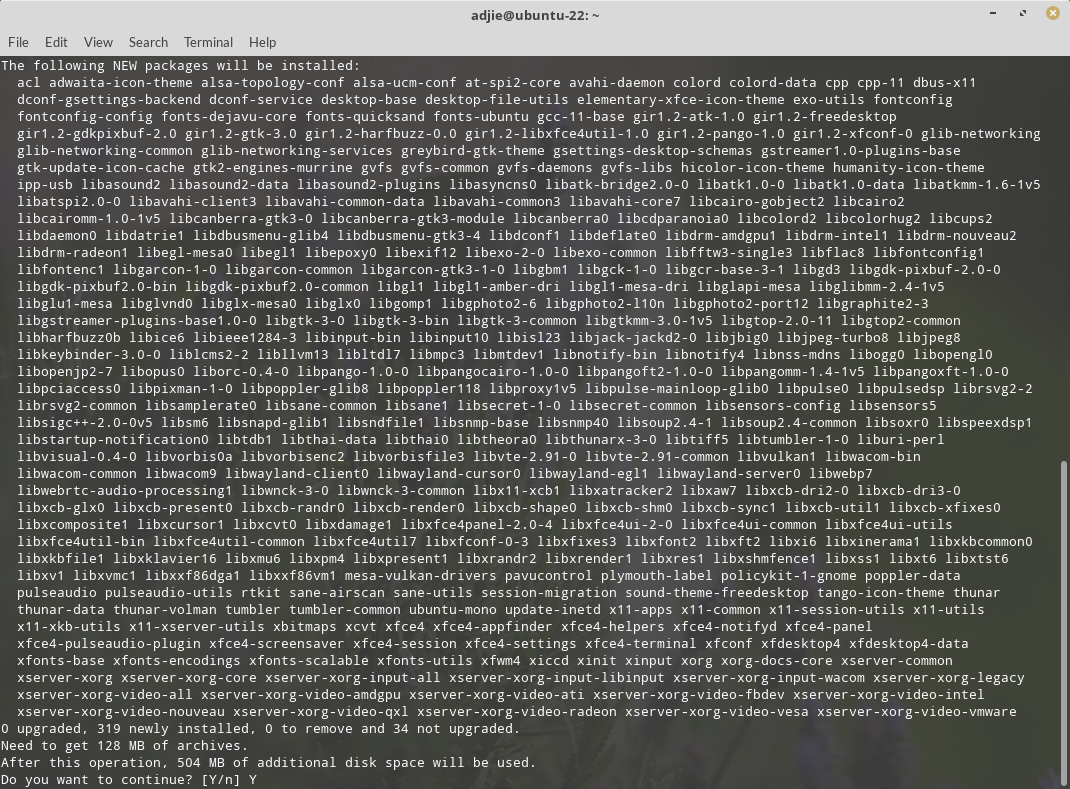
It will ask for confirmation. We can press "Y" followed by "Enter" to continue with installation.
The
system will then downloads all required packages and installed all of
them. This process could take few minutes, depends on your internet
connection speed.
After installation process has finished, we can start our Xfce session using this command:
$ startxfce4After issuing the command, within a few seconds your screen should look like this:
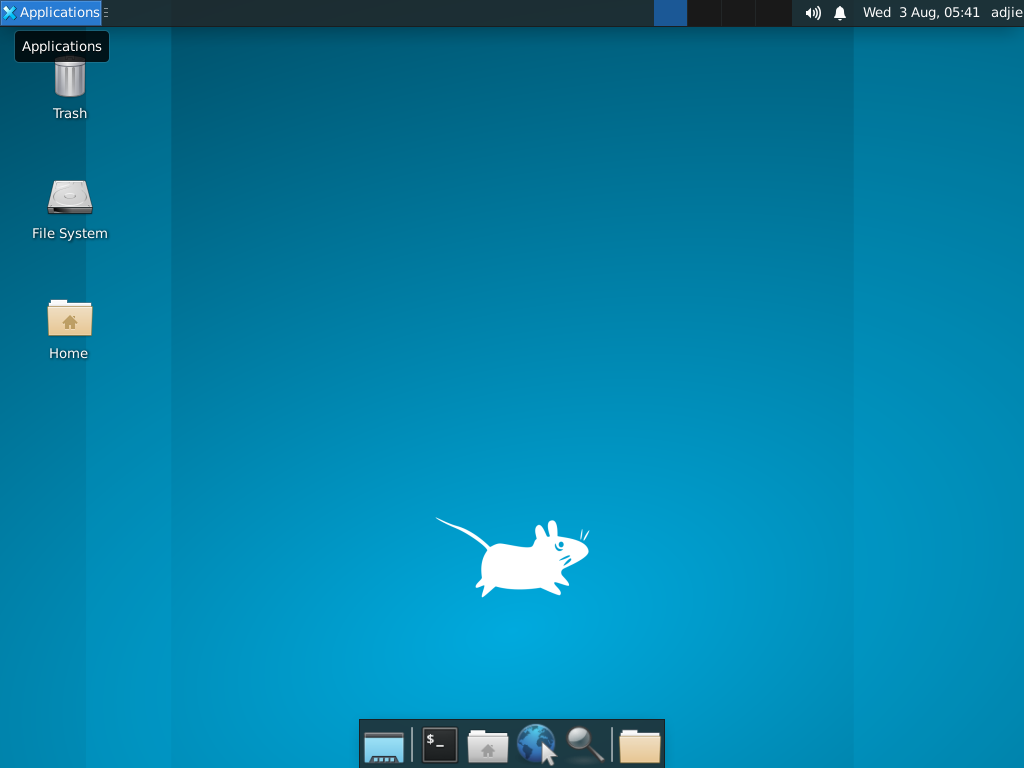
Congratulations! At this point, we have successfully installed Xfce into our system.
Install Display Manager
If you'd like to start X every time you turn on the machine, you can use a display manager. There are some display manager available: LightDM, XDM, GDM, etc. For the sake of this article, I'll use LightDM.
$ sudo apt install lightdm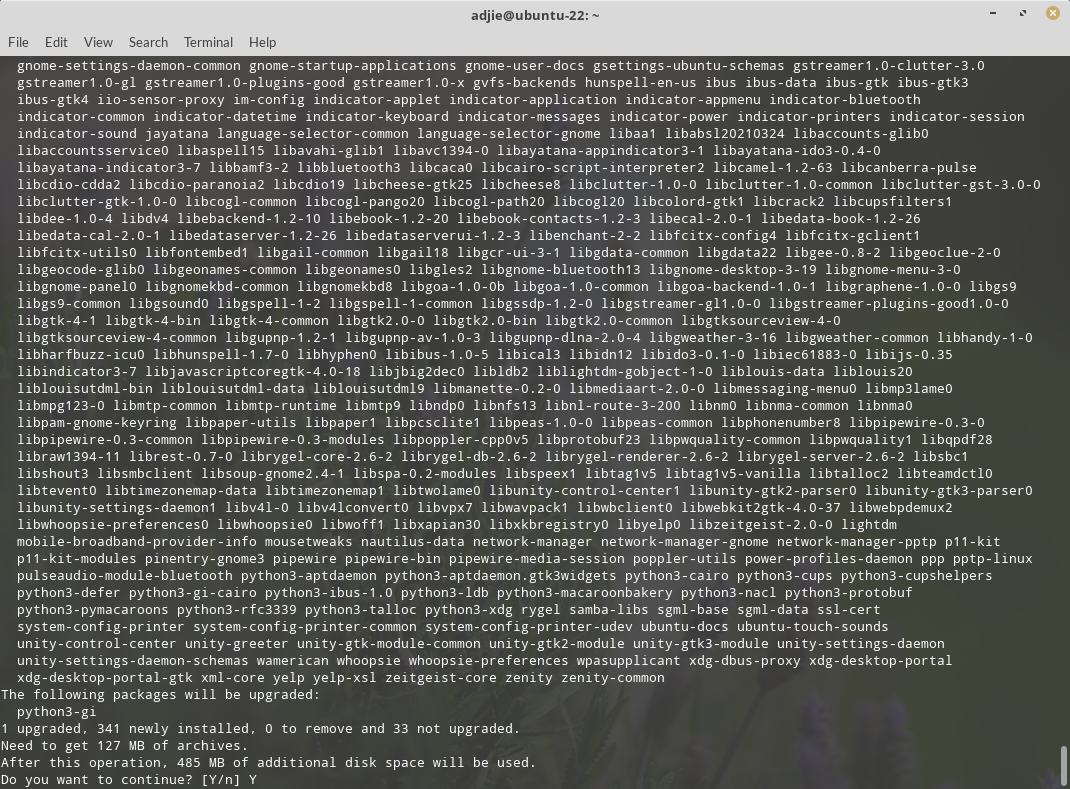
In the middle of the installation process, it may ask for restarting outdated daemons. I chose to restart all of them.

Once the lightdm installation has finished, we need to change some configuration before restarting the
machine. This is necessary because lightdm in Ubuntu repository is that it’s configured for Unity, the old default Ubuntu desktop environment. So, now, let’s config LightDM for Xfce.
$ cd /usr/share/lightdm/lightdm.conf.d
$ sudo mv 50-unity-greeter.conf 50-unity-greeter.conf.old
$ sudo vi 50-xfce-greeter.conf
Fill the file with these lines:
[SeatDefaults]
greeter-session=unity-greeter
user-session=xfce
Save the file and now we're ready to restart the system.
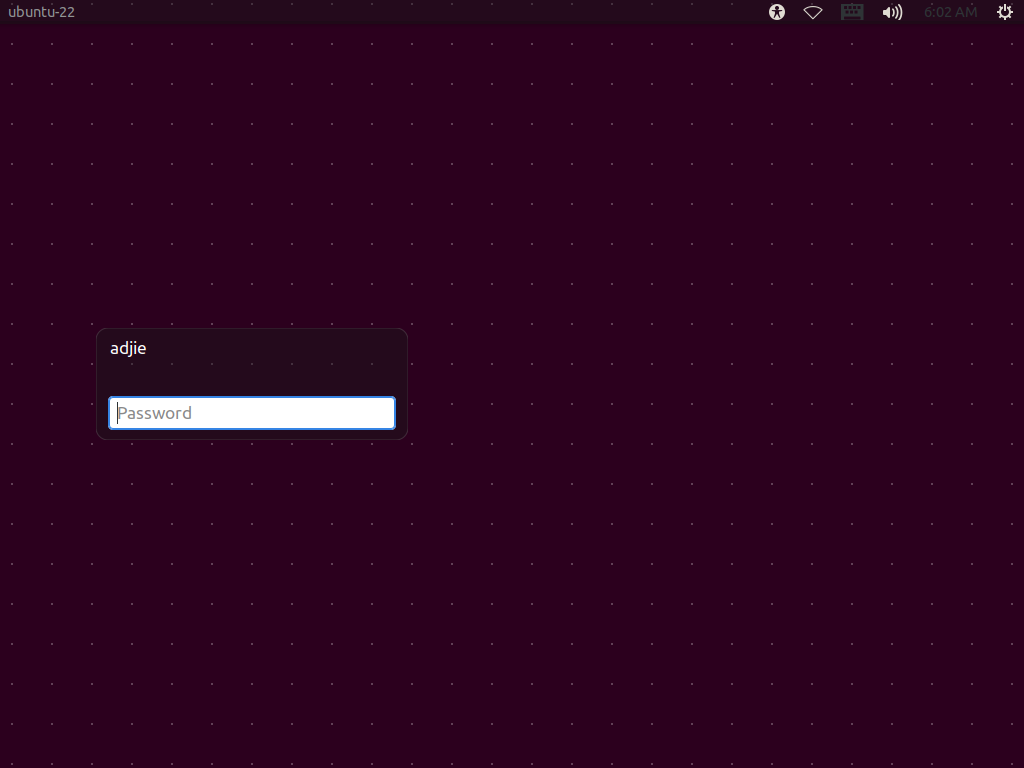
$ sudo shutdown -r nowOnce the system back online, you'll greeted by a login screen. Login using your credential as usual.
Welcome to your new XFCE 4 Desktop.
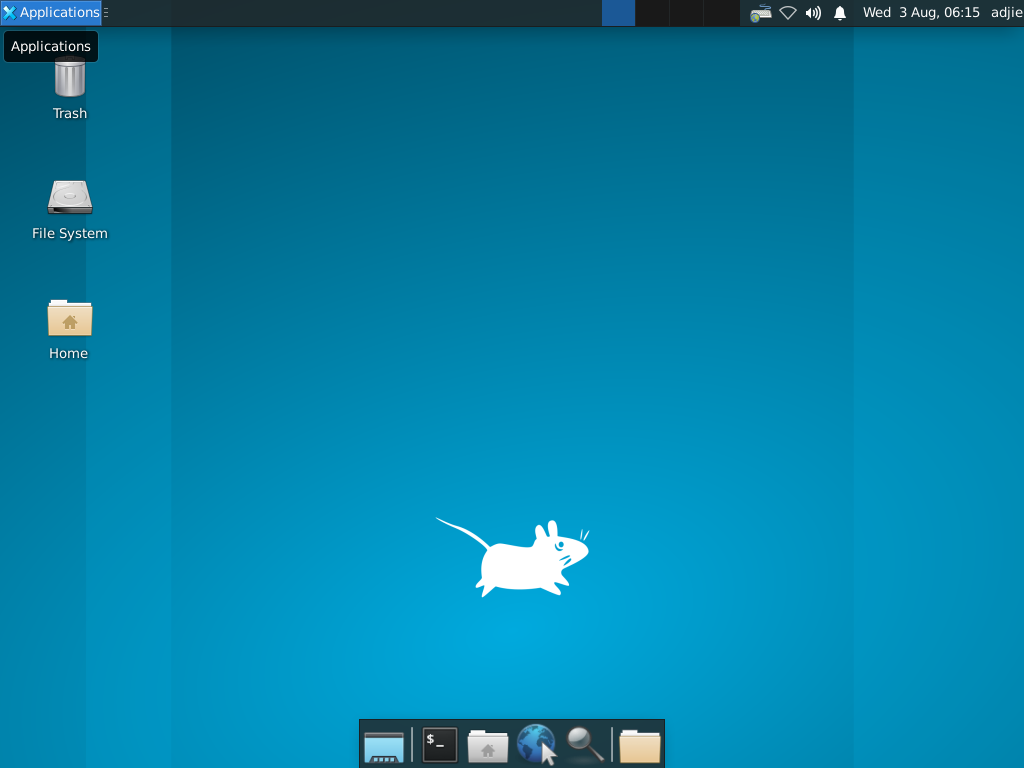
Voila! We've successfully installed XFCE 4 to our Ubuntu 22.04 LTS system.
Final Words
I hope that you now know how to install XFCE 4 in Ubuntu 22.04 Jammy Jellyfish. If you run into any issues or have any feedback feel free to drop a comment below.