How to Install Android in VirtualBox
Android is a mobile operating system developed by Google. It is based on a modified version of the Linux kernel and other open source software, and is designed primarily for touchscreen mobile devices such as smartphones and tablets. In addition, Google has developed Android TV for televisions, Android Auto for cars, and Wear OS for wrist watches, each with a specialized user interface. Variants of Android are also used on game consoles, digital cameras, PCs and other electronics.
According to a Statistica's estimate, Android smartphones had an installed base of 1.8 billion units in 2015, which was 76% of the estimated total number of smartphones worldwide. According that number, it make sense that everybody is looking forward to test or use it somehow. For this purpose, there is an online project that is porting Android to x86 based system called Android-x86.
As the time of this writing, the most recent recent version can be downloaded to install and run on PC is Oreo. In this tutorial, I will share how I install Android on your PC without disturbing your current OS setup. We'll install it on VirtualBox, a freely available virtualization software. If you haven't installed it, you can figure how to install VirtualBox here.
Prerequisites
Before we get started, make sure these things are ready:
- VirtualBox installation and virtualization enabled on your BIOS/UEFI.
- Android-x86 ISO.
- Fire up a new tab on your browser and open android-x86 project site. Click on "Download" button.
- You'll need to choose mirrors. Pick whichever closest to your location.
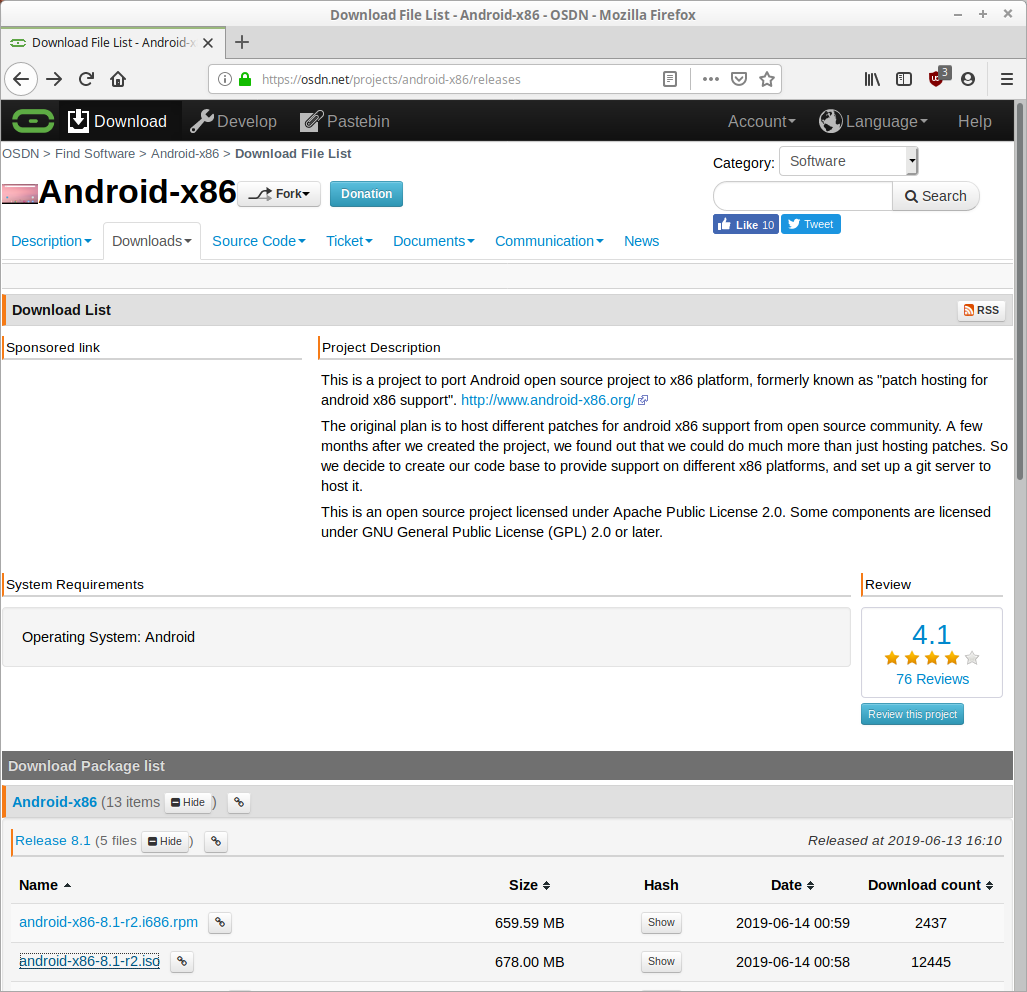
- In my case, I use OSDN. If you use another mirror, it should be similar. Choose your prefered Android version.
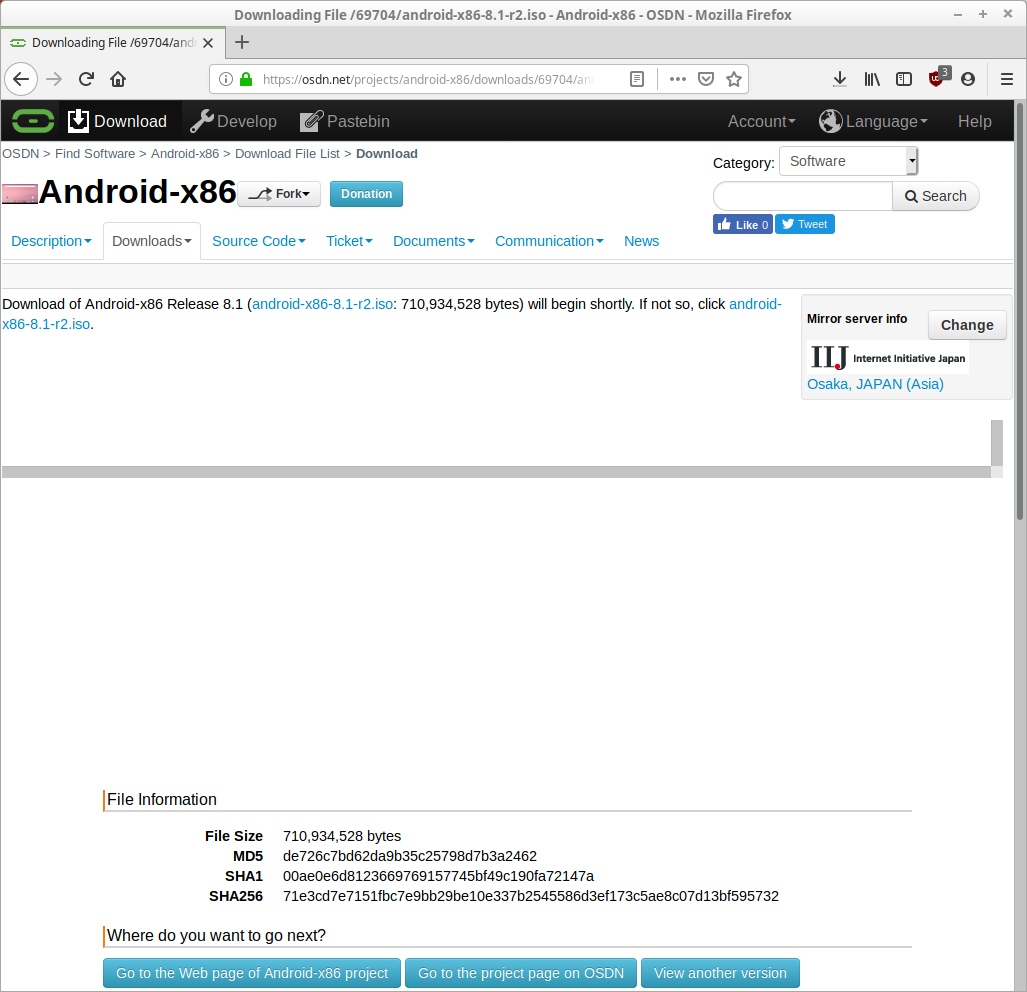
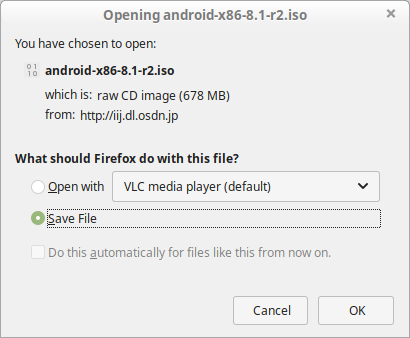
- Download dialog should appear like below. Choose "Save File" and press "OK" button.
- Once the download finished, check its MD5 hash. It should match with one mentioned on the download page. On your terminal, type this command:
$ md5sum /path/to/your/downloaded/android-x86-iso
Both hashes should be identical like this: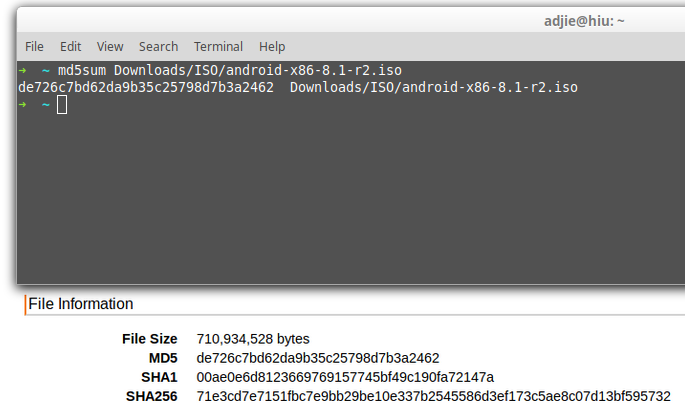
- Fire up a new tab on your browser and open android-x86 project site. Click on "Download" button.
Now we have all required materials to install Android on your PC. Let's create a new Virtual Machine for our Android system.
Create Android Virtual Machine on VirtualBox
Open VirtualBox and create a new virtual machine by following the onscreen wizards with the following configurations:
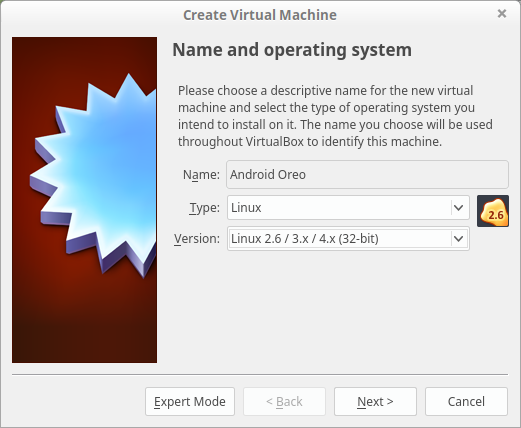
- Name: <Use any name>
- Type: Linux
- Version: Linux 2.6/3.x/4.x (32-bit)
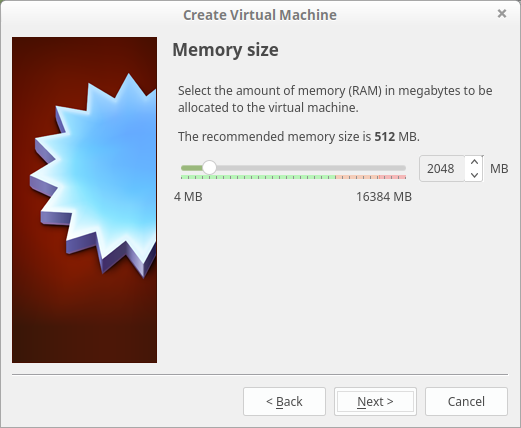
- Memory size: 2048 MB
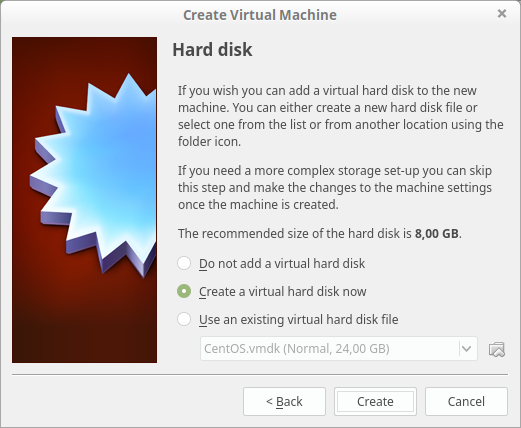
- Harddisk size: 4 GB
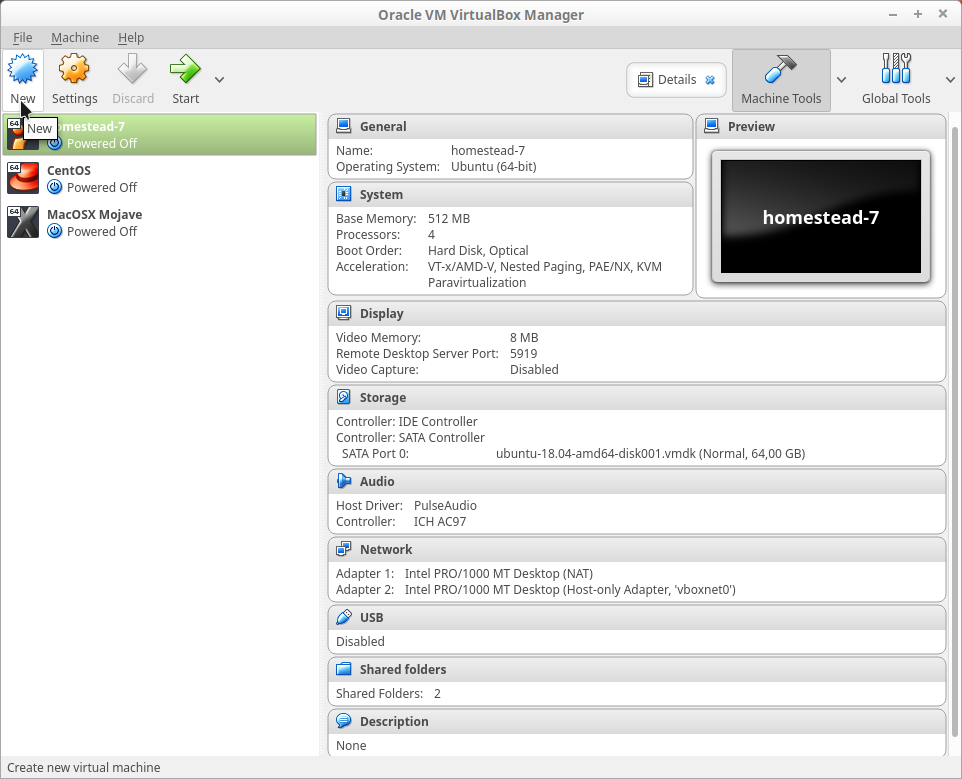
- Open VirtualBox application and click "New" button.
- Fill new Virtual Machine details with data mentioned above.
- Set memory size for our new Virtual Machine.
- Create virtual harddisk.
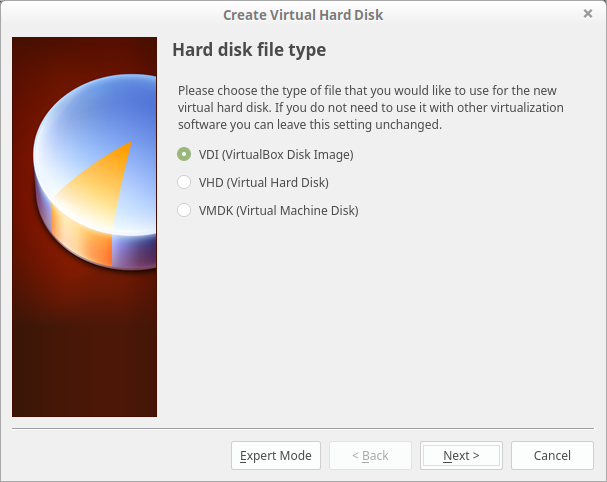
- Choose VDI if you don't want to share or use it with another virtualization software. But if you do:
- VMDK is used by VMware.
- VHD is used by Microsoft VirtualPC.
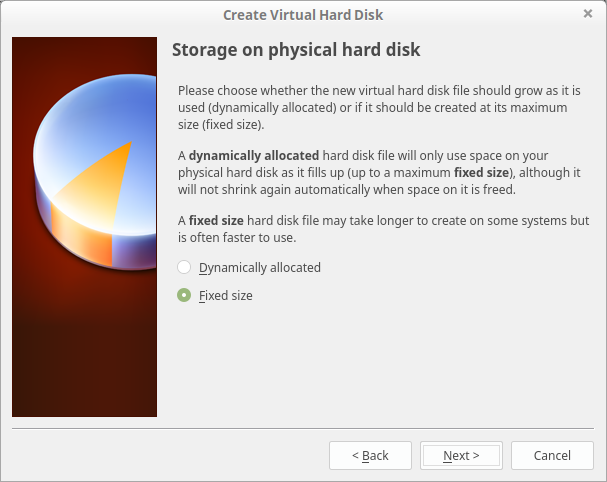
- Next is choosing whether storage file should go as it is used or fixed. You can choose whichever works for you. I choose fixed size on my setup.
- Finally set the storage filename, its location on your host system and its size. Press "Create" button when it's done.

Congratulation, your Android Virtual Machine successfully created. Now it's time to install Android Oreo on it.
Install Android on VirtualBox's Virtual Machine
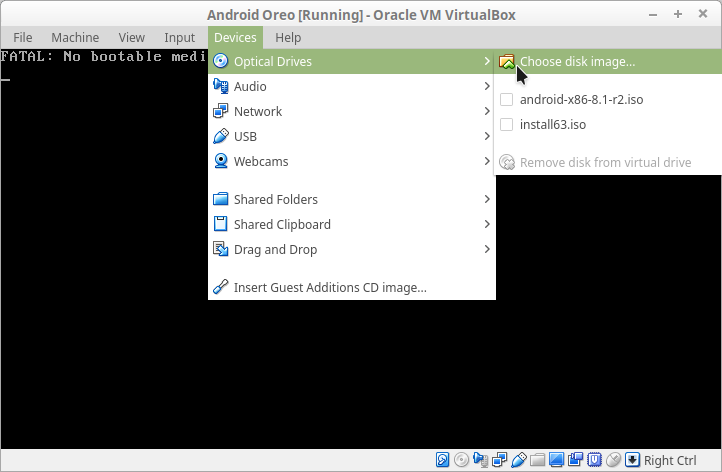
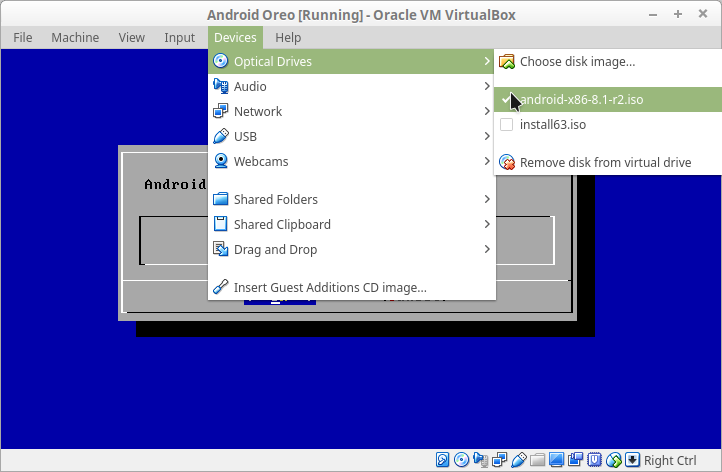
When the machine starts up, point it to the Android ISO we've downloaded before. It should allow us to choose this as soon as we fire it up. But if not, no worries. Click on Devices > Optical Drives > Choose Disk Image and select our downloaded Android ISO file. Then restart the virtual machine using Machine > Reset.
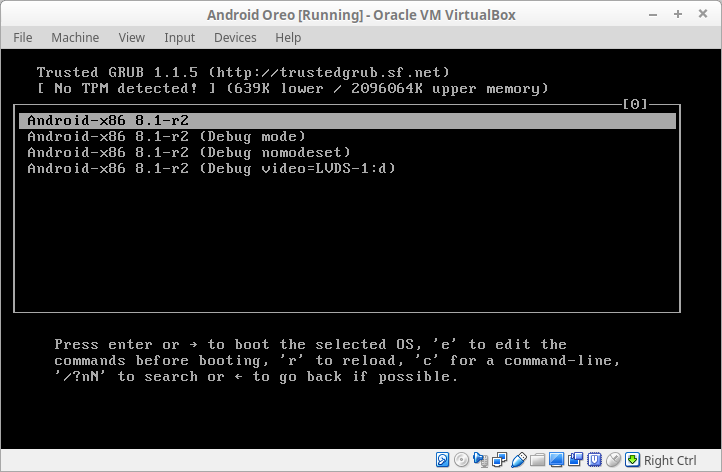
After reset the Virtual Machine, you should see something similar like this:
NOTE: When you click on the VirtualBox window, it will automatically capture the mouse and keyboard. To release the mouse and keyboard, just press the "Right Ctrl" key on the keyboard.
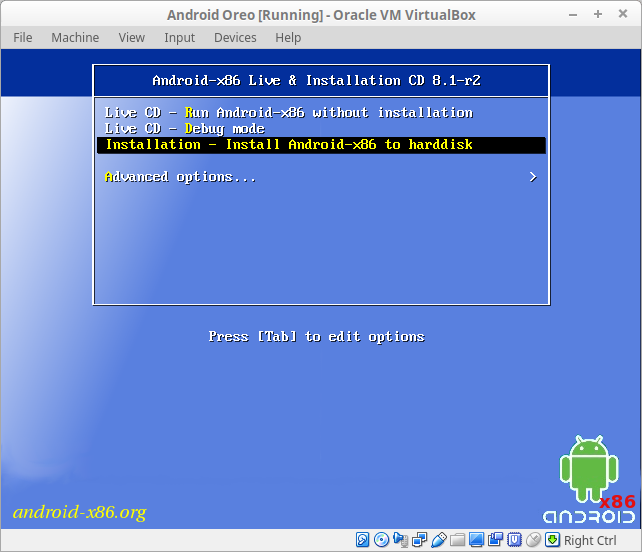
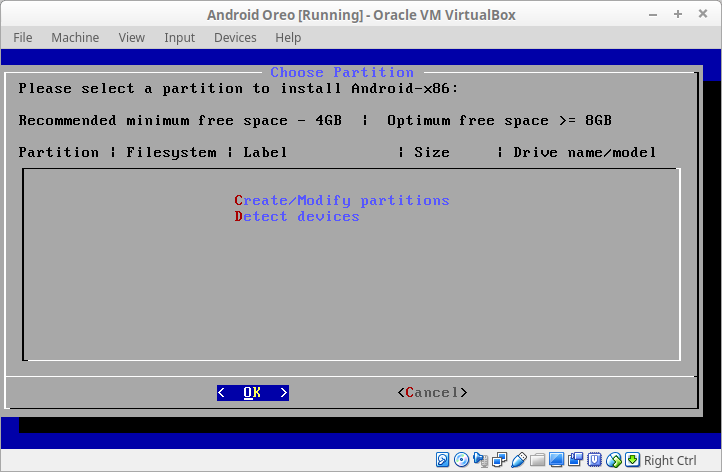
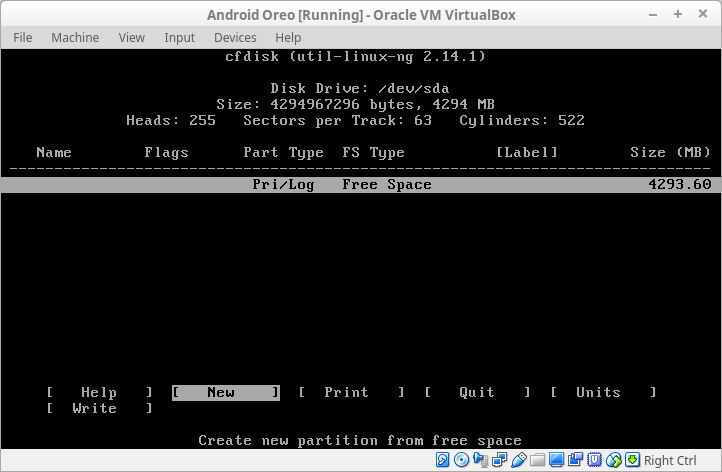
Now, navigate (use ↑ or ↓ keys) to the last option where it says "Installation – Install Android-x86 to Harddisk" and hit the Enter key. The installation process would start immediately. You need to create a partition for the Android installation. Simply choose "Create/Modify partitions" option.
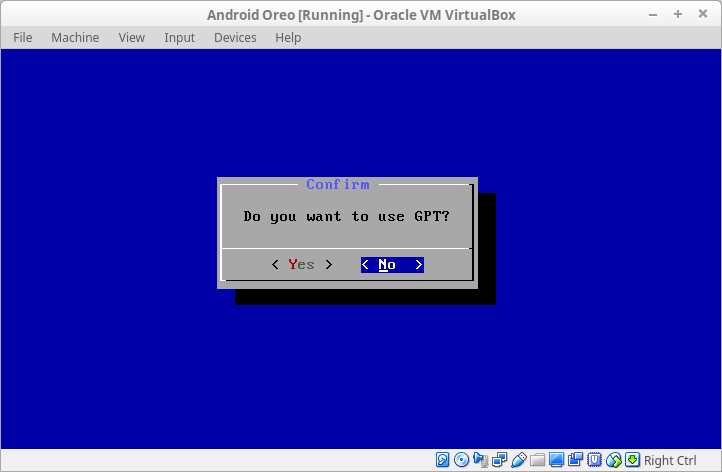
Choose "Create/Modify partitions" menu and when the confirmation screen shows up says whether use GPT or not, just choose "No".
Now, a black screen appears. Select "New" using the arrow keys (← , →) from your keyboard and hit the Enter key to create a new partition at the free space.
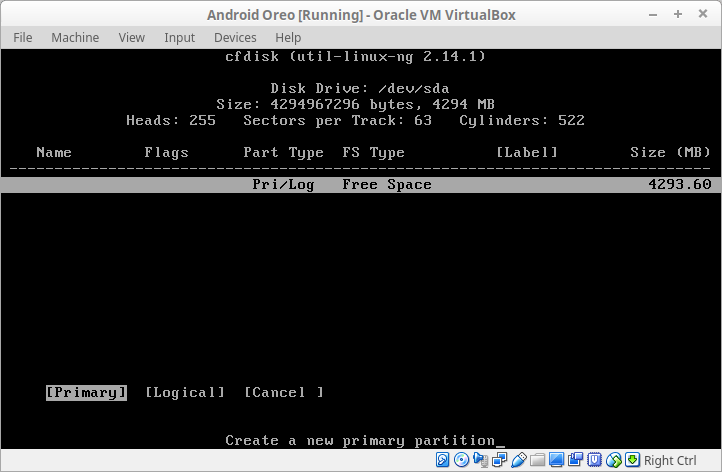
Highlight the "Primary" option and hit the Enter key.
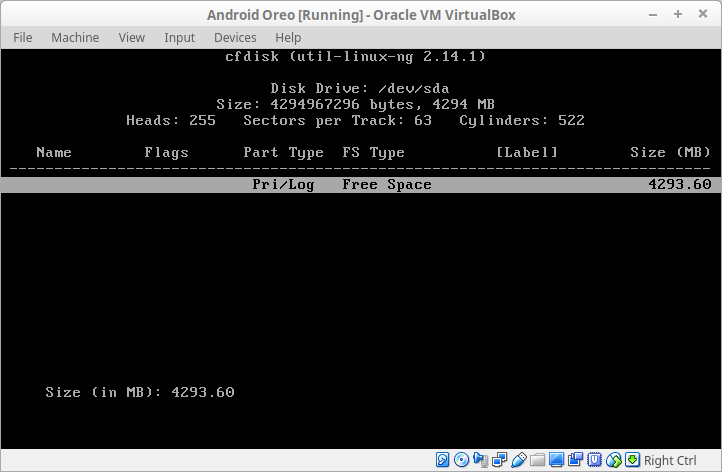
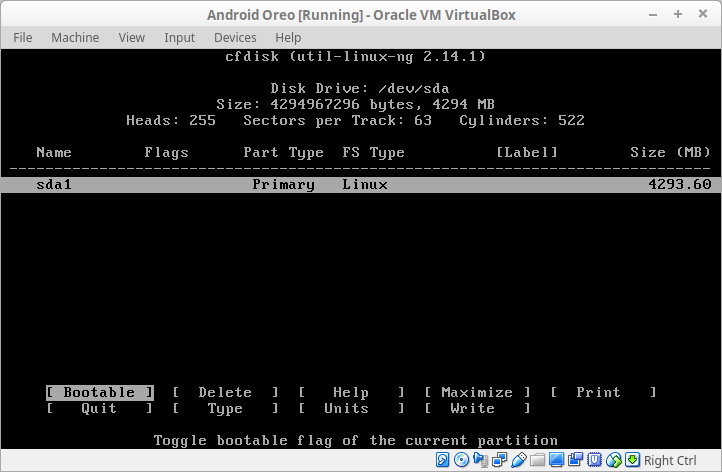
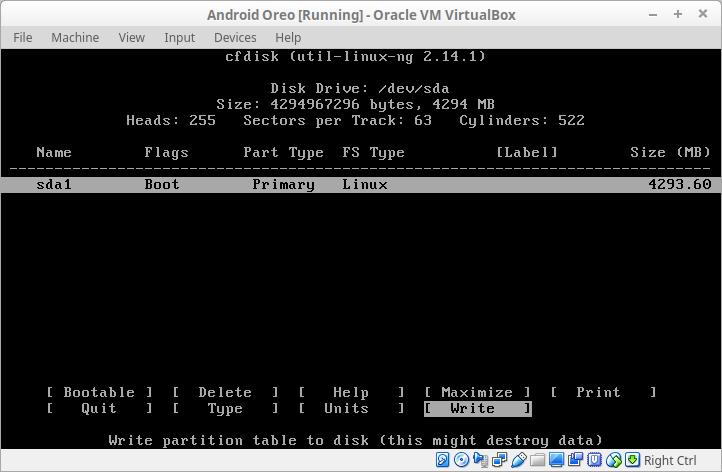
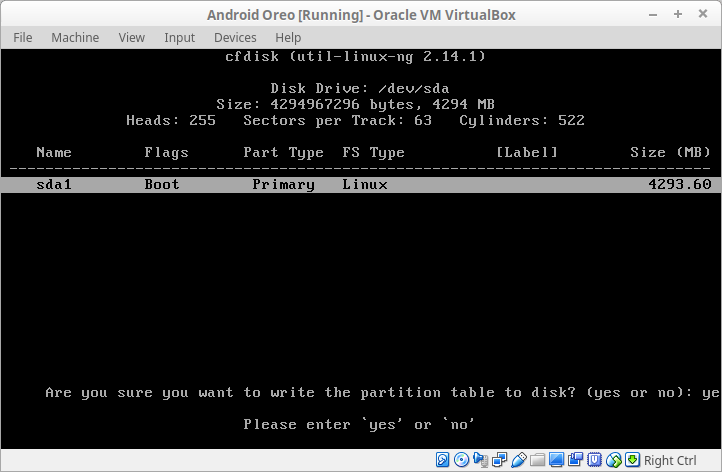
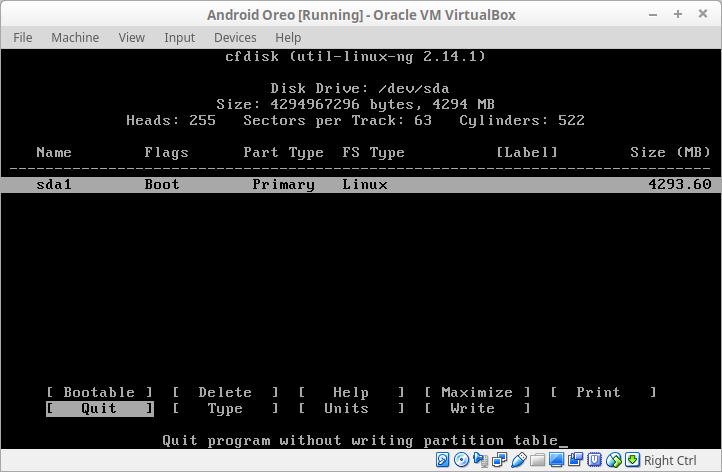
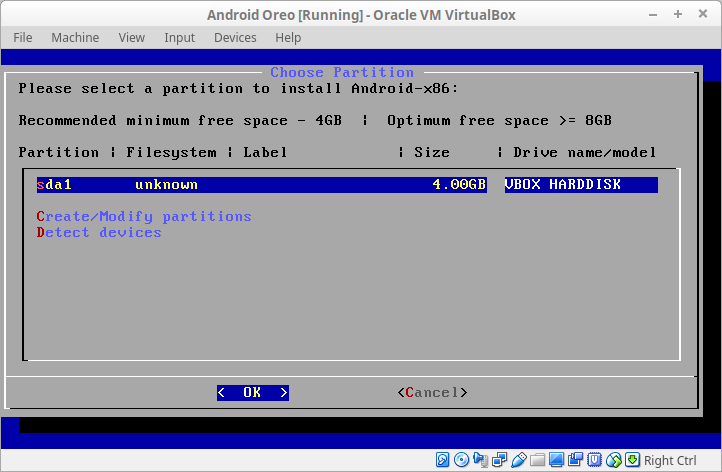
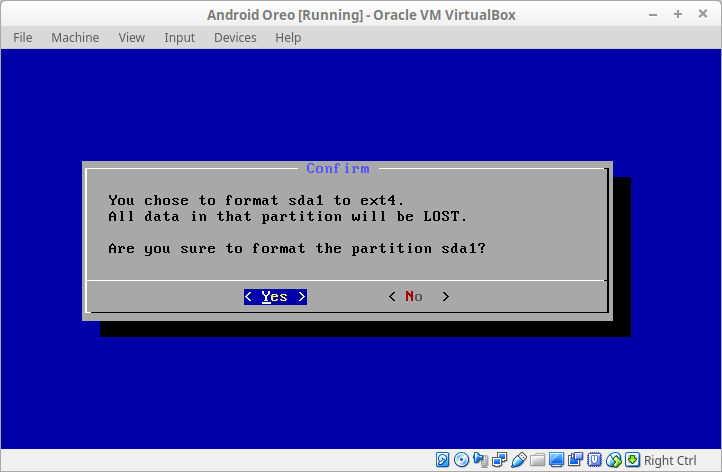
This will ask you to enter the size of the partition. Hit the "Enter" key again to allocate the full space for the partition. Now choose "Bootable" and hit Enter again. Now, move to the "Write" option and hit Enter. This will ask you to confirm the formatting process. Simply, type "yes" and hit Enter. Once the writing job is done, highlight the "Quit" menu and hit Enter to quit from partitioning application. This time you will see the partition that you’ve just created at the top of the screen. It will be selected by default. Hit the Enter key to start installing Android onto this partition.
Select the ext4 as the file system and hit the Enter and select "Yes" to confirm. Hit the Enter key again.

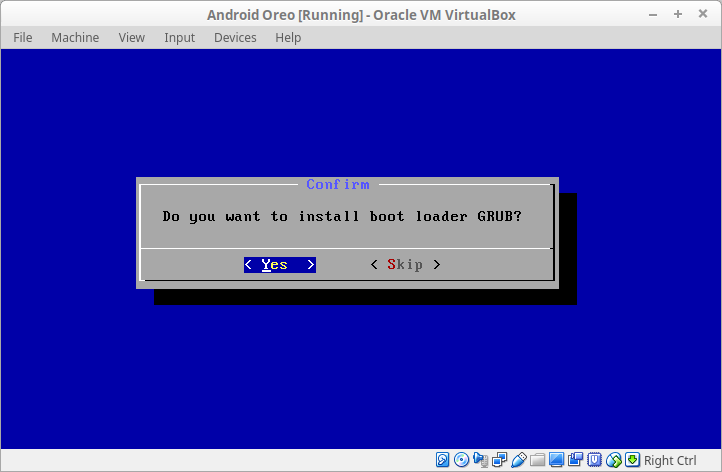
Now it will start formatting and after completion, it will ask for whether you want to install boot loader GRUB. Select "Yes" and hit the Enter key.
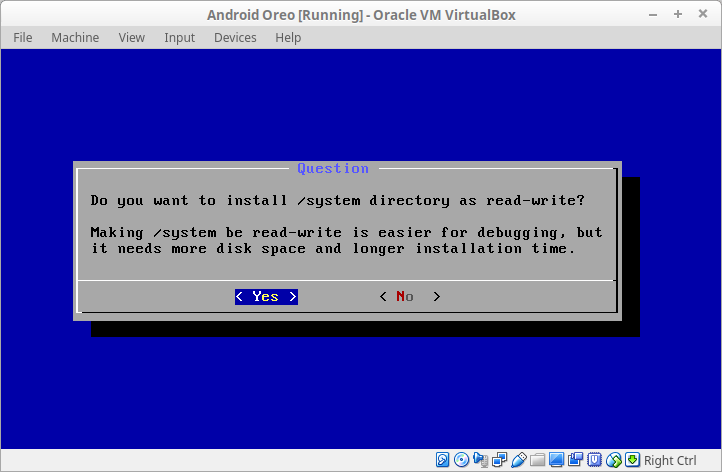
Choose "Yes" to make the /system folder re-writable.
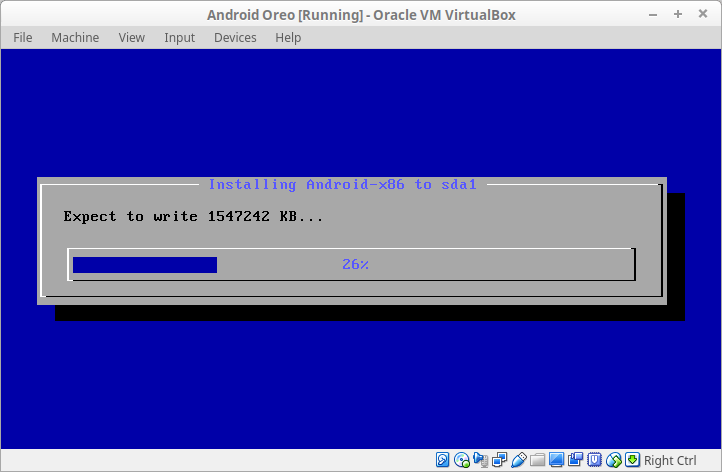
Installation will start and you'll see something like this:
Once everything is finished, you can choose to reboot into Android or reset. Either option is fine, just don’t forget to unmount the ISO file first. Otherwise it’ll just boot right back into the installer.
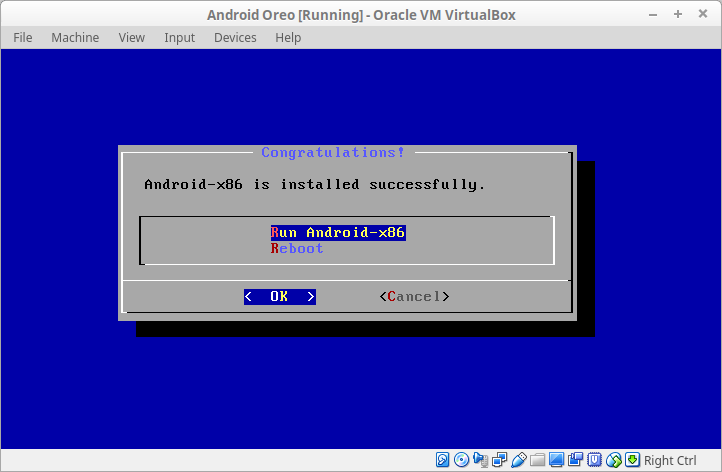
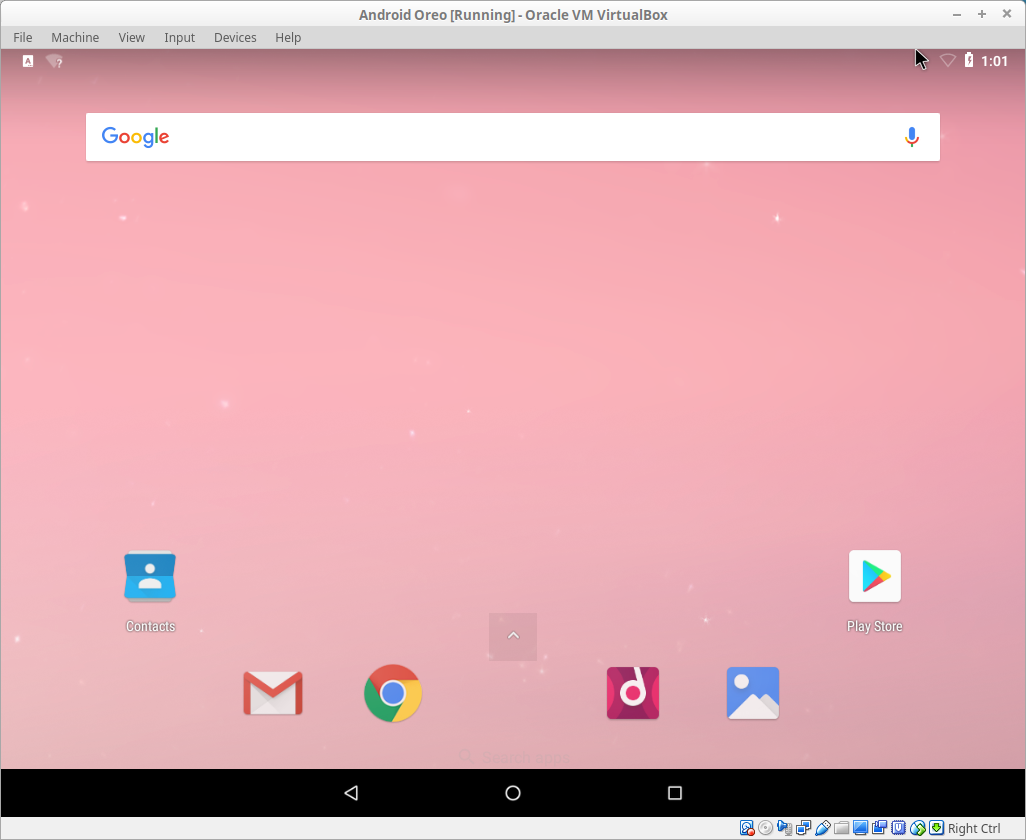
Now the Android has been installed successfully as guest OS on your VirtualBox. You could start it from your VirtualBox Manager.
Run Android in VirtualBox
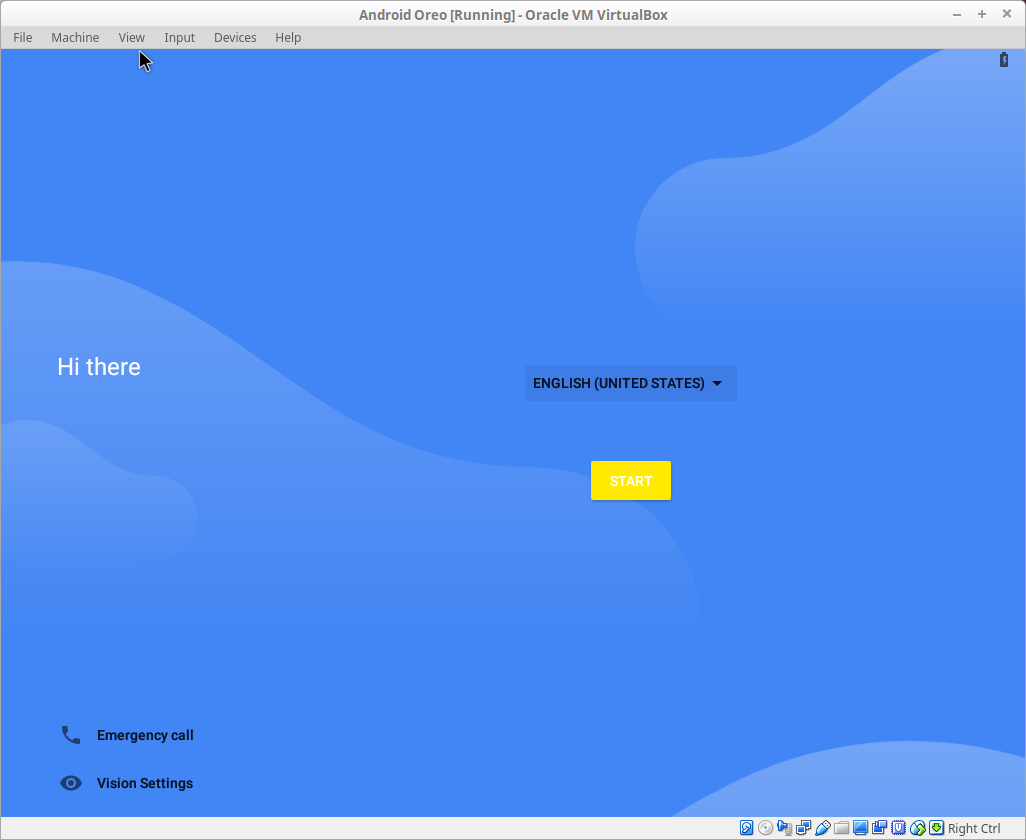
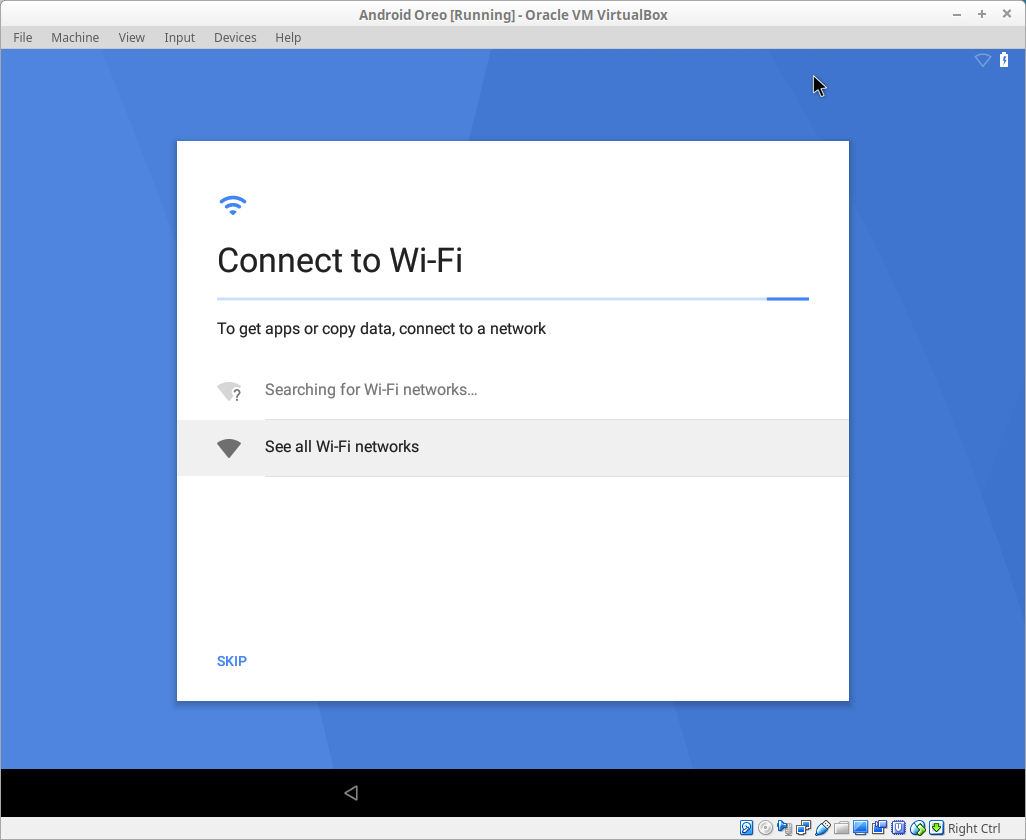
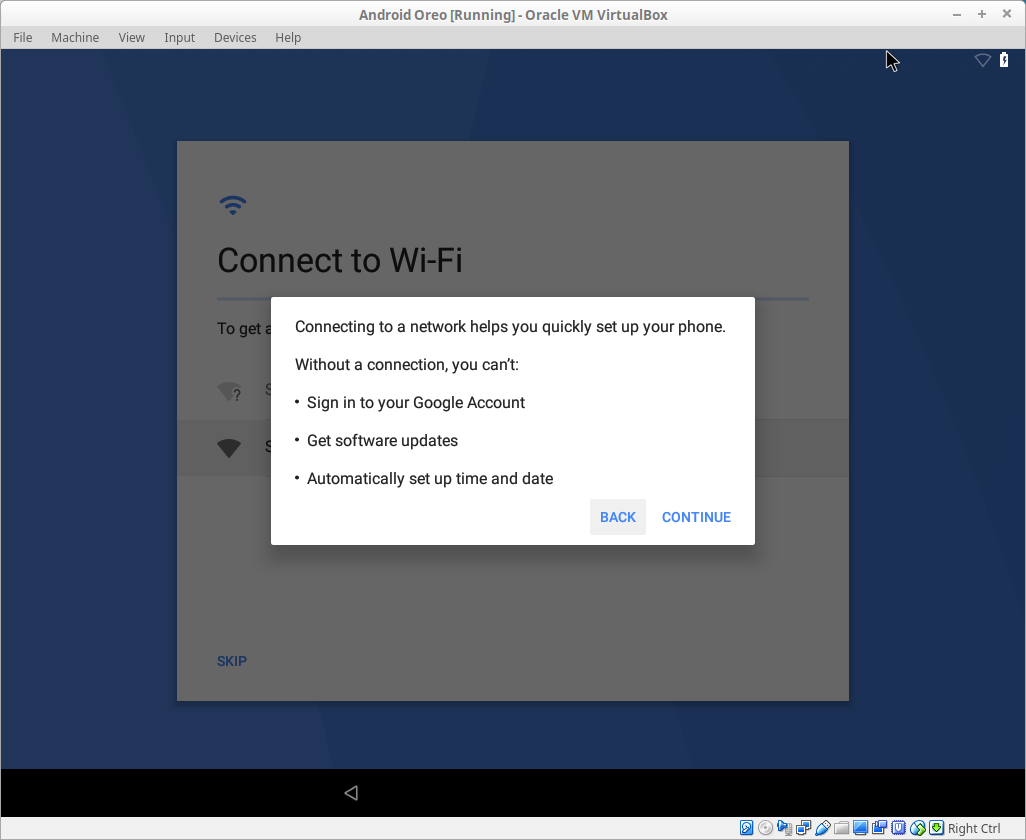
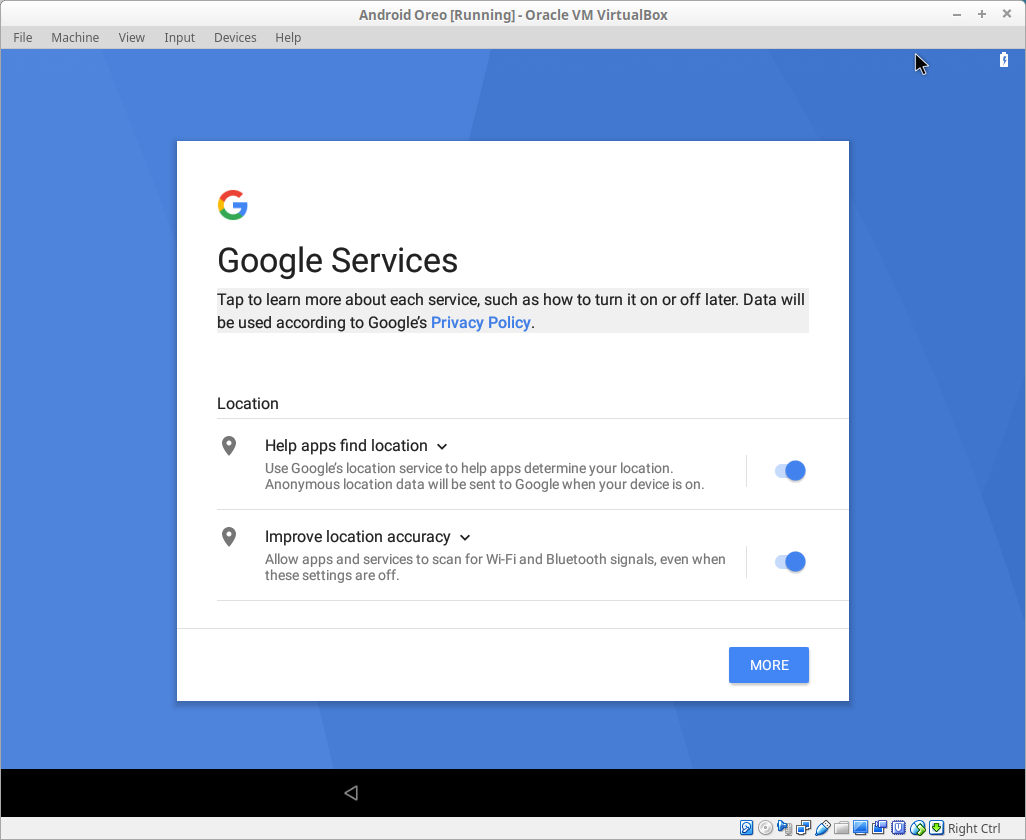
Just like everytime we run Android for the first time (either bought a new device or just did a factory reset), we'll need to choose the language and go complete the installation wizard. At some point you will be asked for turning the Wi-Fi on. You can skip this right now, just complete the installation wizard first.
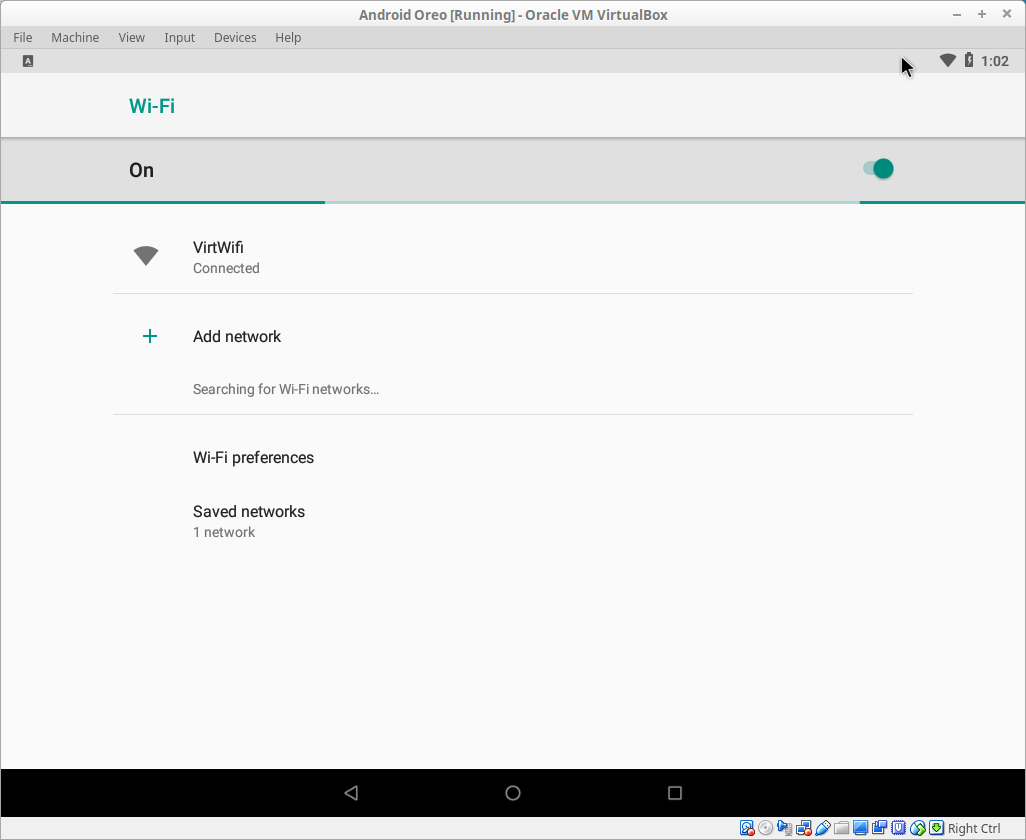
After installation wizard completed, you should see an access point called "VirtWifi". If not, just wait for few minutes.
NOTE: Please keep in mind that we're running Android on virtual machine, so what we see as Wifi (VirtWifi) is actually a virtual wifi. It connects our Android with internet using PC's internet connection.

Conclusion
I hope that you now know how to install Android on VirtualBox. If you run into any issues or have any feedback feel free to drop a comment below.
merhaba öncelikle acıklayıcı sekilde paylaşım yaptgınız icin teşekkür ederim eski asus atom işlemcili leptabıma yükleme yaptım.Wifi aglarını önce hepsini normal olarak görüyor du sorun yoktu daha sonra baglantı gittin vırtwifi cıktı baglan dedigim zaman baglanıyor diyor ip adresi alınıyor diyor baglantı hatası deyip kapanıyor yazılımsal olarak düşünüp farklı bi android yükledim ama sonuz degişmedi üc yada dört farklı sürüm denedim yardımcı olursanız sevinirim.