How to Install Ubuntu 20.04 Focal Fossa Server

On Thursday, April 23rd, 2020, Canonical Ltd, the makers of Ubuntu Linux distribution officially released the long-awaited Ubuntu 20.04 version code-named “Focal Fossa”, it is an LTS (Long Term Support) version based on Linux kernel series 5.4, for which maintenance updates will be provided for 5 years until April 2025 and it will reach end-of-life in 2030. This article will walk you through the process of installing Ubuntu 20.04 Server with Long Term Support on your machine.
Before you start, make sure to back up every file that is now on your system. Even after backing up, be careful and think about your answers and actions. Two minutes of thinking can save hours of unnecessary work.
If this is the first time a non-native operating system is going to be installed on your computer, it is quite likely you will need to re-partition your disk to make room for Ubuntu. Anytime you partition your disk, you run a risk of losing everything on the disk, no matter what program you use to do it. The programs used in the installation are quite reliable and most have seen years of use; but they are also quite powerful and a false move can cost you.
For a quick overview, here's the installation steps:
- Gather information about your computer and any needed documentation, before starting the installation. Something like how to access your machine's BIOS, etc.
- Download Ubuntu 20.04 ISO Image from Ubuntu server.
- Set up USB sticks to boot the installer from.
- Boot the installation system.
- Select the installation language, keyboard layout,
- Activate the ethernet network connection, if available.
- Set mirror repository.
- Storage configuration.
- Profile setup.
- Watch the automatic download/install/setup of the base system.
- Load the newly installed system for the first time.
Download Ubuntu 20.04 ISO Image
In this article I will download Ubuntu 20.04 from Ubuntu's official page.

As we will install the Server version, choose the 64-bit PC (AMD64) server install image.
Bootable Media Setup
Once you have downloaded the Ubuntu 20.04 ISO image and verify its integrity, create a bootable USB drive using LiveUSB Creator (e.g Unetbootin). If you're on Linux like me, you can use dd utility. You can check my article if you need more detailed instruction about how to create live USB in Linux.
Boot the Installer Media
Insert the bootable USB into the available slot on your machine. Start the computer and open the BIOS to check your computer's boot sequence. Make sure your USB drive is selected as first boot device.
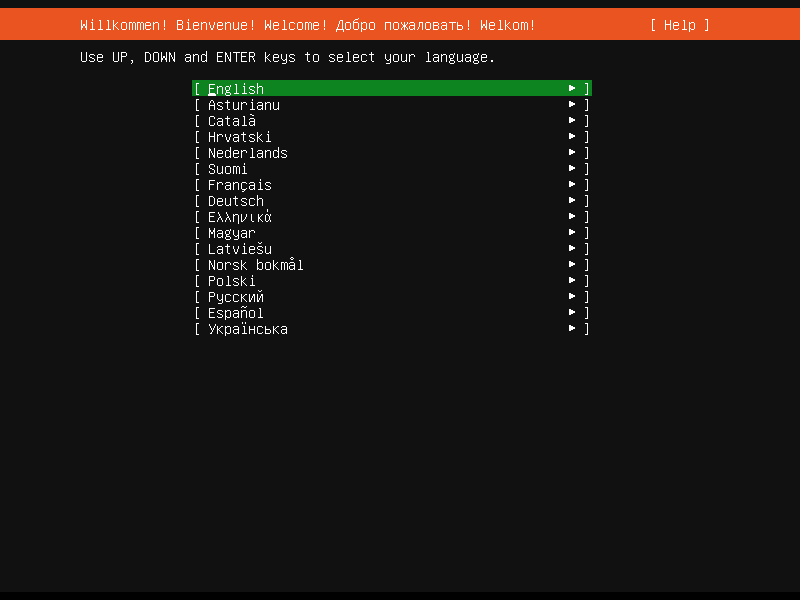
Language Selection
Once the system has booted, you will see a welcome message shown in the following screenshot asking you to select the installation language. For the sake of simplicity, we'll use English in this article. Press Enter to continue.
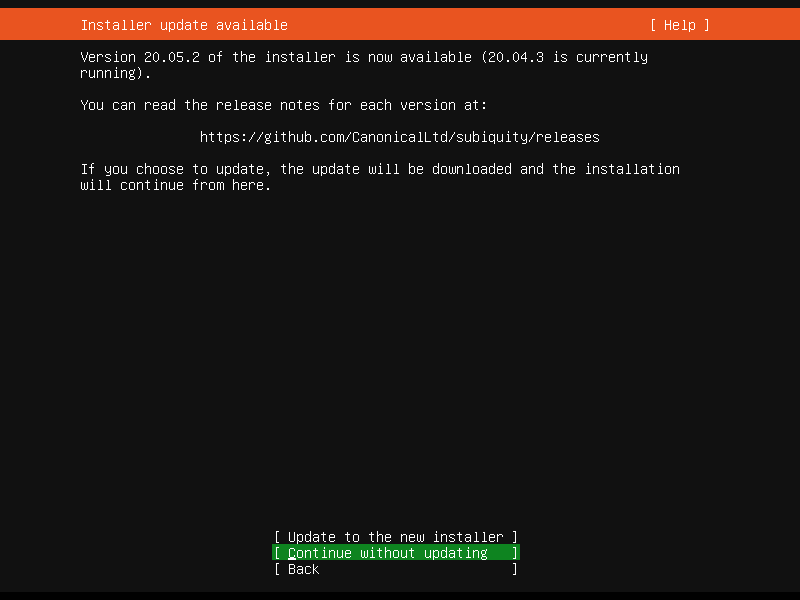
The installer will check if there's any update available. If it's available, then you'll be asked to use the update or not. Let's just ignore the update and continue with installation process. Press Continue without updating to continue.
Next, select your keyboard layout and press Enter to continue.

Network Setup
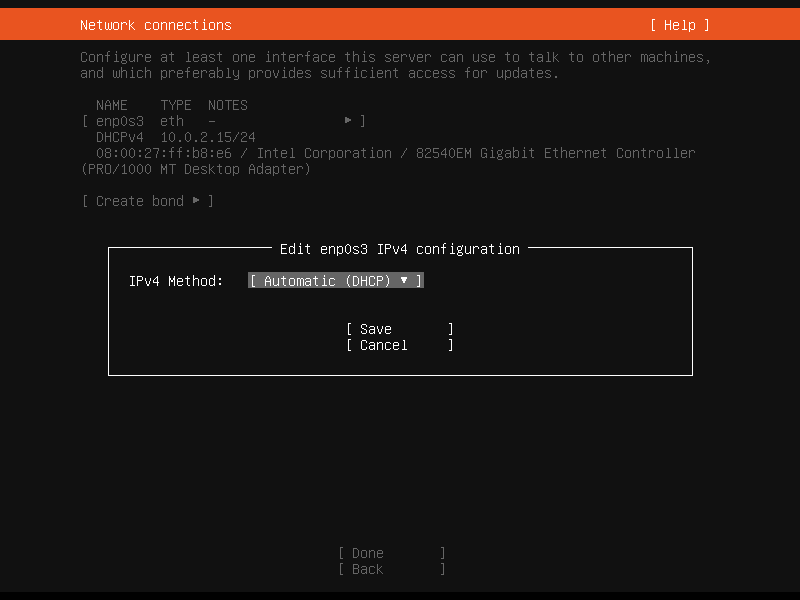
If your system is connected to a network and it has DHCP server running, it should receive an IP address from your DHCP server. Press Done to continue.
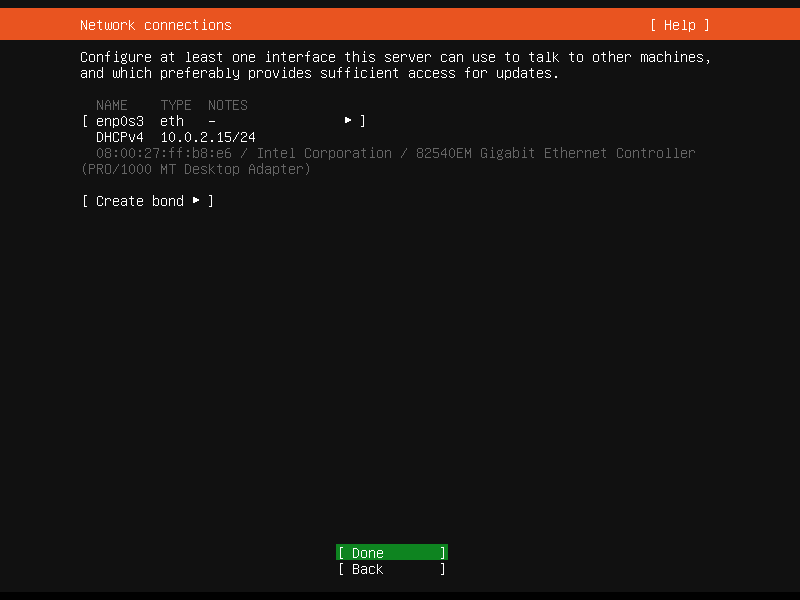
Otherwise, if you must set a static IP, select your network interface by pressing Up/Down on your keyboard.
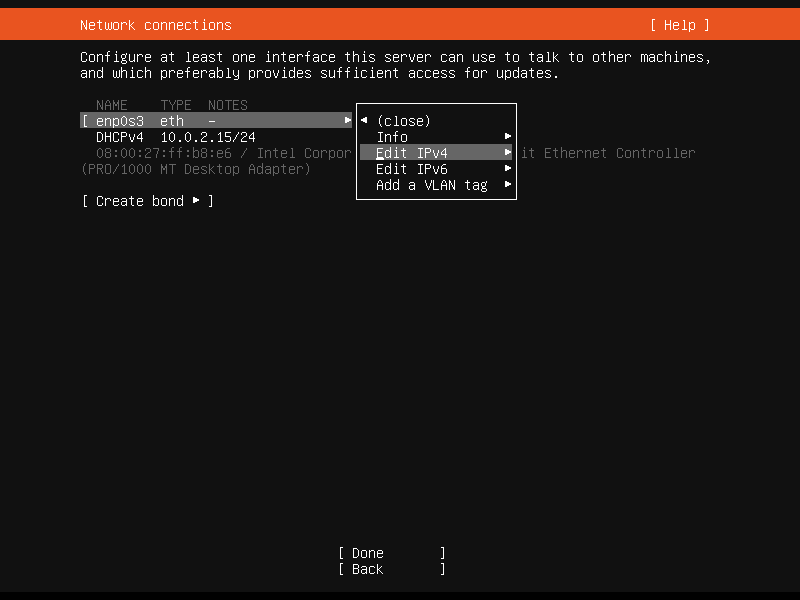

Choose Manual here.
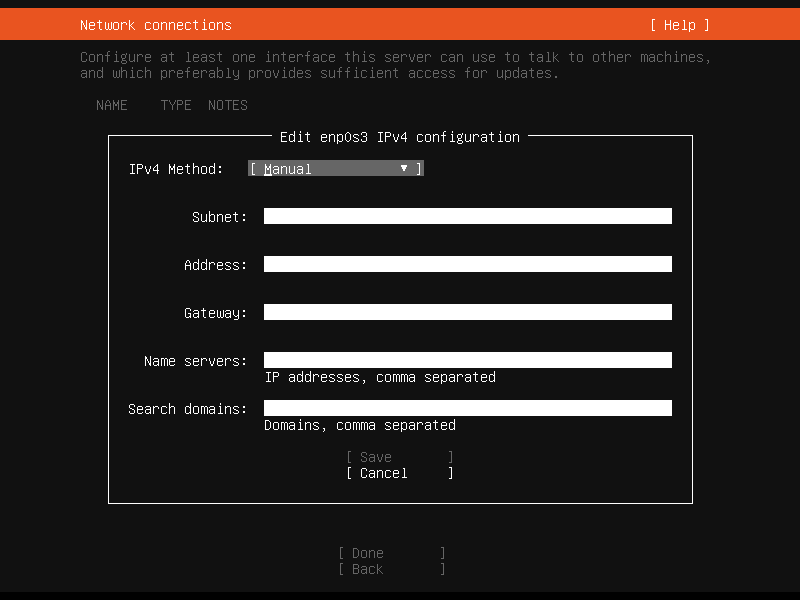
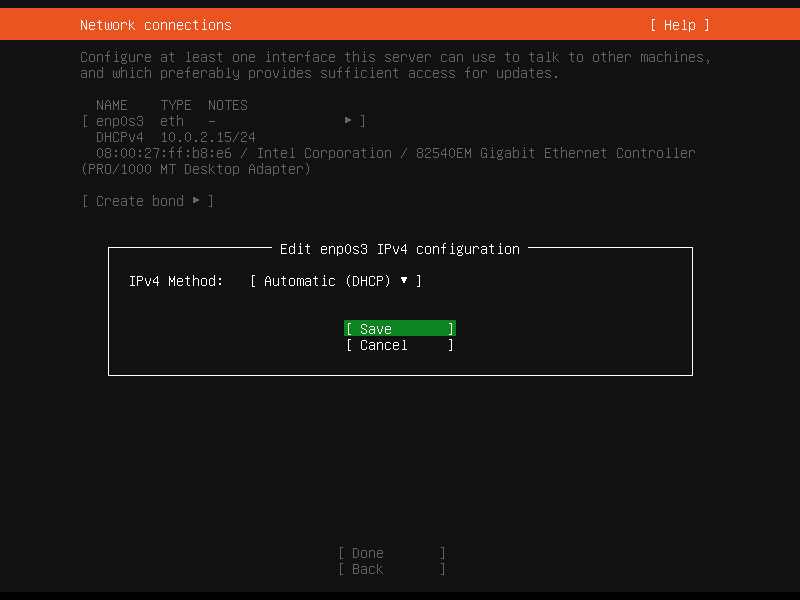
Enter your network details as needed, then press Save.
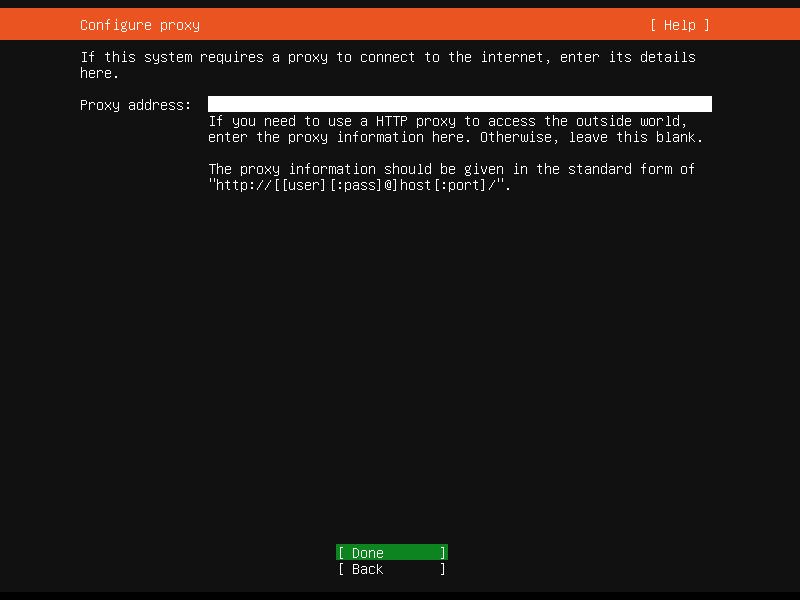
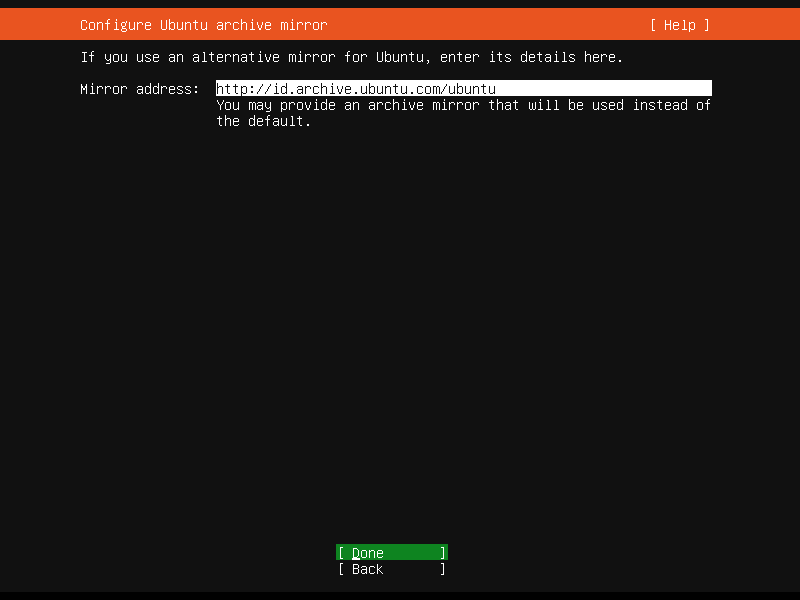
Mirror Repository Setup
You'll be asked to enter your prefered mirror repository if you have one. Otherwise, leave it as default and press Done.
Storage Configuration
Again, for the sake of simplicity, I will use an entire disk in this article.
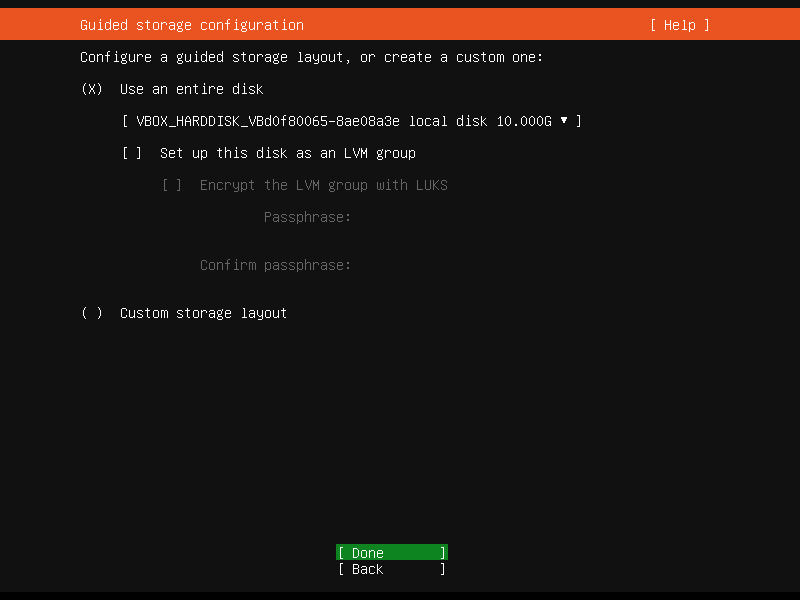
Press Done to continue. Your filesystem summary will be shown like below:
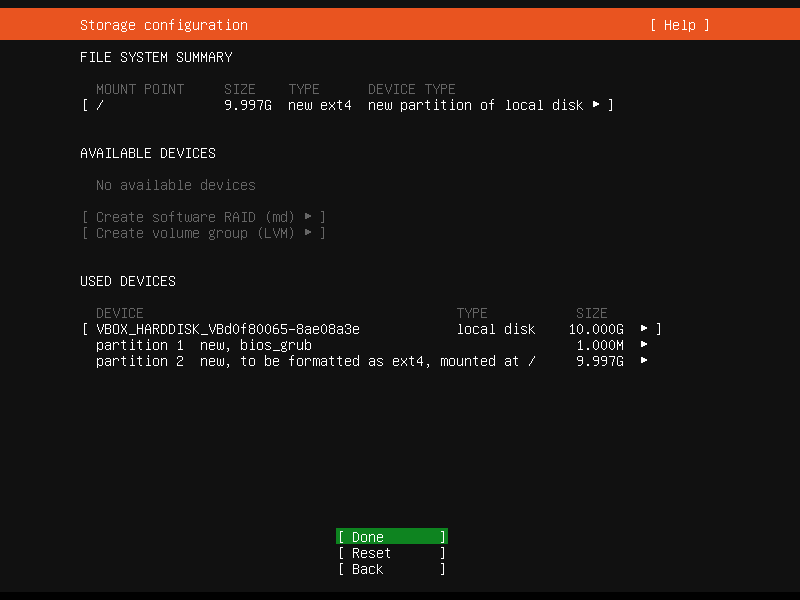
Press Done to continue.
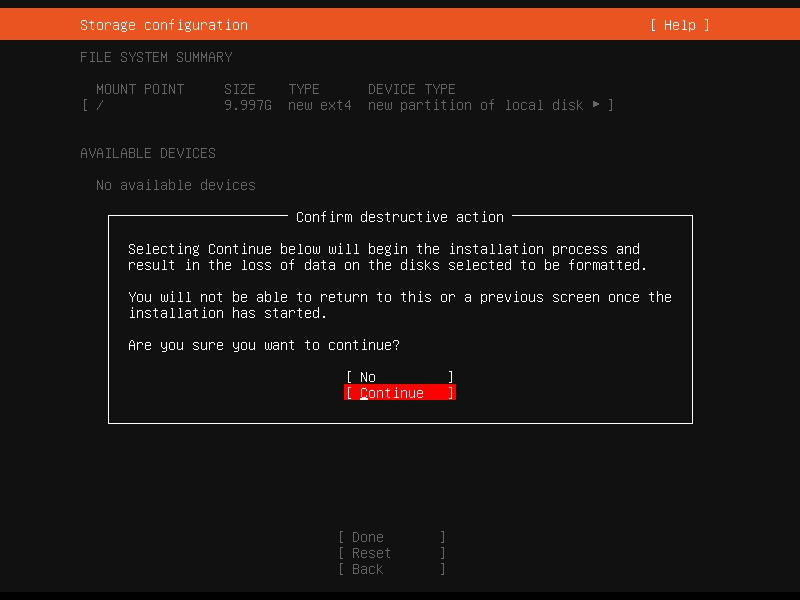
This is the last chance for you to review your storage configuration. Any mistake could destroy your data in case you're installing Ubuntu 20.04 along with another OS.
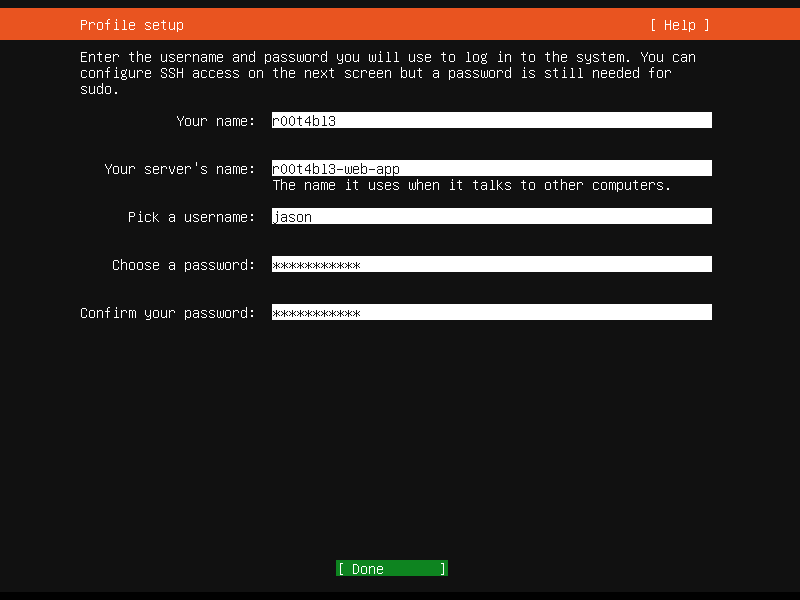
Profile Setup
Now let's create an user profile by mentioning your name, server’s name, username, and password. Then press Done to continue.
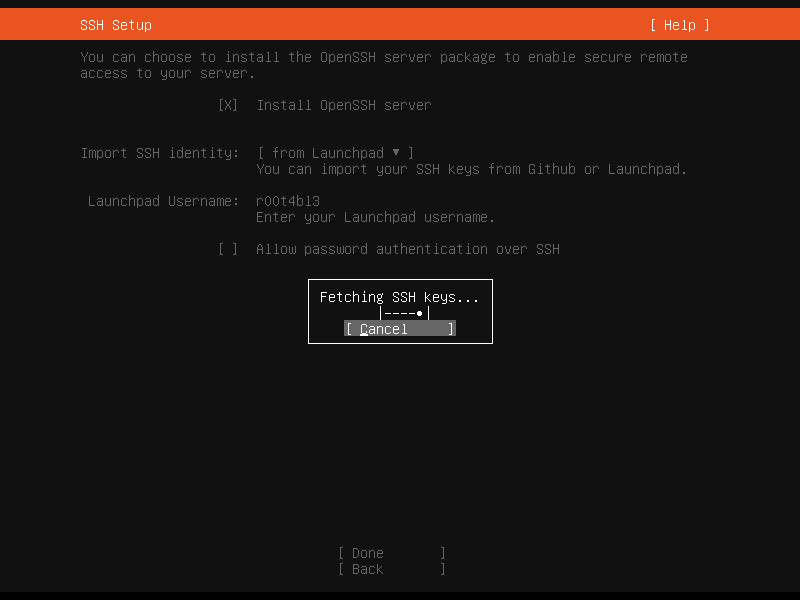
Next, the installer will prompt you to install the OpenSSH package for remote access. Usually if it's a remote server you'll need to install it and import your SSH key to allow login using SSH key.
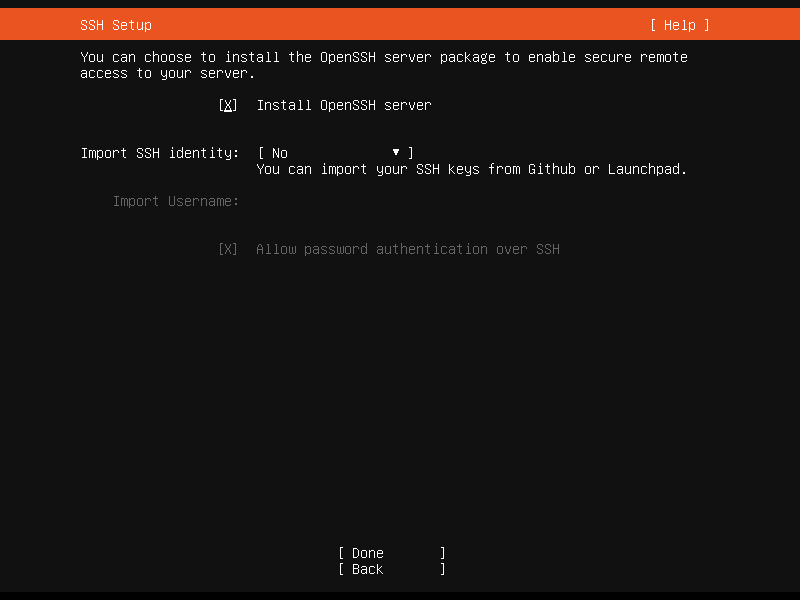
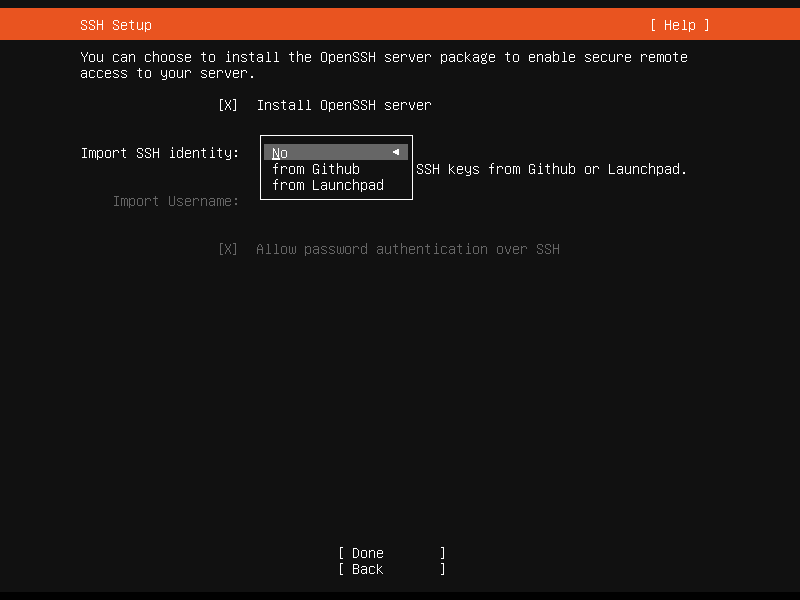
You can choose whether to import your SSH key from your Github or Launchpad account.
In this article, I choose to import my SSH key from Launchpad. Enter your Launchpad username.
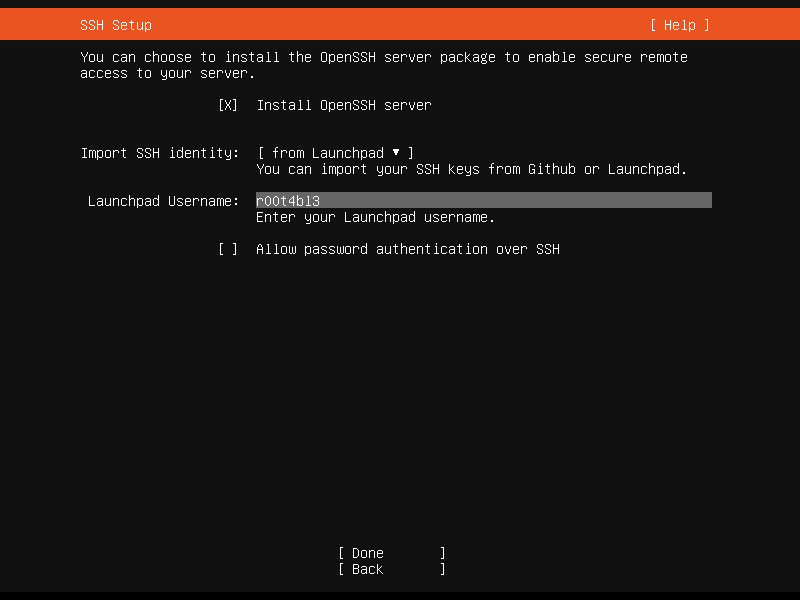
Then press Done to continue. The installer will fetch your SSH key from your chosen account.
If your account is valid, it should be successfully fetched like below:
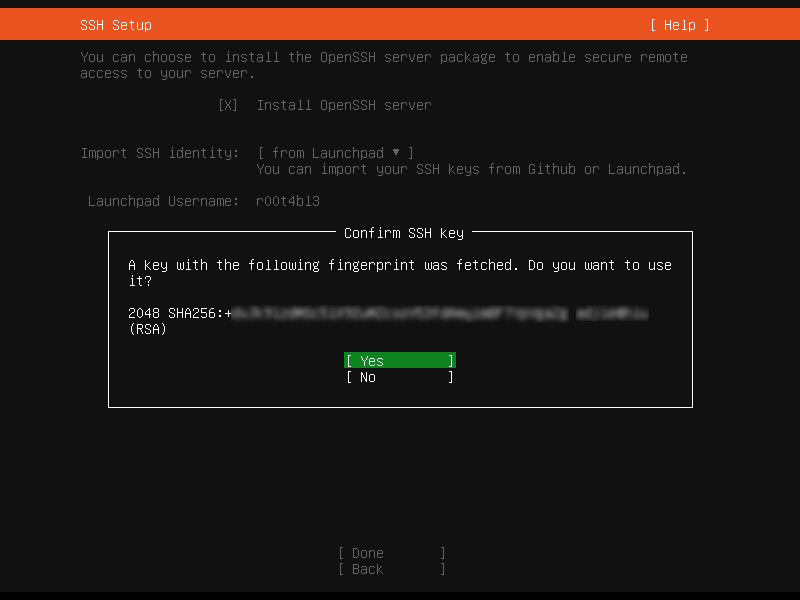
Press Yes to continue importing SSH key to your new system.
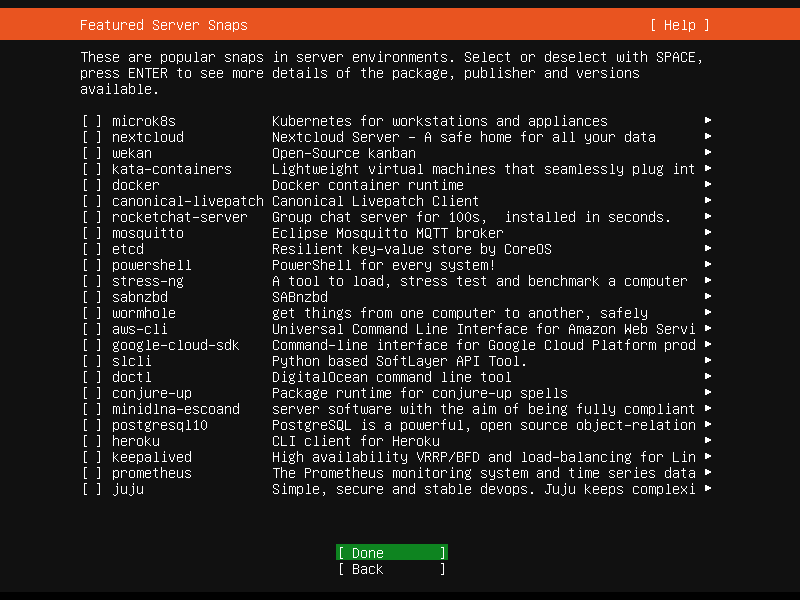
If you want to install some snaps, select them from the provided list. Use the space bar to select a snap. Then press Done to continue.
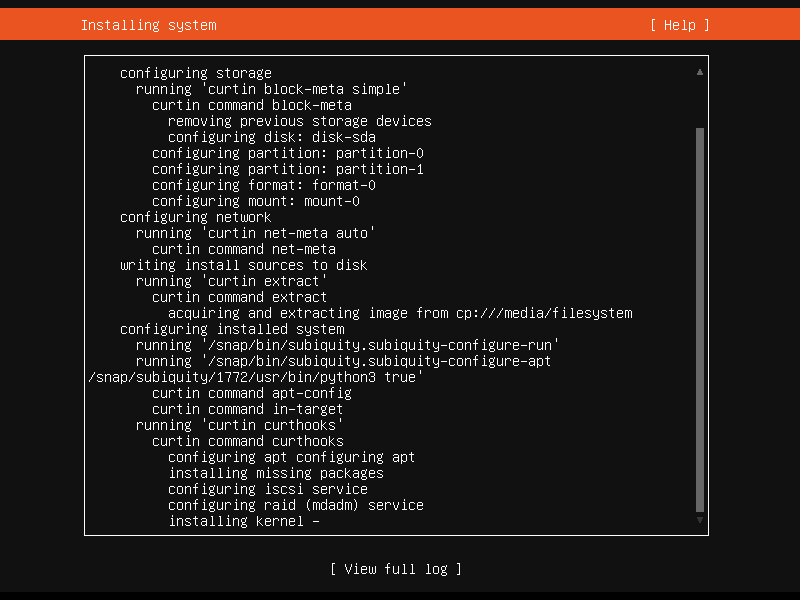
Installation Process
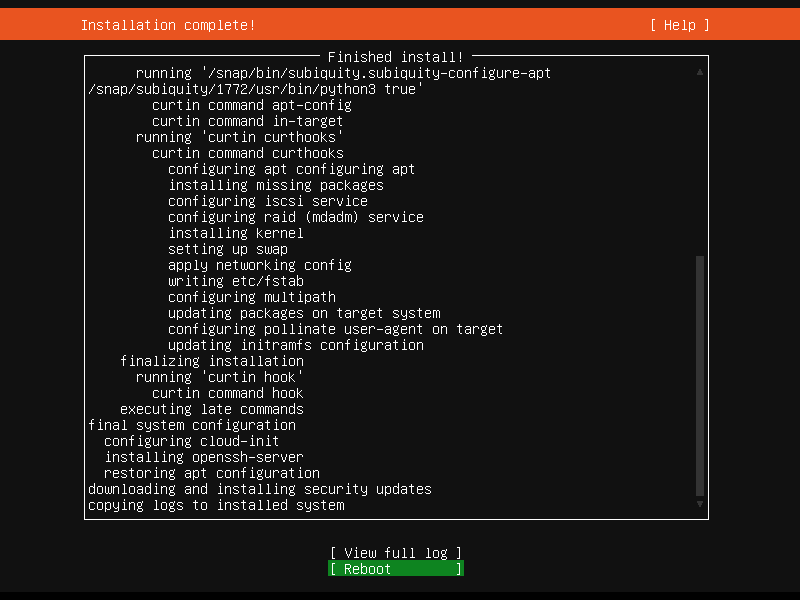
The installation process should now start as shown in the following screenshot. Please wait until it's finished. Once it is done, press Enter to reboot the system.
Installation process finished:
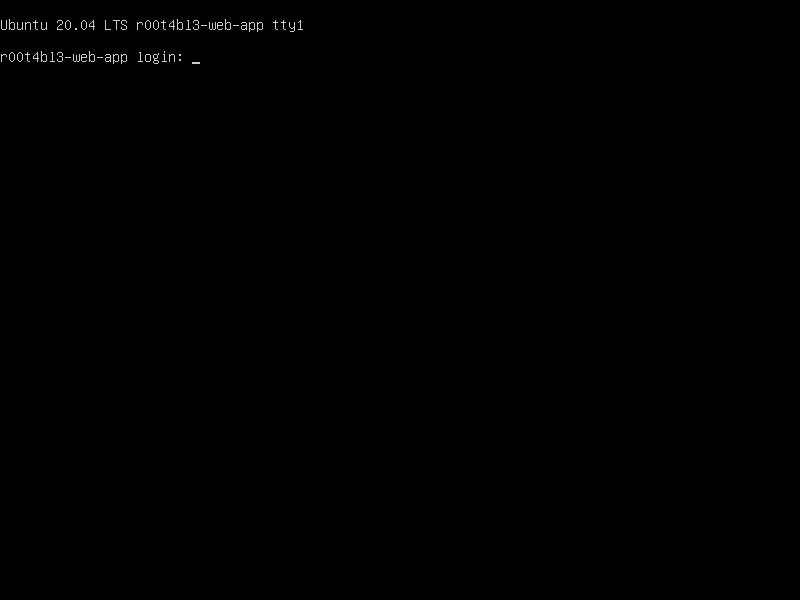
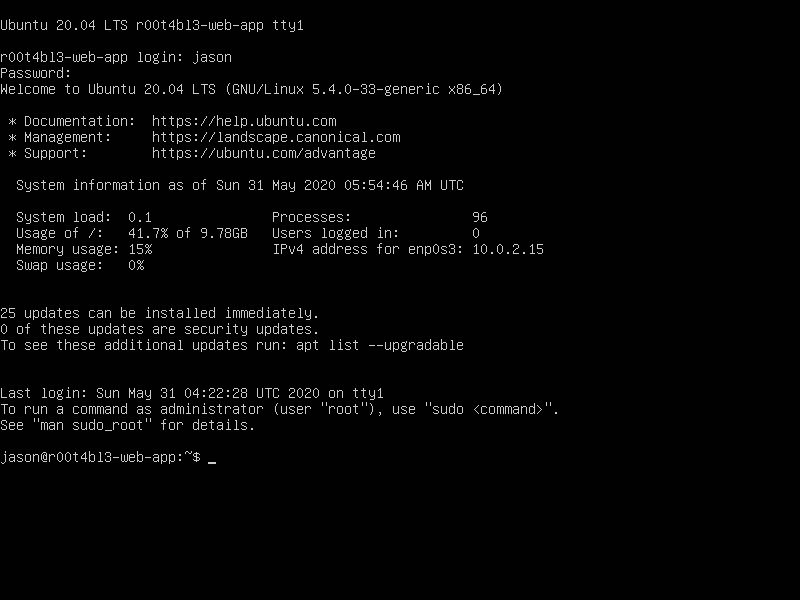
Start Ubuntu 20.04
After reboot, you can now log into your new Ubuntu 20.04 LTS server as shown in the following screenshot.
Final Words
I hope that you now know how Install Ubuntu 20.04 Focal Fossa Server. If you run into any issues or have any feedback feel free to drop a comment below.