How to Install PostgreSQL 12 on Ubuntu 20.04 Focal Fossa

PostgreSQL, or Postgres, is a relational database management system that provides an implementation of the SQL querying language. It’s standards-compliant and has many advanced features like reliable transactions and concurrency without read locks. PostgreSQL is developed by PostgreSQL Global Development Group, a group of individual volunteers and corporate companies.
PostgreSQL is a amazing database platform. PostgreSQL is free, cross-platform, and gives an high-quality function set which, in my mind, exceeds the ones of its similar platform in the relational database area
This guide will show you how to quickly get PostgreSQL 12 up and running on an Ubuntu 20.04 server. It will cover from installing PostgreSQL to explore the basics of PostgreSQL database administration, including setting up a new user and database.
Install PostgreSQL on Ubuntu 20.04
Ubuntu includes PostgreSQL by default, which should be sufficient for common usage. Otherwise, if the version included in your version of Ubuntu is not the one you want, you can use the PostgreSQL Apt Repository to configure what specific version you want to be installed on your system.
First step, you'll need to update system package source. Once this task is done, we proceed with upgrade packages to the latest versions and then install PostgreSQL. Enter this command:
$ sudo apt update
$ sudo apt upgrade
Please note that this can be a long process. Also, you may be prompted at several points to make some choices about configuration items. Specifically, you may informed that this that or the other configuration file has been changed, and asked if you want to keep your original version, or replace with the package maintainer’s version. Select "Y" to accept the package maintainer’s version in these cases.
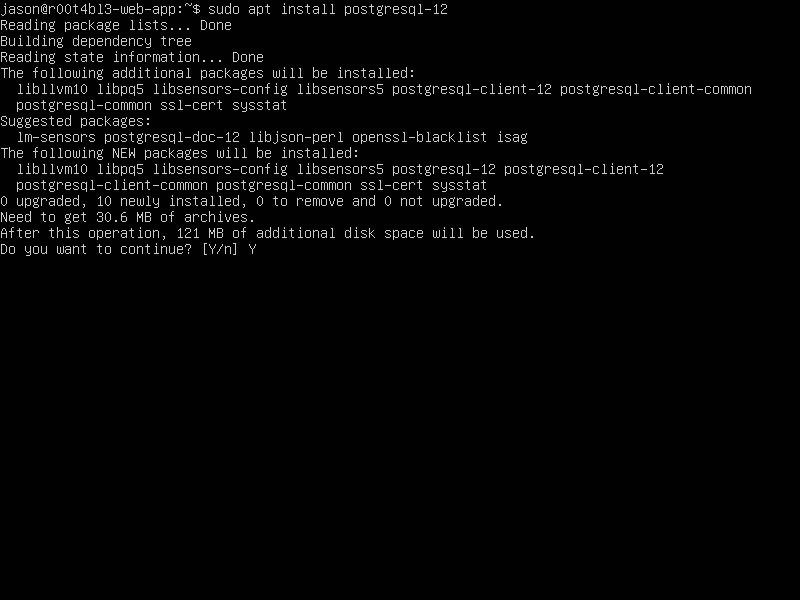
$ sudo apt install postgresql-12
Press "Y" and then "Enter". It will then download all necessary files and continue with installation. By default, the PostgreSQL service is started automatically after the installation. It will also start automatically when the system boot.
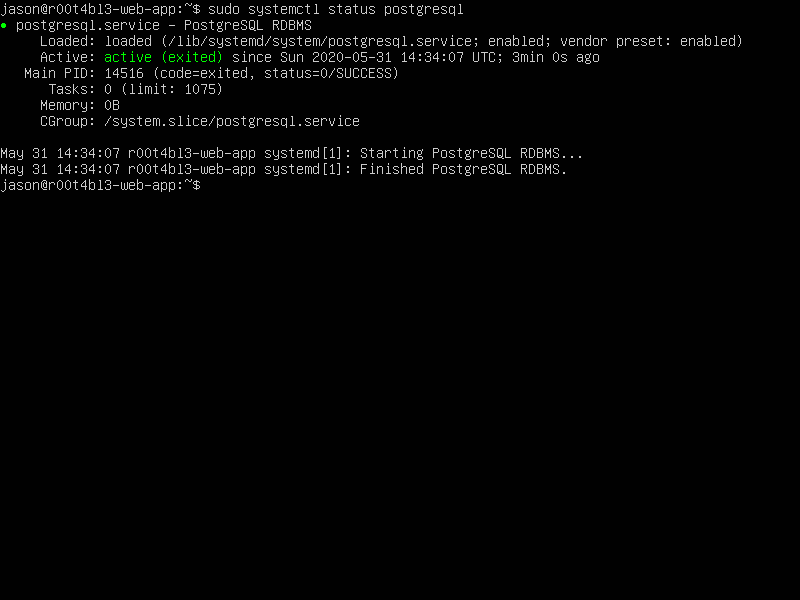
Let's verify that we've installed PostgreSQL correctly. First we'll check if the service is running. Then we can check what version of PostgreSQL server is running.
$ sudo systemctl status postgresql
We can use the psql tool to connect with the PostgreSQL database server and printing its version:
$ psql --version
The output will be something like this: psql (PostgreSQL) 12.2 (Ubuntu 12.2-4). That’s it. You've successfully installed PostgreSQL to your system and you can start using it.
Configuring Postgres for Use
The postgres user
While PostgreSQL become installed, a system user account named postgres was also created with an identical user account in postgres. By default, the postgres user account isn't configured with a password, so it isn't viable to log into the server the use of the postgres user account without first creating a password for it. This postgres account has an all-access pass on your PostgreSQL database server, permission-wise. The postgres user account has similarities to the sa account in SQL server.
The postgres database
PostgreSQL is installed with a default database postgres. For the most part, we use the postgres database for administration functions, and create new databases on the PostgreSQL server to suit our needs.
The psql Command Line Utility
PostgreSQL consists of psql, a command line application for managing your databases and server. While a GUI-based software such as pgadmin3 is often less complicated to use in the daily task, the command line utilty psql is always handy. psql gives total control of your postgres system from the terminal, together with the ability to execute SQL queries.
We will use psql to perform our preliminary configuration and to create an initial database super user.
Create super user account
In this step we will super-user account to deals with our database in the daily task.
To do this, we will get access to the postgres account through your machine root user. Then we'll use that postgres account to create a brand new super-user account for your PostgreSQL installation which can be regulated more efficiently. As an example we will use jason as our new PostgreSQL super-user account.
$ sudo su -
[sudo] password for jason:
root@r00t4bl3-web-app:~# su - postgres
postgres@r00t4bl3-web-app:~$ psql
psql (12.2 (Ubuntu 12.2-4))
Type "help" for help.

postgres=# CREATE USER jason
postgres-# WITH SUPERUSER CREATEDB CREATEROLE
postgres-# PASSWORD 'youshouldchangethis';
Notice in the above we can enter multiple lines of command in SQL shell. The SQL is not executed until semi-colon followed enter is found. Which means, the semi-colon will make the shell execute entered commands. After pressing "Enter" it will respond with something like this:
CREATE ROLE
postgres=#
Which means we've successfully created this new superuser account.
Login using our newly created account
Let's verify that everything is working correctly. Try to log in with psql using our new super-user account and create a quick test database:
$ psql postgres
psql (12.2 (Ubuntu 12.2-4))
Type "help" for help.

postgres=#
Note in the above terminal session, we specified the postgres default database when we logged in, since there aren’ tyet any other databases to connect to.
Create test database
Next test is to create test database test_database using our new super-user account:
postgres=# CREATE DATABASE test_database WITH OWNER jason;
CREATE DATABASE
postgres=# \connect test_database;
You are now connected to database "test_database" as user "jason".
test_database=#
Final Words
I hope that you now know how to install PostgreSQL 12 on Ubuntu 20.04. If you run into any issues or have any feedback feel free to drop a comment below.