How to Install Laravel 7 on Linux Mint (Or other Ubuntu derivatives)

What is Laravel
Laravel is a free, open-source PHP web framework, created by Taylor Otwell and intended for the development of web applications following the model–view–controller (MVC) architectural pattern and based on Symfony. Some of the features of Laravel are a modular packaging system with a dedicated dependency manager, different ways for accessing relational databases, utilities that aid in application deployment and maintenance, and its orientation toward syntactic sugar.
The source code of Laravel is hosted on GitHub and licensed under the terms of MIT License. To install Laravel 7 framework to our system, fire up your terminal and run composer command below:
$ composer -vvv create-project --prefer-dist laravel/laravel laravel7
It will download all required packages to laravel7 directory. You can change it with your project name. Please wait until the download process finished.
Configure Laravel Installation
Most of the times, you will need a database for a web application. Laravel makes interacting with databases extremely simple across a variety of database backends using either raw SQL, the fluent query builder, and the Eloquent ORM. Currently, Laravel supports four databases:
- MySQL 5.6+
- PostgreSQL 9.4+
- SQLite 3.8.8+
- SQL Server 2017+
The database configuration for your application is located at config/database.php. In this file you may define all of your database connections, as well as specify which connection should be used by default. Examples for most of the supported database systems are provided in this file.
By default, Laravel's sample environment configuration is ready to use with Laravel Homestead, which is a convenient virtual machine for doing Laravel development on your local machine. You are free to modify this configuration as needed for your local database.
To connect Laravel with your database, update your Laravel .env file with your database credentials.
$ cd laravel7
$ vi .env
Update these lines with yours:
DB_CONNECTION=mysql
DB_HOST=127.0.0.1
DB_PORT=3306
DB_DATABASE=laravel
DB_USERNAME=root
DB_PASSWORD=
User Authentication
Just like any web application, we'll need an authentication system. Luckily, Laravel makes implementing authentication very simple. In fact, almost everything is configured for you out of the box. The authentication configuration file is located at config/auth.php, which contains several well documented options for tweaking the behavior of the authentication services.
At its core, Laravel's authentication facilities are made up of "guards" and "providers". Guards define how users are authenticated for each request. For example, Laravel ships with a session guard which maintains state using session storage and cookies.
Providers define how users are retrieved from your persistent storage. Laravel ships with support for retrieving users using Eloquent and the database query builder. However, you are free to define additional providers as needed for your application.
Don't worry if this all sounds confusing now! Many applications will never need to modify the default authentication configuration.
Laravel's laravel/ui package provides a quick way to scaffold all of the routes and views you need for authentication using a few simple commands:
$ composer require laravel/ui
$ php artisan ui bootstrap --auth
$ npm install && npm run dev
It will install a layout view, registration and login views, as well as routes for all authentication end-points. A HomeController will also be generated to handle post-login requests to your application's dashboard. Please wait until the build process complete.

Verify Installation
Once the compilation process completed, we can verify whether our Laravel installed correctly or not. Back to terminal, fire this command:
$ php artisan serve

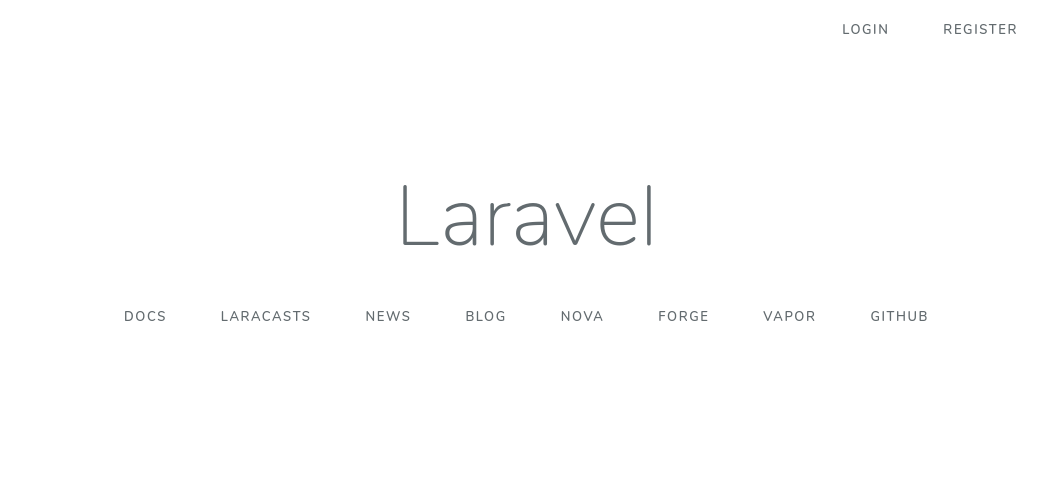
It will run a php local development server on port 8000. Enter the URL to your web browser:
http://127.0.0.1:8000
You should see something like this.
Registration and Login
Before able to log in, we need to register first. Click on "Register" link on the top menu.
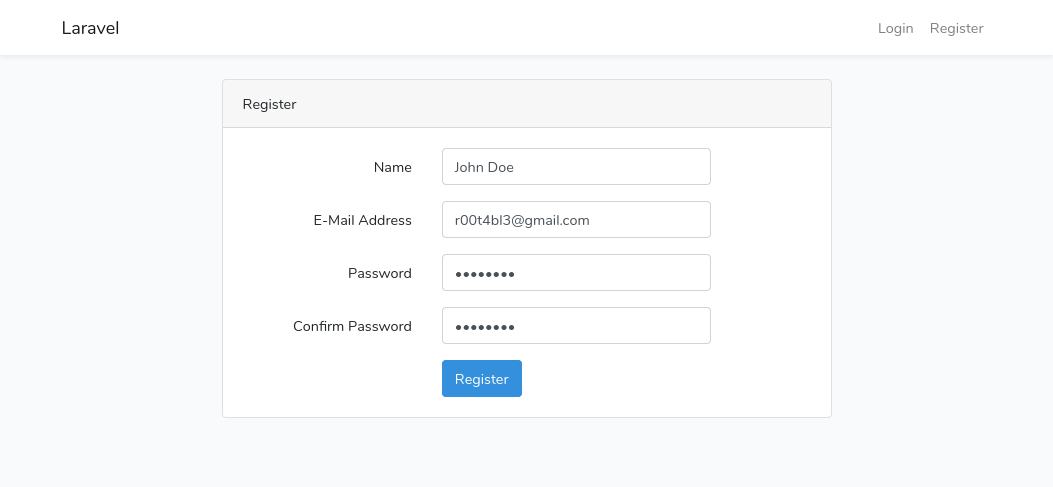
Once filled all the fields, press "Register" button.
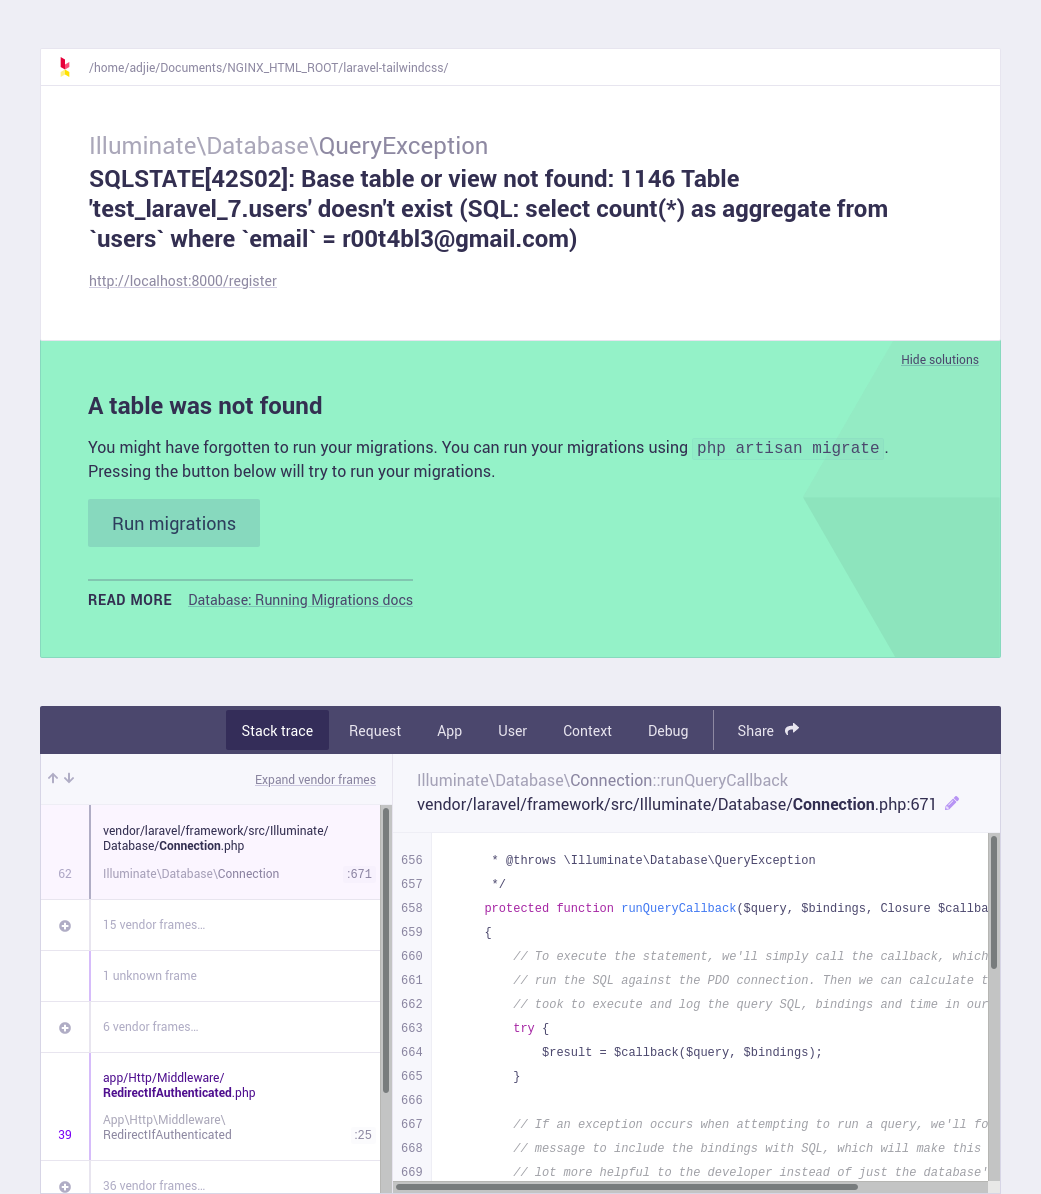
Whoops. Something is wrong. It seems that we forgot to populate the database with tables. Let's back to our lovely terminal and run this command:
$ php artisan migrate

Once it's done, we can back to our web browser and refresh it.
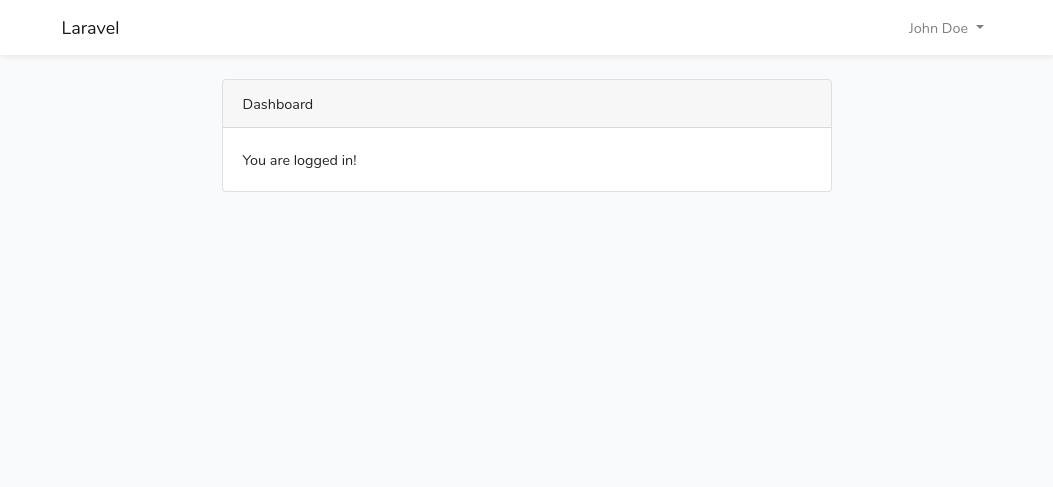
Voila! We have successfully installed Laravel 7 into our system. Happy coding!
Final Words
I hope that you now know how to install Laravel 7 on Linux Mint or any Ubuntu derivatives. If you run into any issues or have any feedback feel free to drop a comment below.

