How to Install pgAdmin 4 on Fedora 35

pgAdmin is the most popular and feature rich Open Source administration and development platform for PostgreSQL, the most advanced Open Source database in the world. It's a great tool for managing PostgreSQL server databases with a graphical interface. As the time of this writing, the latest version of pgAdmin available is version 4. We'll cover the installation of pgAdmin 4 in this article.
pgAdmin 4 Installation
First of all we need to configure the pgAdmin4 repository to your Fedora system. In a terminal execute the following command.
$ sudo rpm -Uvh https://ftp.postgresql.org/pub/pgadmin/pgadmin4/yum/pgadmin4-fedora-repo-2-1.noarch.rpm 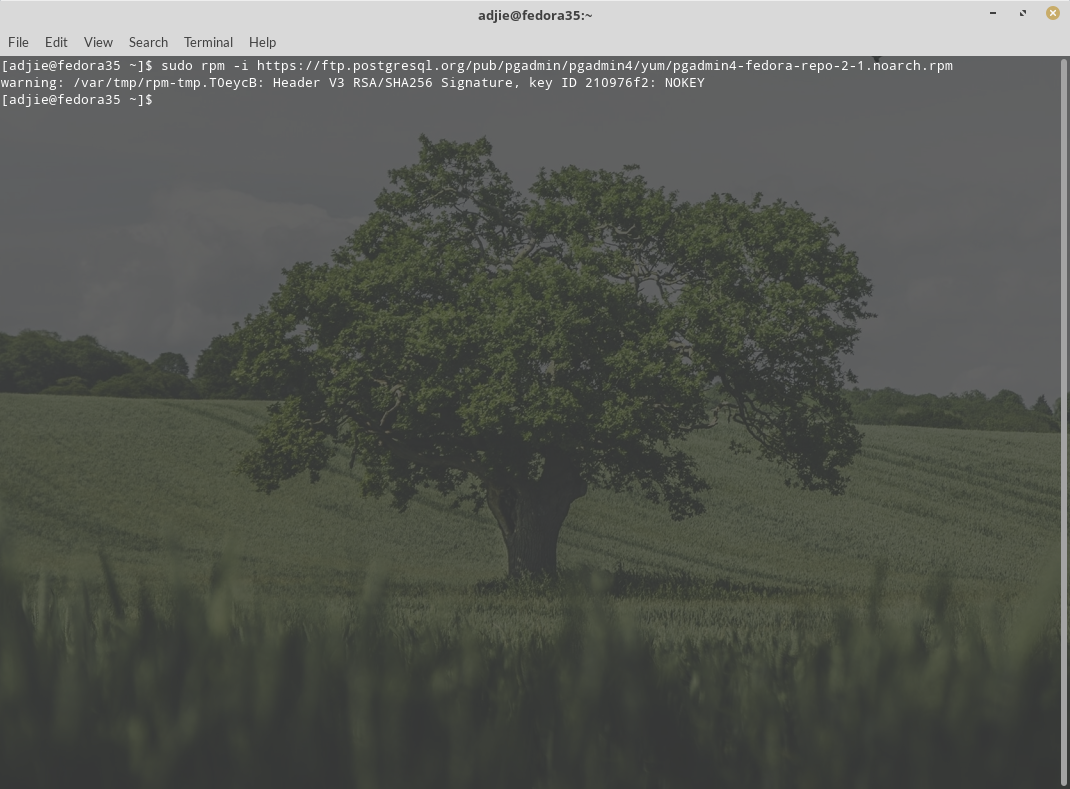
There are two modes available:
- Desktop mode only
- Web mode only
Desktop Mode
To install desktop mode only, we can use this command:
$ sudo dnf install pgadmin4-desktop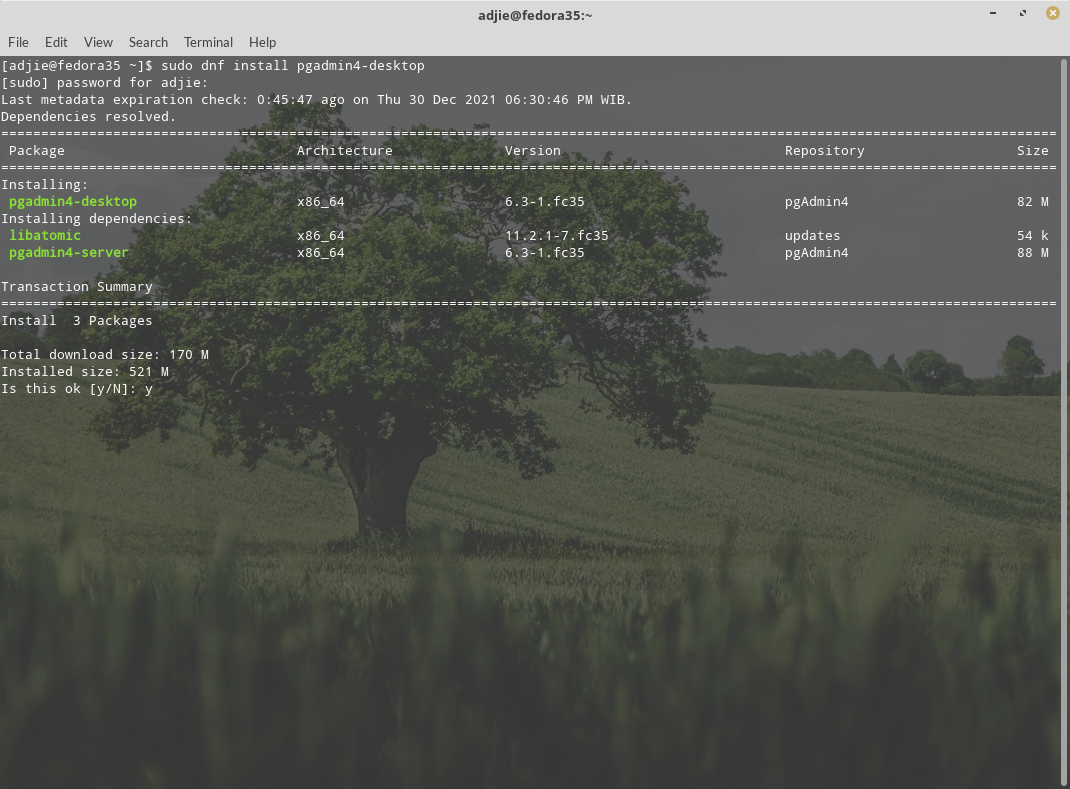
It will ask for confirmation. We can enter "Y" followed by "Enter" to continue with installation. If in the middle of installation process it asked for confirmation like below:
Importing GPG key 0x210976F2:
 Userid     : "Package Manager (Package Signing Key) <[email protected]>"
 Fingerprint: E869 7E2E EF76 C02D 3A63 3277 8881 B2A8 2109 76F2
 From       : /etc/pki/rpm-gpg/PGADMIN_PKG_KEY
Is this ok [y/N]: y
You can safely answer "y" followed by "Enter".
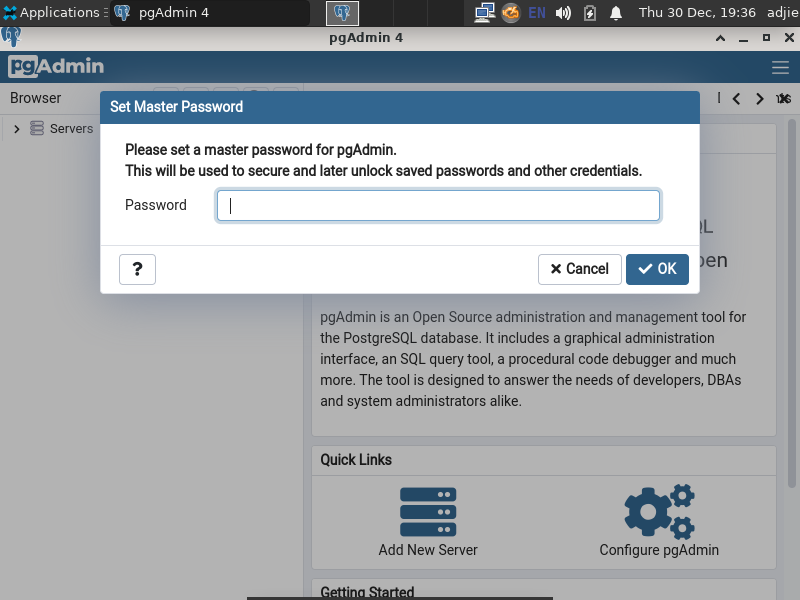
Once the installation process finished, you can open pgAdmin4 from Start Menu > Development > pgAdmin4.

When we open pgAdmin4 for the first time, it will ask for a master password. Please note that this password is different from your PostgreSQL server password.
Next, you can add your PostgreSQL server and connect to it.
Add Server
To add new server, find "Add New Server" menu under "Quick Links" panel.
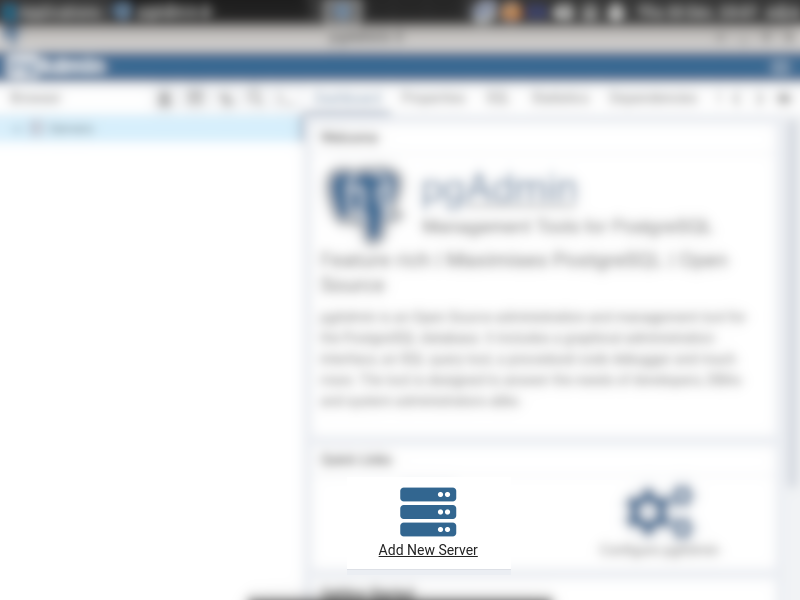
Next, a wizard for adding new PostgreSQL server will be shown.
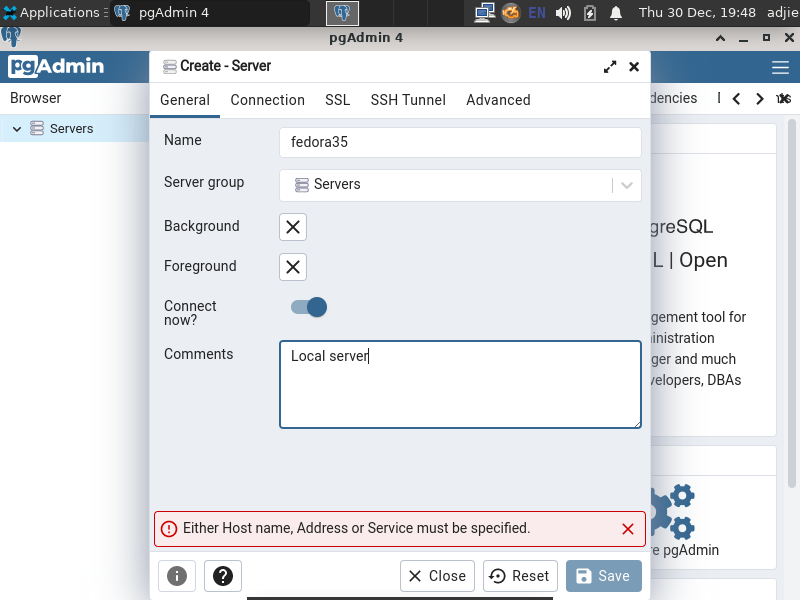
In this "General" tab, fill in the "Name" field to your preference. This could be changed later if you'd like to.
Next, move to "Connection" tab. Fill in "Hostname/Address", "Port", and "Username" fields.
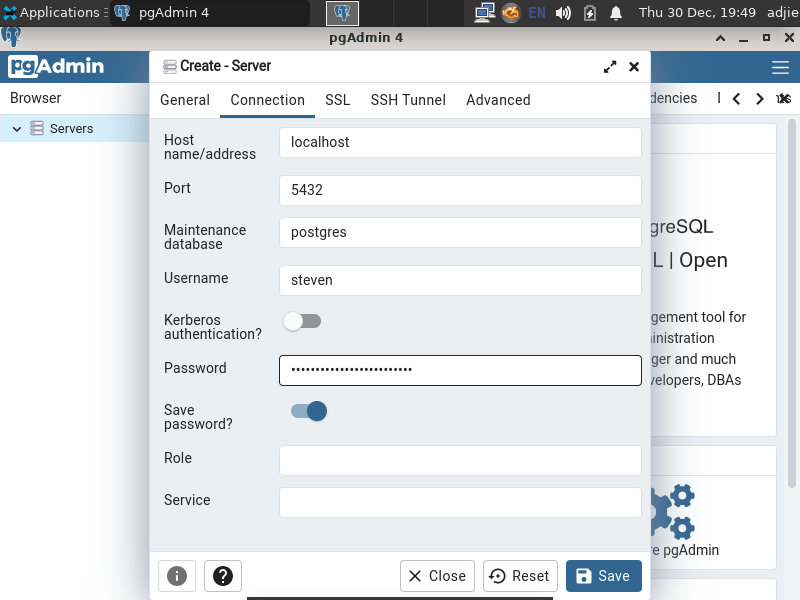
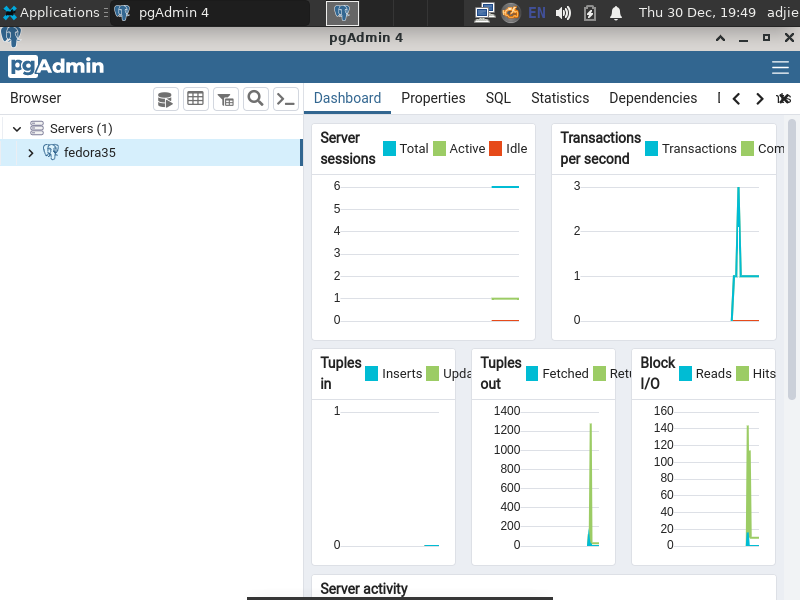
The field "Password" is optional. Once you've filled those necessary fields, press "Save" button at the bottom. The pgAdmin4 application will try to connect to your server. Once connected it will show something like below:
Web Mode
To install web mode only, we can use this command:
$ sudo dnf install pgadmin4-web 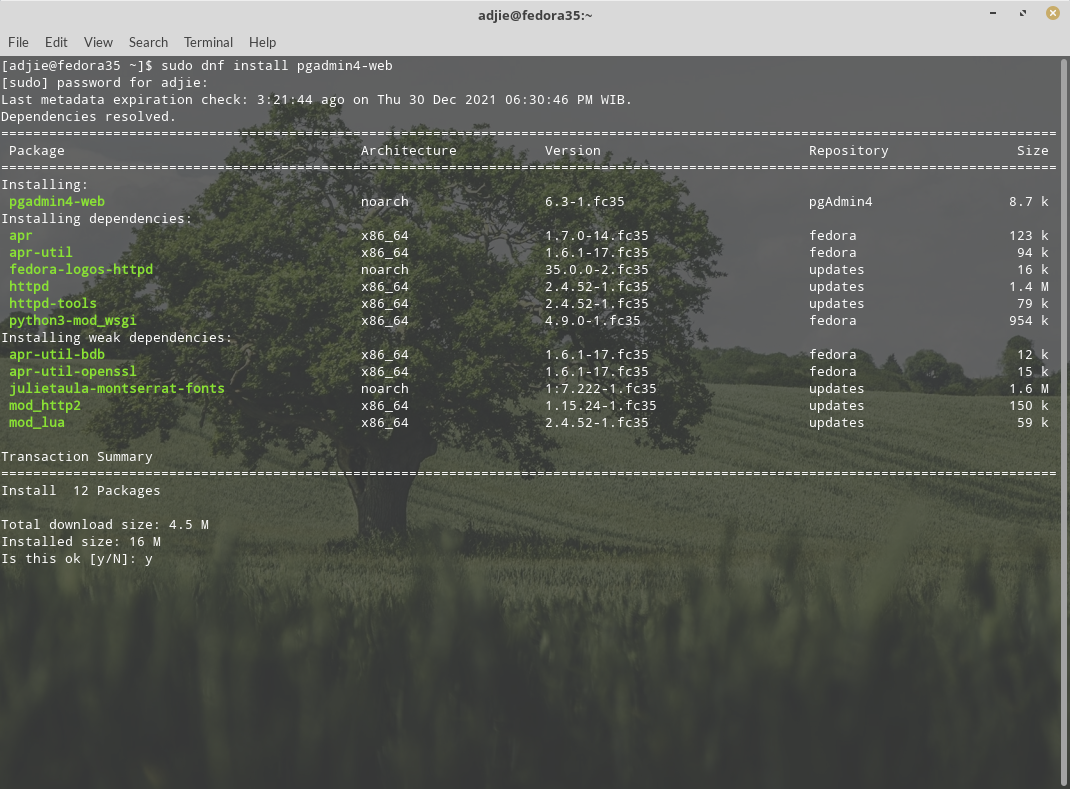
As usual, it will ask for confirmation. We can enter "Y" followed by "Enter" to continue with installation. Once installation process finished, proceed with running web setup script called setup-web.sh as mentioned below.
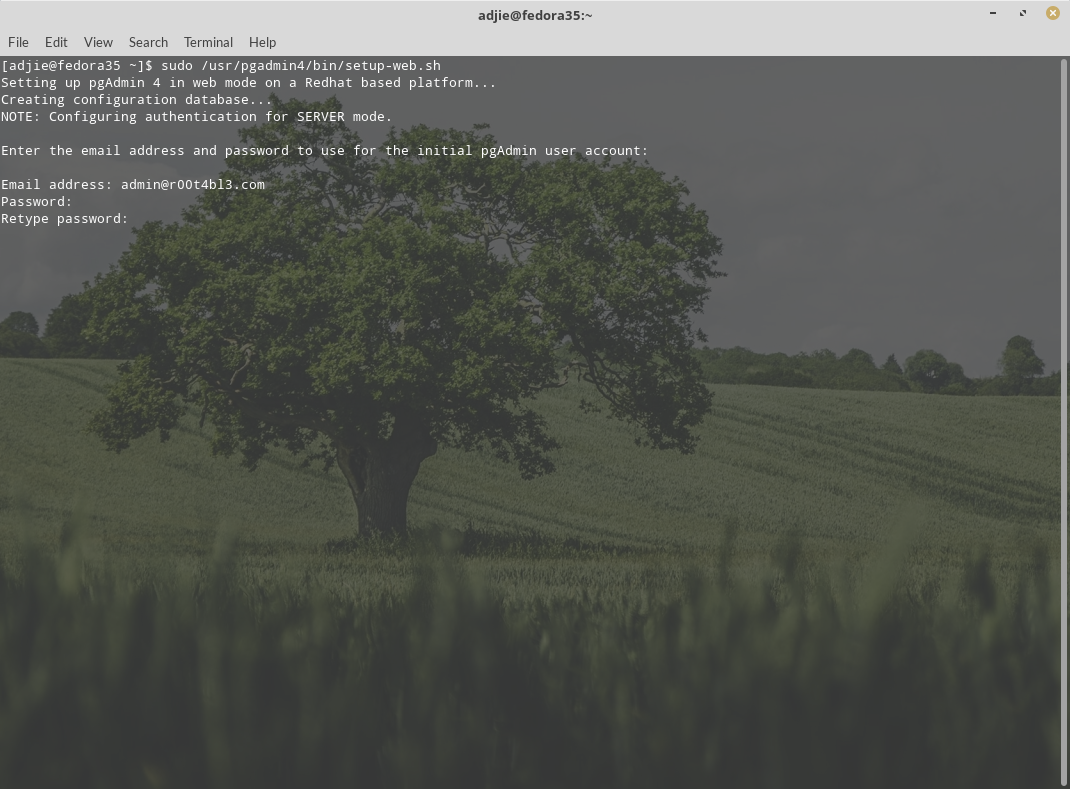
If you choose to install pgadmin4 or pgadmin4-web, you need to run the web setup script to configure the system to run in web mode. This will prompt for an email address and password to enable web application authentication.
$ sudo /usr/pgadmin4/bin/setup-web.sh 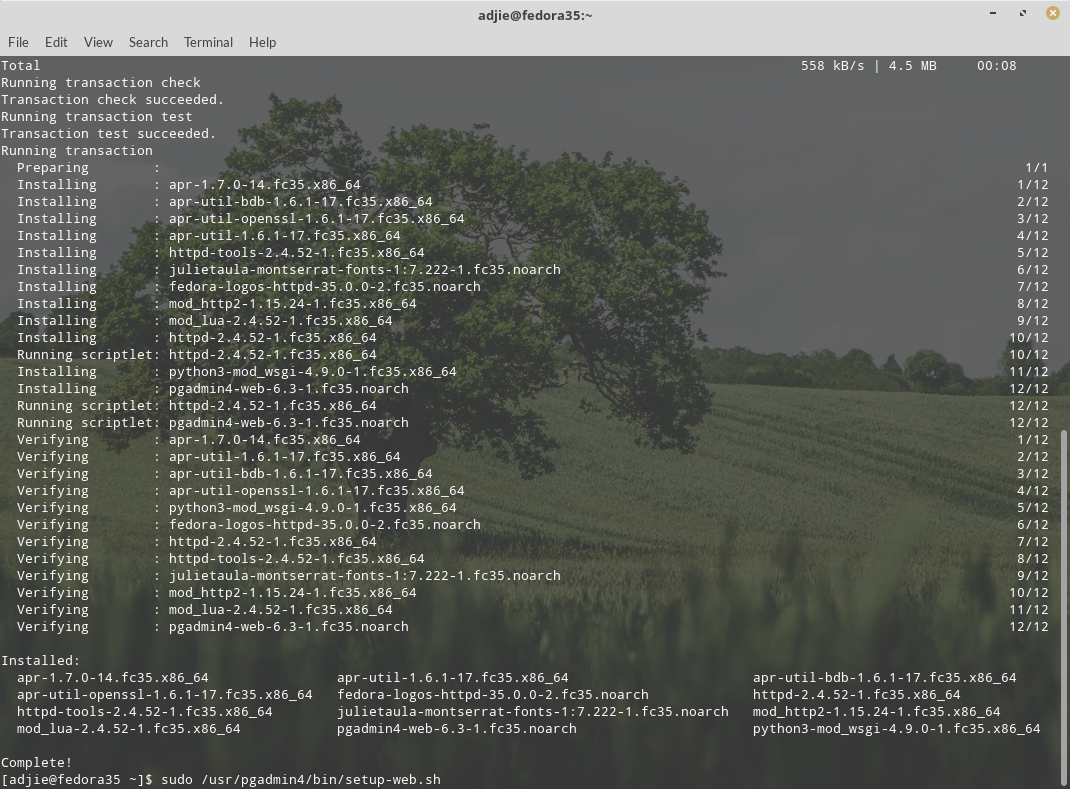
Again, note that this authentication is different with your PostgreSQL server credential. It means that this credential is just authenticating user accessing the pgAdmin4 dashboard. Logging in to pgAdmin dashboard doesn't necessarily logging you in to the available PostgreSQL server.
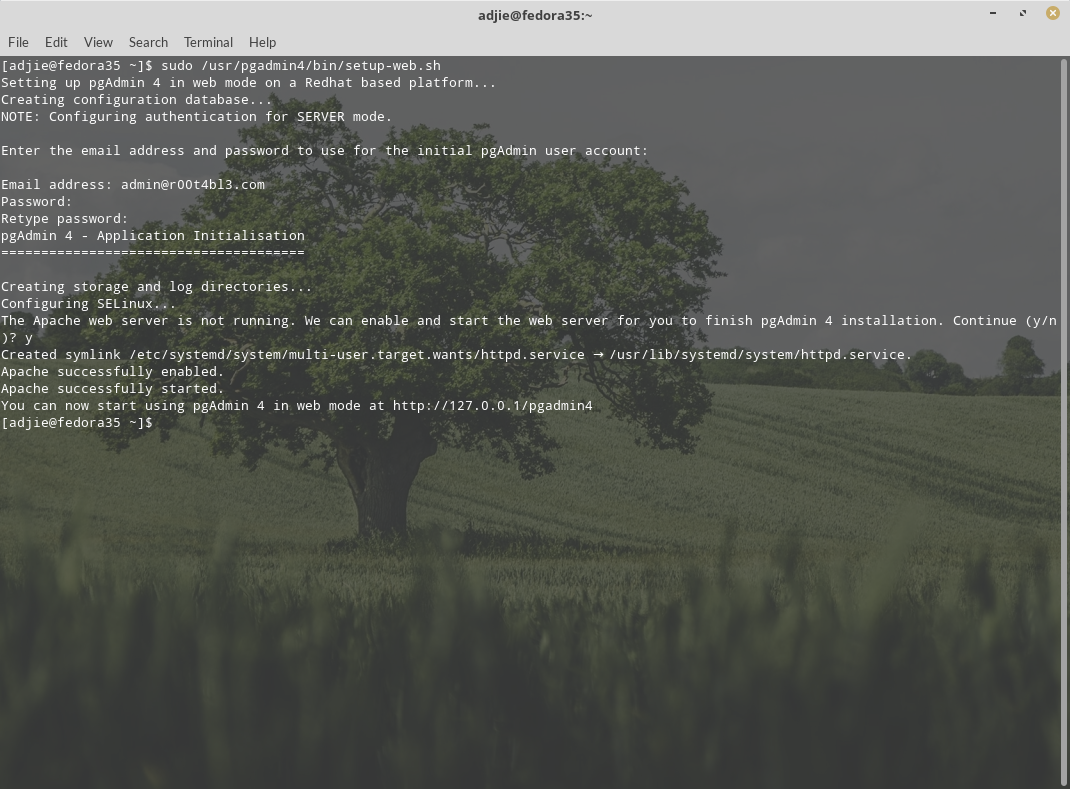
Once the installation process finished, we can open its URL at http://127.0.0.1/pgadmin4.
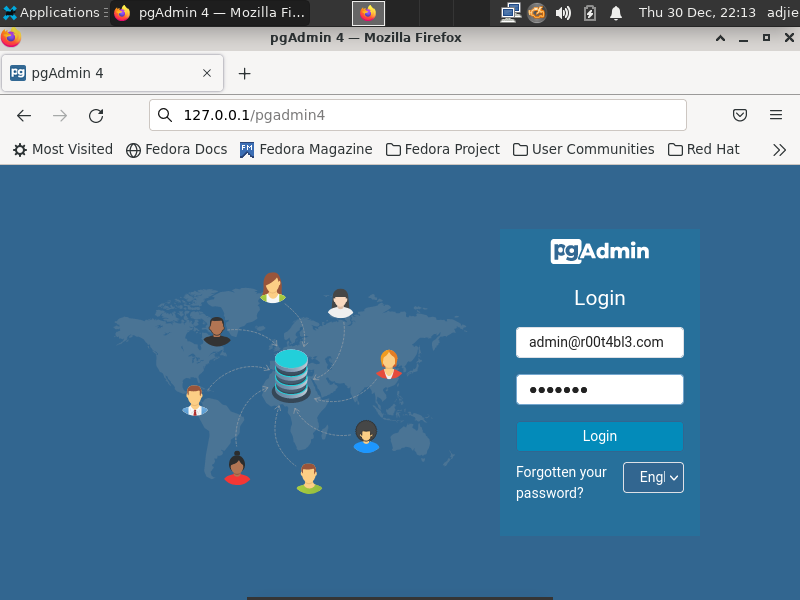
We can login using the credential we've just created in previous step.
The interface is pretty similar with its desktop counterpart, so I won't cover it again.

Both Modes
We can also install both modes (desktop and web) using this command:
$ sudo dnf install pgadmin4The installation and usage for both methods should be similar with above. Remember to run the script setup-web.sh.
Final Words
I hope that you now know how to install pgAdmin 4 on Fedora 35. If you run into any issues or have any feedback feel free to drop a comment below.