How to Install pgAdmin 4 on Debian 11

pgAdmin is the most popular and feature rich Open Source administration and development platform for PostgreSQL, the most advanced Open Source database in the world. It's a great tool for managing PostgreSQL server databases with a graphical interface. As the time of this writing, the latest version of pgAdmin available is version 4. We'll cover the installation of pgAdmin 4 to Debian 11 in this article.
Note: Although I'm using Debian 11, this article could also applied to any Debian or Ubuntu derivatives.
pgAdmin 4 Installation
Our
first step is configuring the pgAdmin4 repository to your Debian 11
system. DEBs for various Debian and Ubuntu versions are available from
the pgAdmin APT repository. The following platforms are supported:
- Debian 9 (Stretch, up to v5.3), 10 (Buster), 11 (Bullseye/testing, from v4.30)
- Ubuntu 16.04 (Xenial, up to v4.30), 18.04 (Bionic), 19.10 (Eoan, up to v4.29), 20.04 (Focal), 20.10 (Groovy, from v4.30), 21.04 (Hirsute, from v5.3)
To use this repository, run the following commands in your terminal.
Install Public Key for the Repository
Before we're able to install new repository, we need to install its public key first. In your terminal, with sudo privileged account, enter this command:
$ sudo curl https://www.pgadmin.org/static/packages_pgadmin_org.pub | sudo apt-key add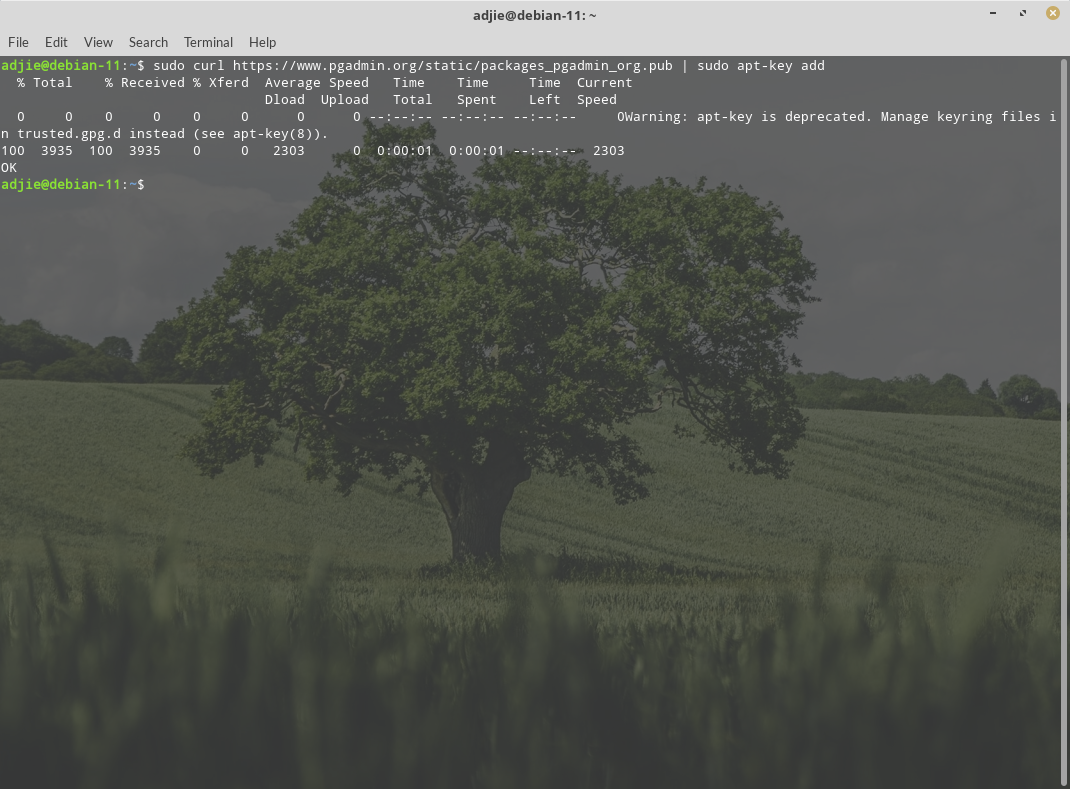
Create pgAdmin Repository File
Next step is creating pgAdmin repository configuration file.
$ sudo sh -c 'echo "deb https://ftp.postgresql.org/pub/pgadmin/pgadmin4/apt/$(lsb_release -cs) pgadmin4 main" > /etc/apt/sources.list.d/pgadmin4.list && apt update'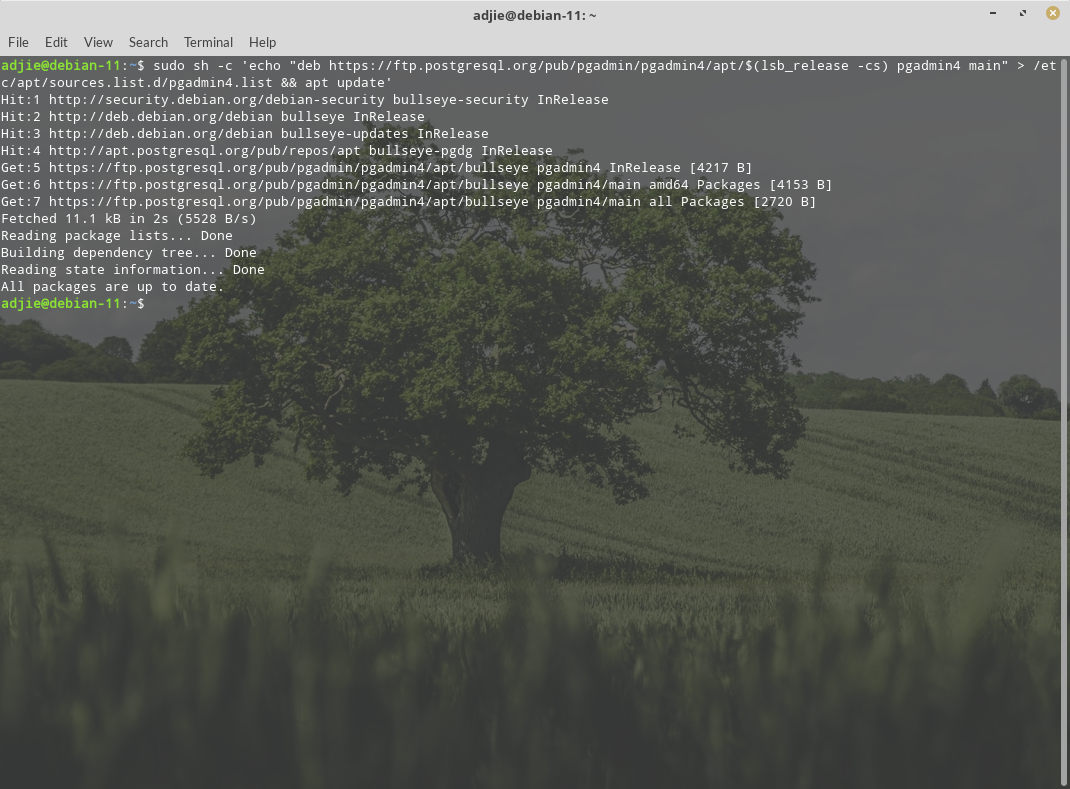
pgAdmin4 Installation
Now we are ready to install pgAdmin4 into our Debian 11 system. There are two modes available:
- Desktop mode only
- Web mode only
Desktop Mode
To install desktop mode only, we can use this command:
$ sudo apt install pgadmin4-desktop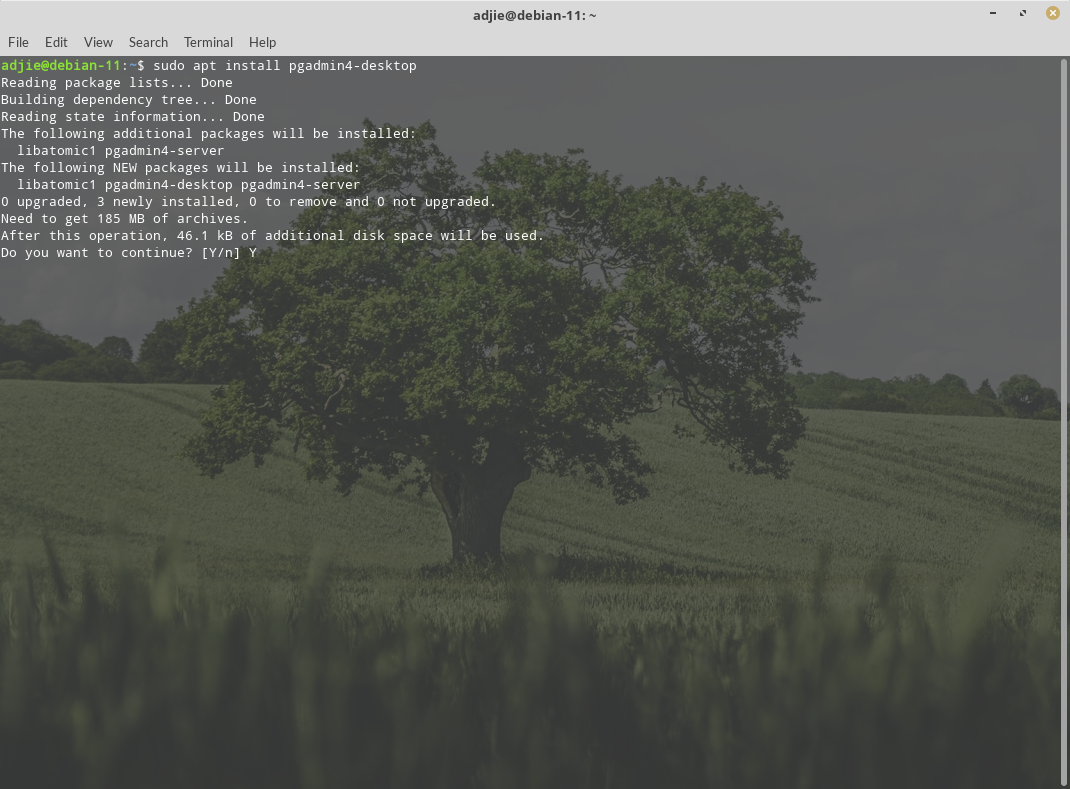
It will ask for confirmation. We can enter "Y" followed by "Enter" to continue with installation. Once the installation process finished, you can open pgAdmin4 from Start Menu > Development > pgAdmin4.
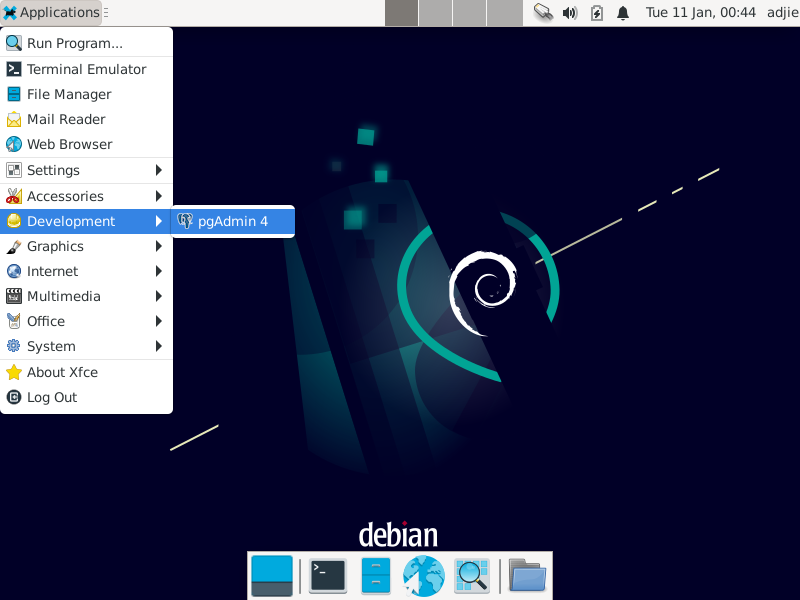
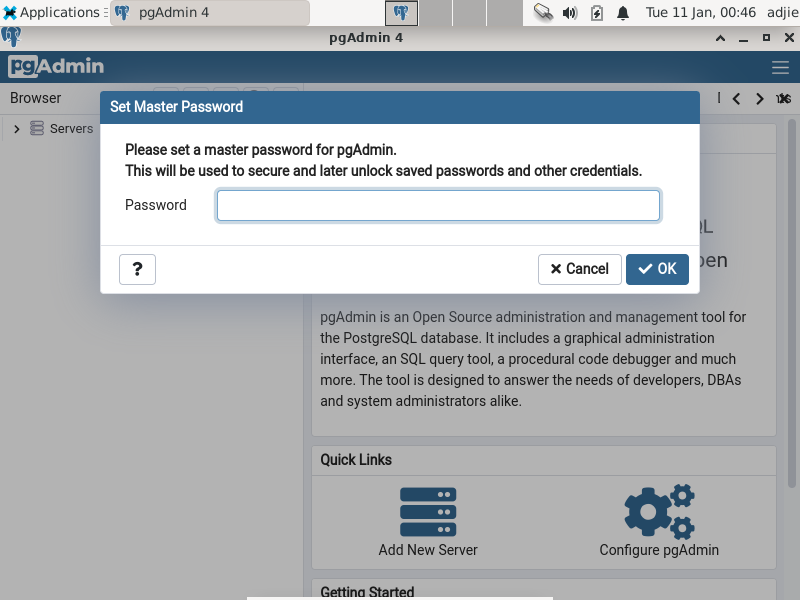
When we open pgAdmin4 for the first time, it will ask for a master password. Please note that this password is different from your PostgreSQL server password.
Next, you can add your PostgreSQL server and connect to it.
Add Server
To add new server, find "Add New Server" menu under "Quick Links" panel.
Next, a wizard for adding new PostgreSQL server will be shown.
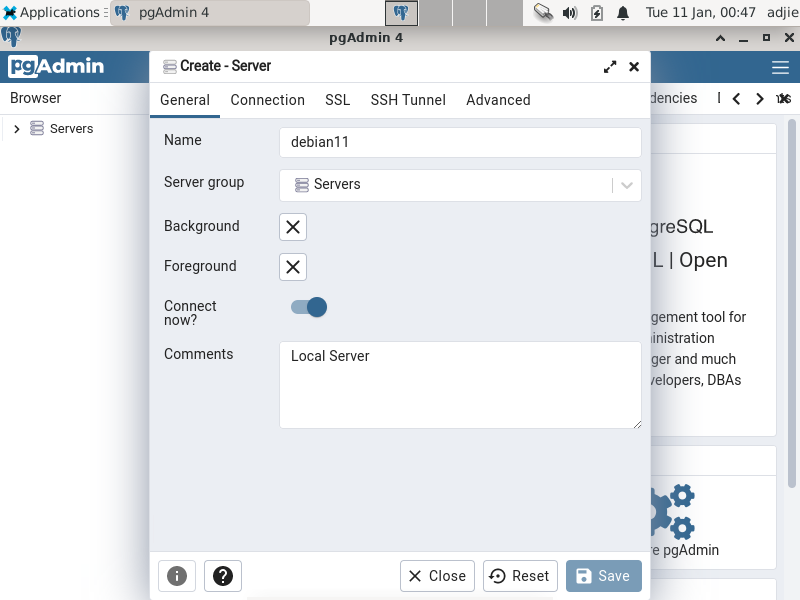
In this "General" tab, fill in the "Name" field to your preference. This could be changed later if you'd like to.
Next, move to "Connection" tab. Fill in "Hostname/Address", "Port", and "Username" fields.
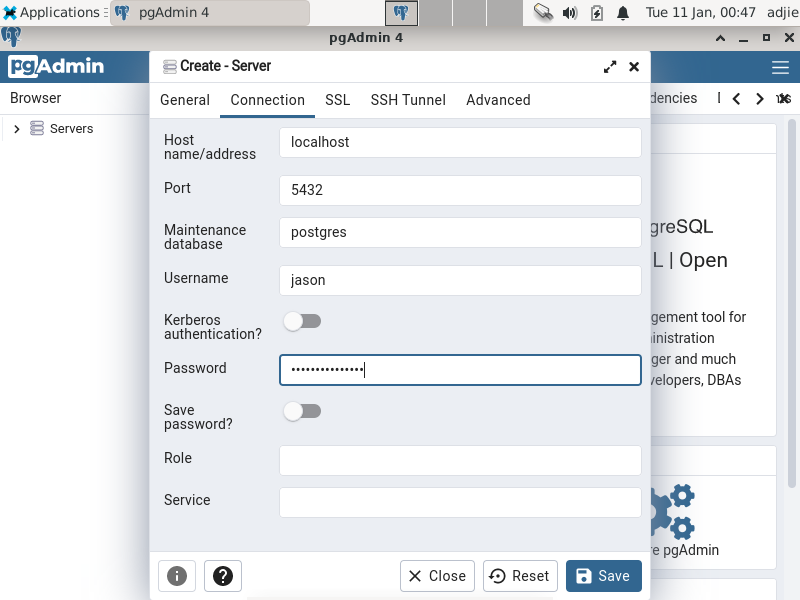
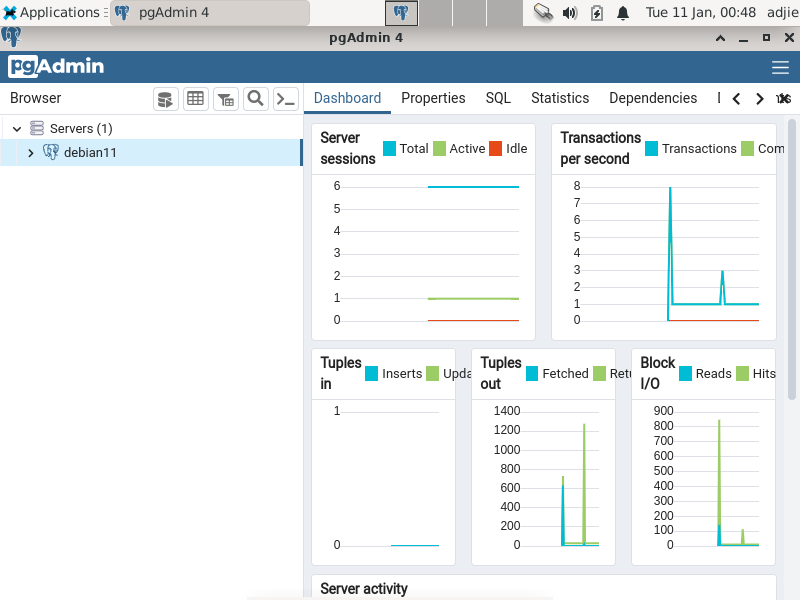
The field "Password" is optional. Once you've filled those necessary fields, press "Save" button at the bottom. The pgAdmin4 application will try to connect to your server. Once connected it will show something like below:
Web Mode
To install web mode only, we can use this command:
$ sudo apt install pgadmin4-web 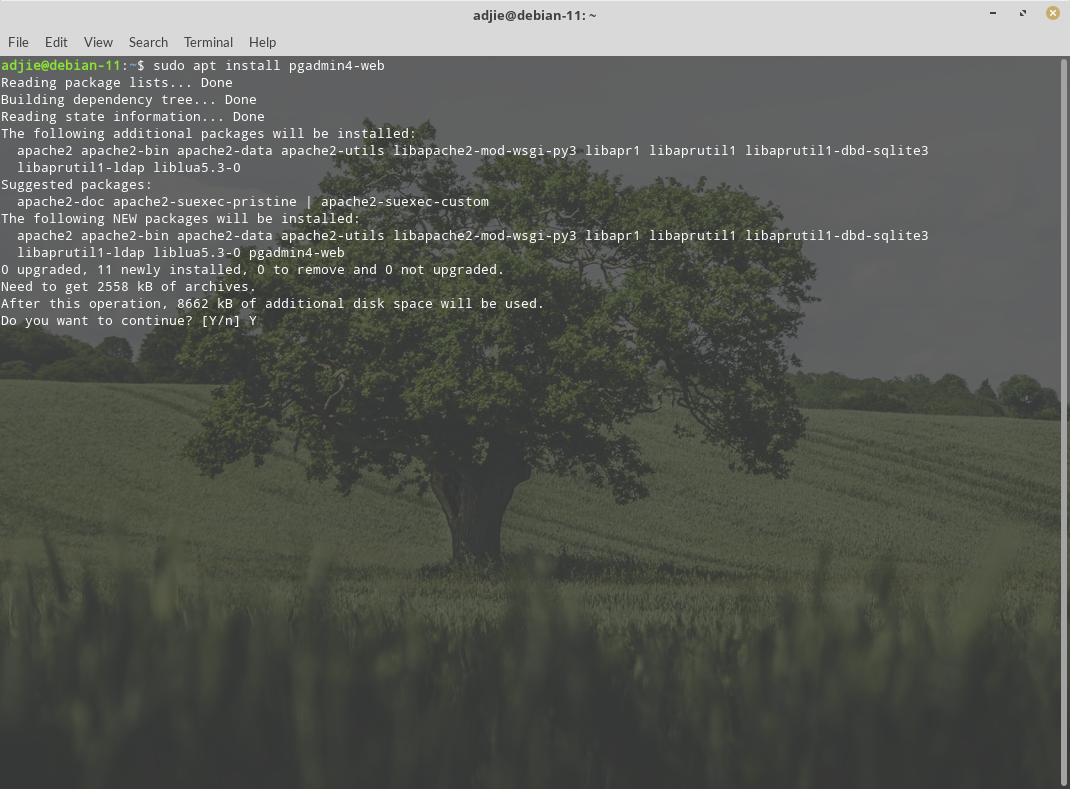
As usual, it will ask for confirmation. We can enter "Y" followed by "Enter" to continue with installation. Once installation process finished, proceed with running web setup script called setup-web.sh as mentioned below.
If you choose to install pgadmin4 or pgadmin4-web, you need to run the web setup script to configure the system to run in web mode. This will prompt for an email address and password to enable web application authentication.
$ sudo /usr/pgadmin4/bin/setup-web.sh 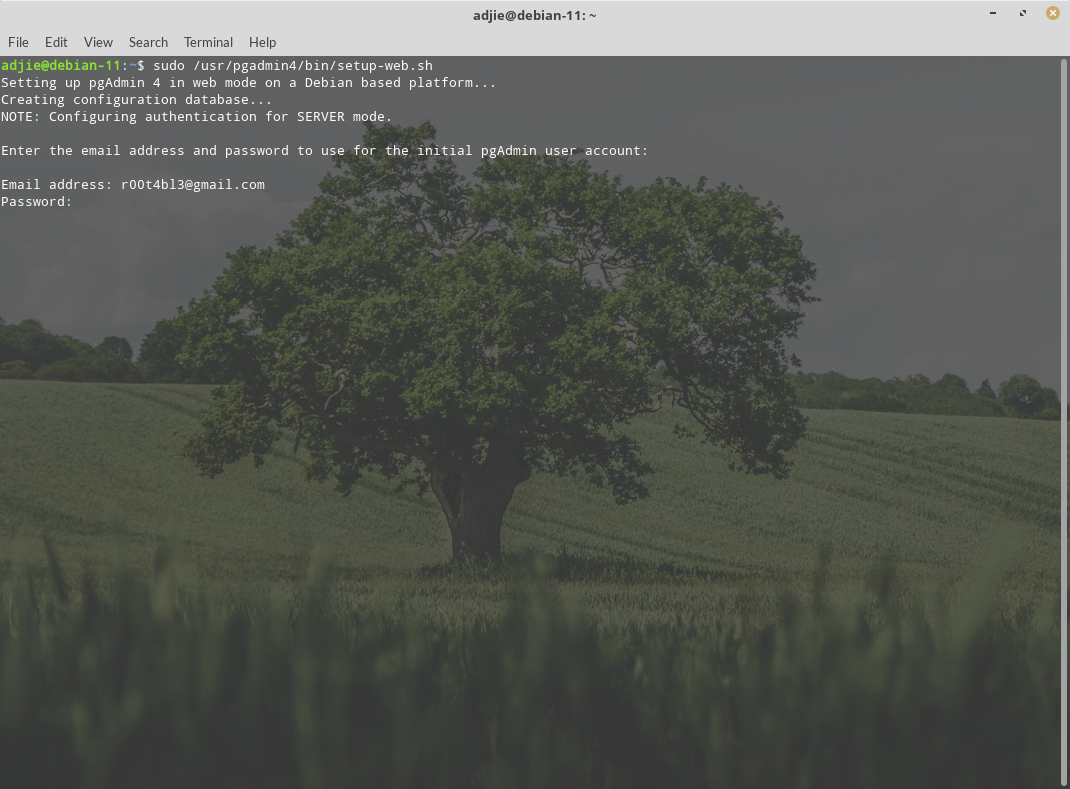
Again, note that this authentication is different with your PostgreSQL server credential. It means that this credential is just authenticating user accessing the pgAdmin4 dashboard. Logging in to pgAdmin dashboard doesn't necessarily logging you in to the available PostgreSQL server.
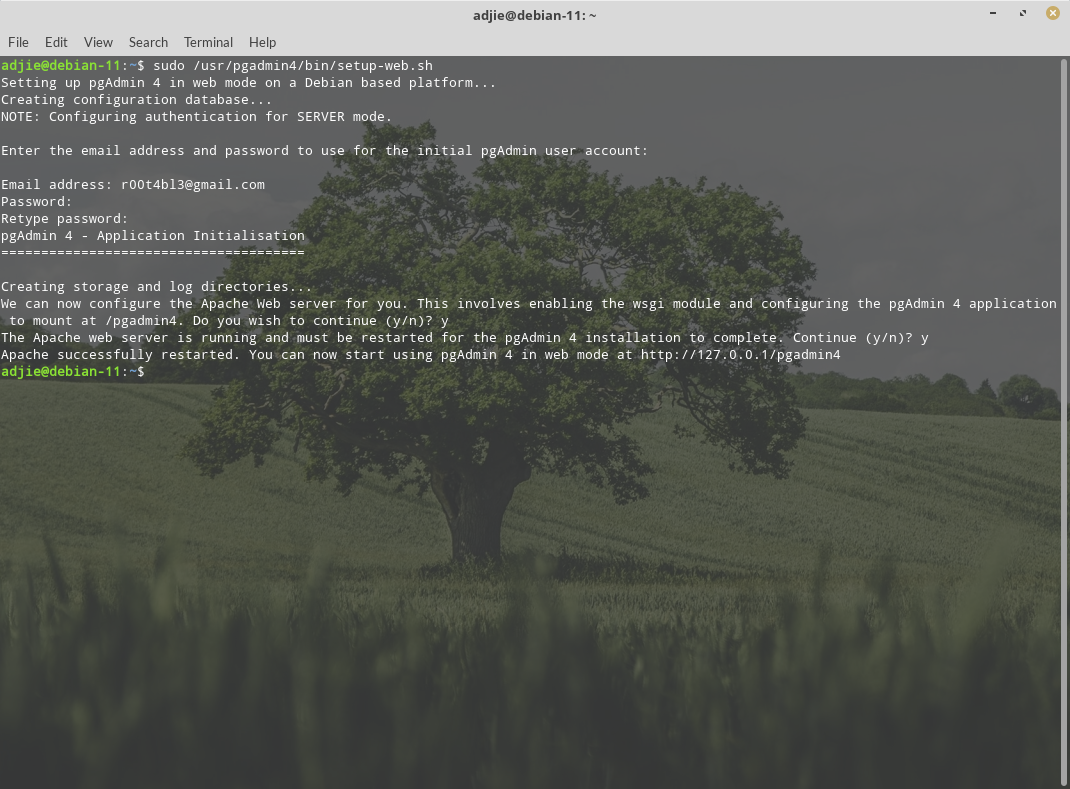
Once the installation process finished, we can open its URL at http://127.0.0.1/pgadmin4.
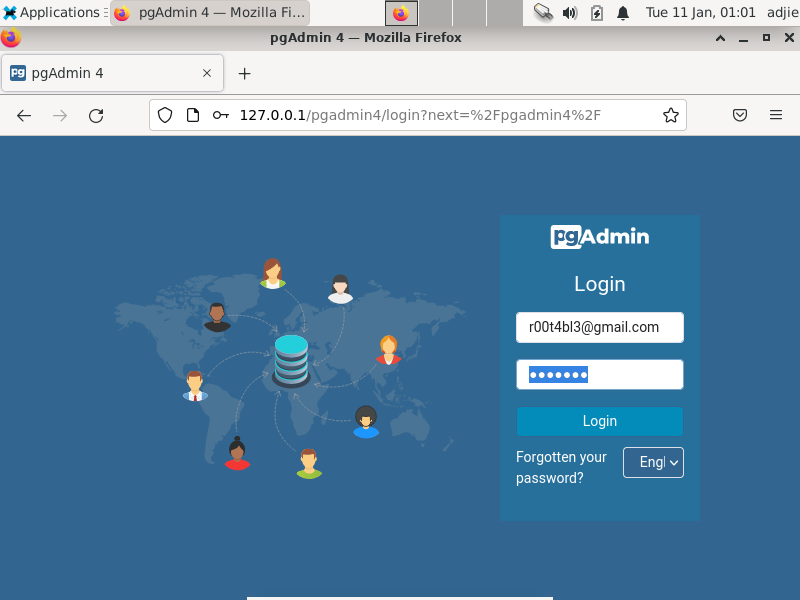
We can login using the credential we've just created in previous step.
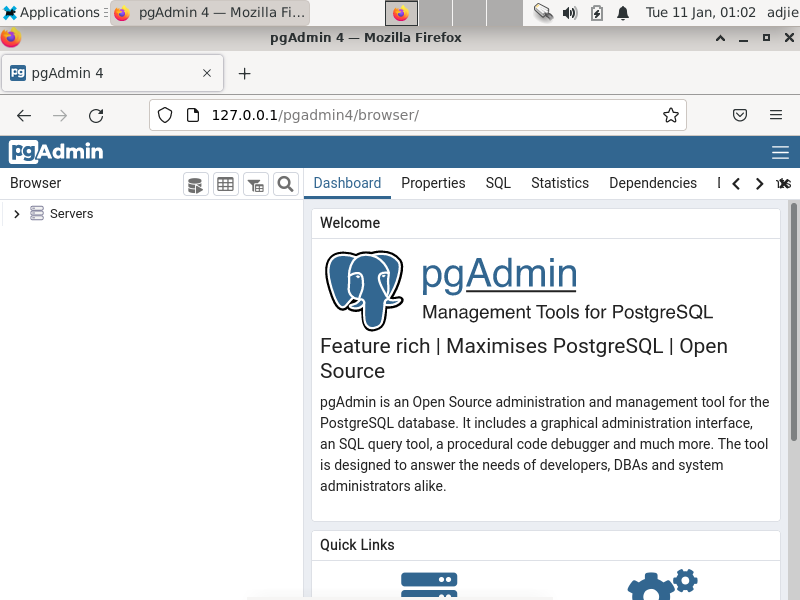
The interface is pretty similar with its desktop counterpart, so I won't cover it again.
Both Modes
We can also install both modes (desktop and web) using this command:
$ sudo apt install pgadmin4The installation and usage for both methods should be similar with above. Remember to run the script setup-web.sh.