How to Install MariaDB 10.4 on Ubuntu 20.04 Focal Fossa

MariaDB is an open-source relational database management system, commonly used as an alternative for MySQL as the database portion of the popular LAMP (Linux, Apache, MySQL, PHP/Python/Perl) stack. MariaDB is developed and maintained by the original developers of MySQL and by the open-source community. It is intended to be a drop-in replacement for MySQL.
This quickstart tutorial describes how to install MariaDB on an Ubuntu 20.04 server and set it up with a safe initial configuration. It will also cover how to set up an additional administrative account for password access.
Although Ubuntu has its own official MariaDB package, there are chances that we need to install more updated version. As the time of this writing, the latest version of MariaDB available is 10.3. Follow these steps to install MariaDB 10.4 package on Ubuntu 20.04 Focal Fossa.
Backup Existing Databases
If you already have some databases on your existing MariaDB installation, please back them up first. Here's my post explaining how to backup MySQL databases, but if you're in a hurry, the command to backup all databases is:
$ mysqldump --opt -u [uname] -p[pass] --all-databases > [backupfile.sql]
This process could take some time depends on the size of your existing databases.
MariaDB 10.4 Installation
Install Dependency
First, make sure we have all dependencies satisfied.
$ sudo apt install software-properties-common
Add MariaDB apt Repository
Next step is to configure apt repository on our system. Basically, we'll need to:
- Create new repository definition file on
/etc/apt/sources.list.dcalledMariaDB.list. - Import GPG public keys used to verify the signature of MariaDB software packages. To avoid this step you can use the
--skip-key-import option. - Update your system's package information.
To complete this step, execute the following command:
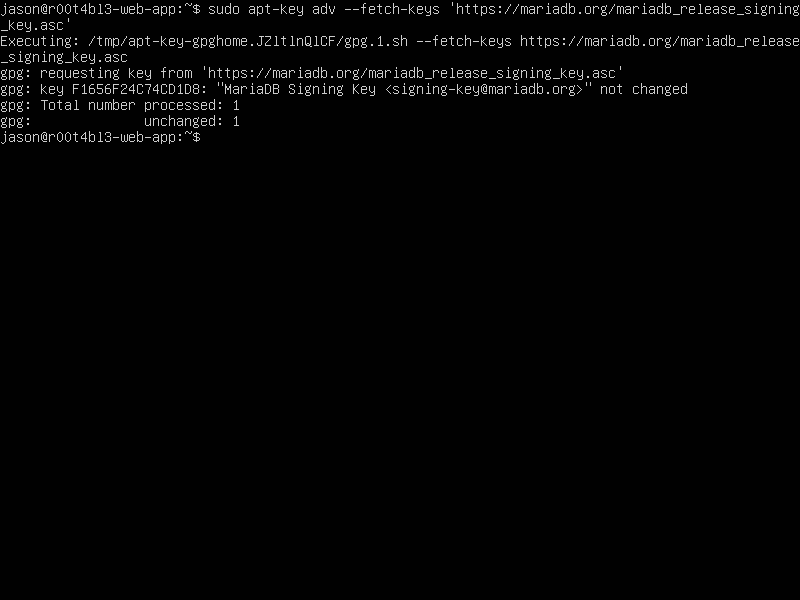
$ sudo apt-key adv --fetch-keys 'https://mariadb.org/mariadb_release_signing_key.asc'
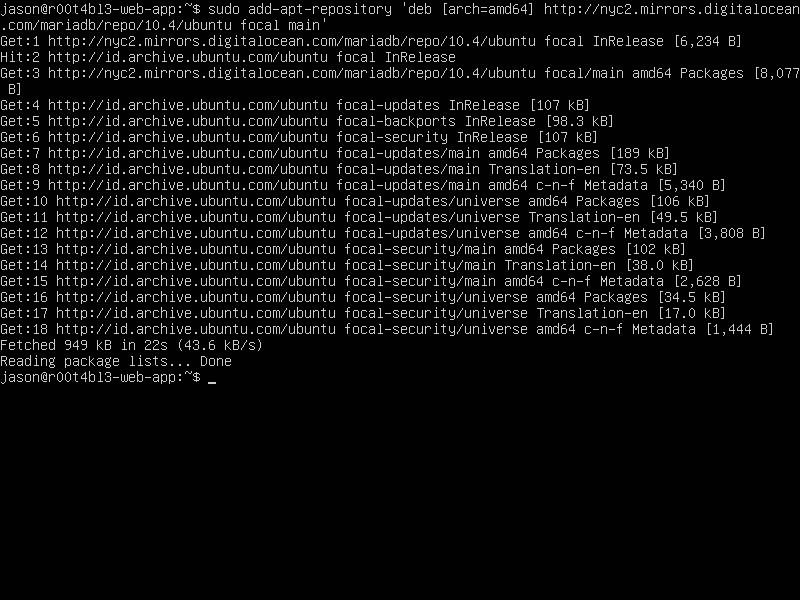
$ sudo add-apt-repository 'deb [arch=amd64,arm64,ppc64el] http://nyc2.mirrors.digitalocean.com/mariadb/repo/10.4/ubuntu focal main'
Install MariaDB 10.4
Next step is the actual installation of MariaDB 10.4. On your terminal, enter this command:
$ sudo apt update
$ sudo apt upgrade
$ sudo apt install mariadb-server
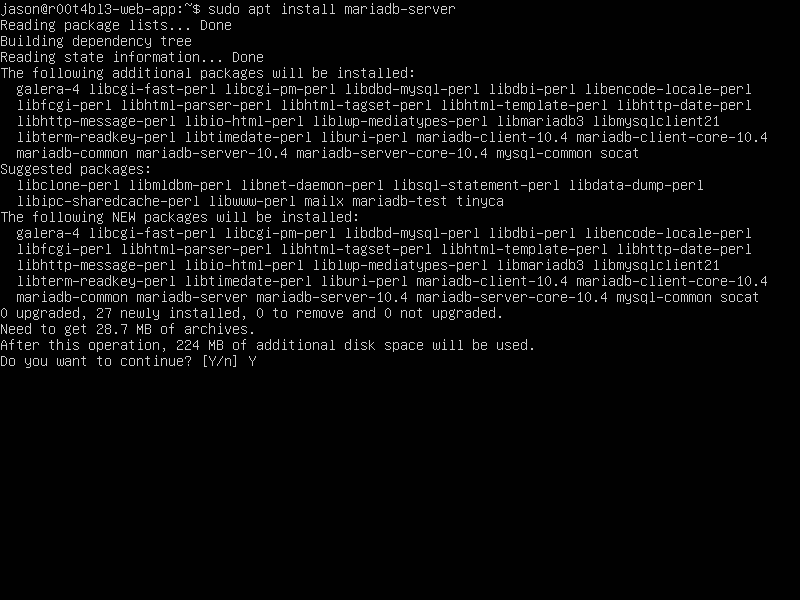
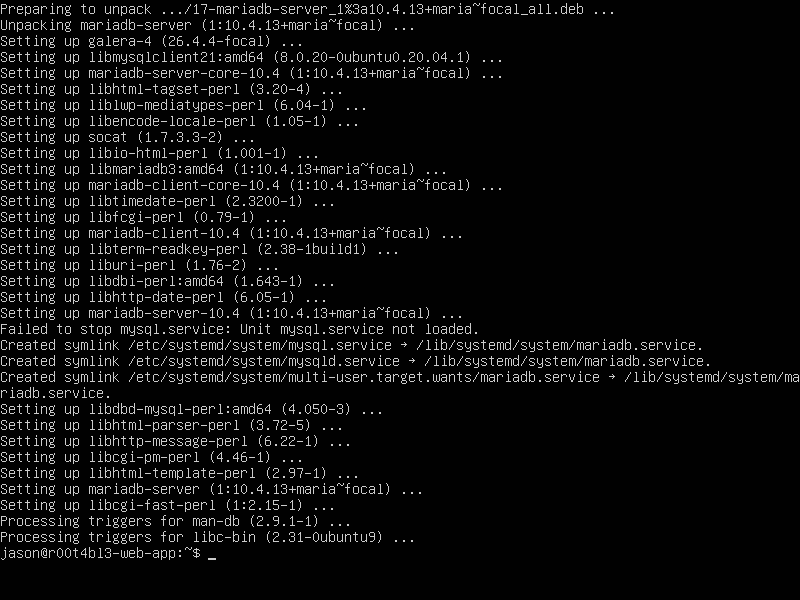
Type "Y" followed by "Enter". Installation will be processed and it will take a few seconds to complete, depends on your internet connection.
Verify Installation
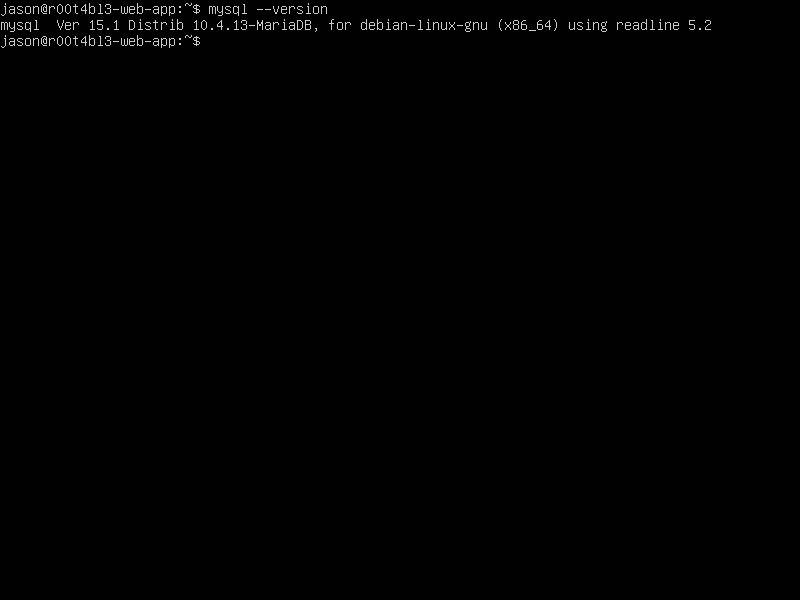
Once the installation process finished, we should verify that we've correctly installed MariaDB 10.4. At your shell, type:
$ mysql --version
You should see something like this:
MariaDB configuration
Usually the first thing you would've done after MariaDB installation is setting up a password for unprotected superuser account. This is not the case now. But if you want to do it anyway, to set root password just type this command:
$ sudo mysql
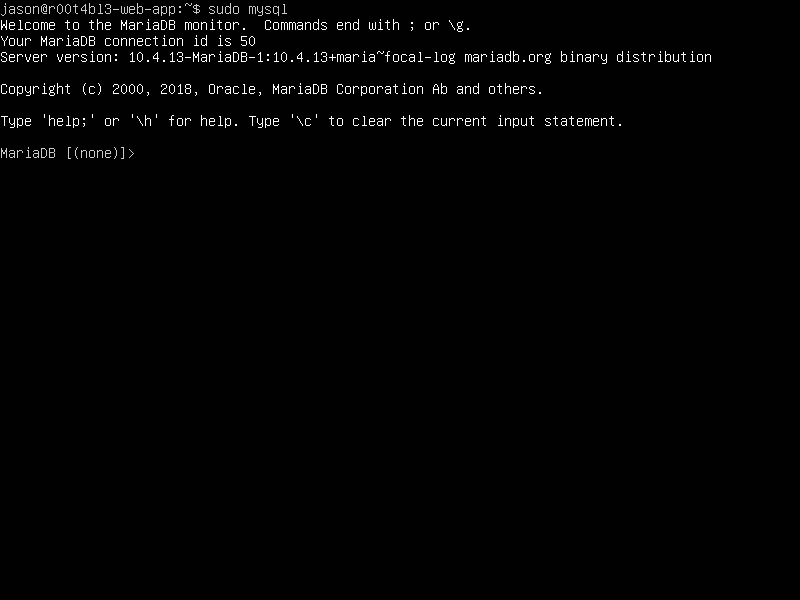
Your terminal will change to MariaDB terminal. It's like a terminal where you can enter your SQL commands there. To set root password, enter this command:
MariaDB [(none)]> ALTER USER root@localhost IDENTIFIED VIA mysql_native_password USING PASSWORD("verysecret");
Change "verysecret" with your preferred password.
If you've forgotten your root password, no problem — you can still connect using sudo and change the password.
Add User
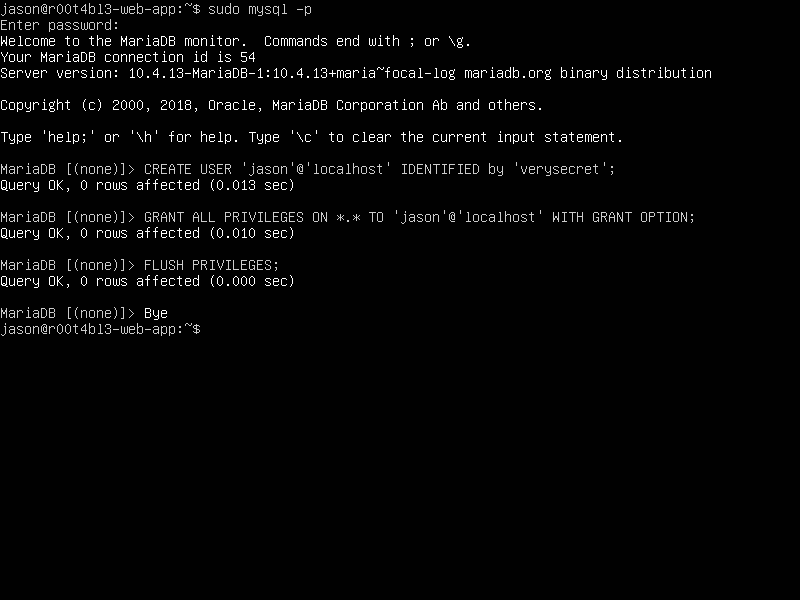
It's better to add another user as an administrative user other than root. Let's back to our MariaDB terminal and enter below commands to create one.
$ sudo mysql -p
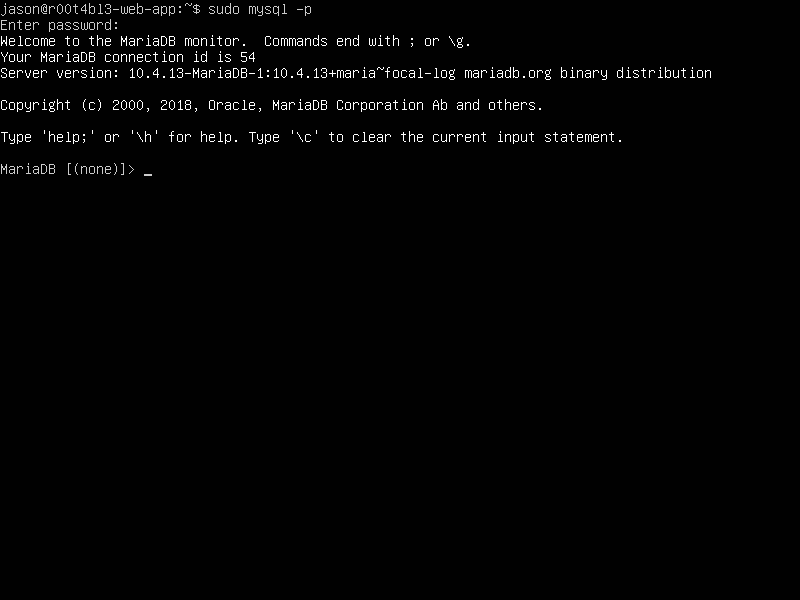
Note that right now we're using
-poption. This is a must because we have set a password for root user in previous step. MariaDB will ask for password then.
On MariaDB terminal, enter these command:
MariaDB [(none)]> CREATE USER 'jason'@'localhost' IDENTIFIED BY 'verysecret';
MariaDB [(none)]> GRANT ALL PRIVILEGES ON *.* TO 'jason'@'localhost' WITH GRANT OPTION;
MariaDB [(none)]> FLUSH PRIVILEGES;
As usual, change "verysecret" with your preferred password. To logout from MariaDB terminal, press Ctrl-D.
Restore Databases
Although in most cases you should still able to see your existing database after upgrade to MariaDB 10.4, it's still possible that your databases wiped out. No worries, if you followed this guide exactly as it is, you should already have database backup. To restore your database using this command:
$ mysql -u [uname] -p[pass] < [backupfile.sql]
Final Words
I hope that you now know how to install MariaDB 10.4 on Ubuntu 20.04 Focal Fossa. If you run into any issues or have any feedback feel free to drop a comment below.