How to Create a Live USB of Manjaro Linux in Linux

Manjaro Linux, or simply Manjaro, is an open source operating system for computers. It is a distribution of Linux based on independently developed Arch Linux distribution. Within the Linux community, Arch itself is renowned for being an exceptionally fast, powerful, and lightweight distribution that provides access to the very latest cutting edge - and bleeding edge - software. However, Arch is also aimed at more experienced or technically-minded users. As such, it is generally considered to be beyond the reach of those who lack the technical expertise (or persistence) required to use it.
Manjaro features a rolling release update model and uses pacman as its package manager. According to Distrowatch, it's the most popular distribution (as per September 2018). Interested? Let's give it a try.
As the first step to try Manjaro, we must create a live USB. And in this post I'll show you how to create a live USB of Manjaro in Linux.
Download and Verify ISO File
Manjaro installation images are available for download as ISO files. An ISO file is itself a literal copy of a disc image, although not in the same sense as a copy and paste duplication, rather it is a copy of the raw machine code that makes up the files and folders of that disc. This is why just copying an ISO file to a disc (or USB flashdrive) to begin installing it won't work; you'll need to use a disc burning application to translate that raw data into the files and folders.
To download the ISO, open this page on your web browser: https://manjaro.org/get-manjaro/ You'll need to choose between XFCE, KDE, and Gnome. For example, let's use Manjaro GNOME Edition (17.1.12).
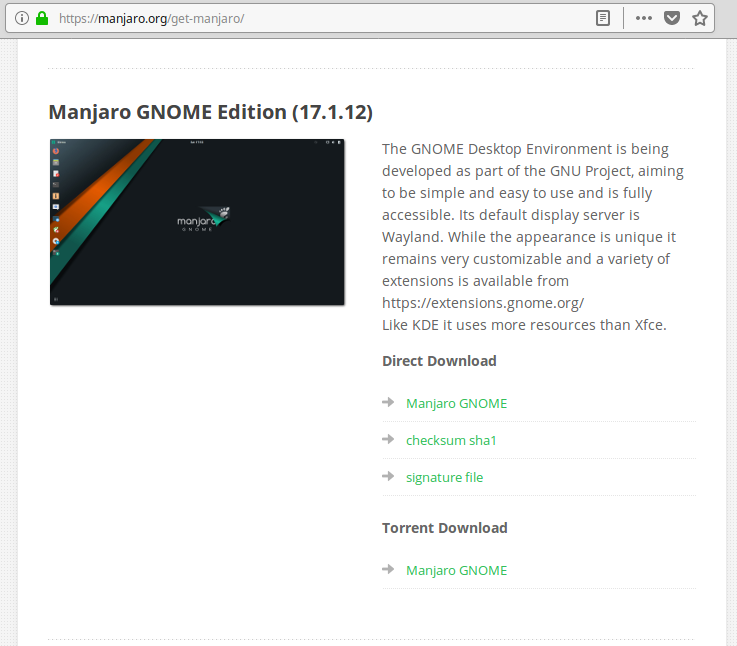
The ISO file is about 1,9G, so it could take a while for the download to finish. Once finished, we must verify its integrity and make sure it's error-free. For this purpose, we'll use md5sum utilities.
First open a terminal and go to the correct directory to check a downloaded .iso file, for example "Downloads":
$ cd Downloads
Then run the following commands from within the download directory:
$ ls -lh | grep manjaro
-rw-rw-r-- 1 adjie adjie  1,9G Aug 19 00:25 manjaro-gnome-17.1.12-stable-x86_64.iso
Highlight & copy the whole name of the .iso file & paste it after the following command & hit the Enter key, for example manjaro-gnome-17.1.12-stable-x86_64.iso:
$ md5sum manjaro-gnome-17.1.12-stable-x86_64.iso
md5sum should then print out a single line after calculating the hash:
afe0926828c368e43bc87d622e15cbdf manjaro-gnome-17.1.12-stable-x86_64.iso
Compare the hash (the alphanumeric string on left) that your machine calculated with the corresponding hash from the download page of the .iso . If they match your download is not corrupt. If they don't match you need to download the .iso again.
Burn ISO File to USB
Warning: The step below will destroy all data currently on the USB stick being used. Please be certain it does not contain important information.
After we make sure the ISO file is fine, next step is "burn" the ISO into USB stick.
Connect the USB flash drive to your PC, open a terminal and cd to where you downloaded the disc image.
$ cd Downloads
Check the device identifier with this command:
$ sudo fdisk -l
For example, the output from my PC was:
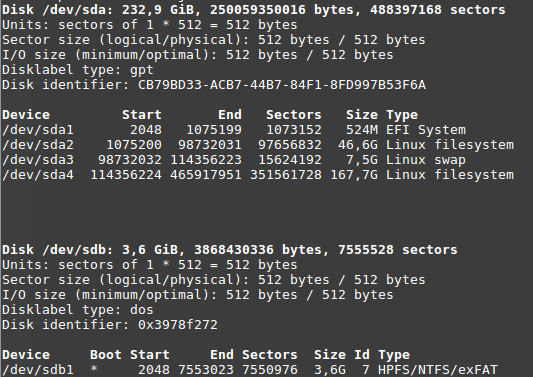
It's clear that the USB stick was identified as /dev/sdb. To continue with burning process, enter this command:
$ sudo dd bs=4M if=manjaro-gnome-17.1.12-stable-x86_64.iso of=/dev/sdb status=progress
Please note that it is the device (e.g. /dev/sdb), and not the partition number (e.g. /dev/sdb1).
The process should take a while, please be patient.
Booting the Live USB Stick
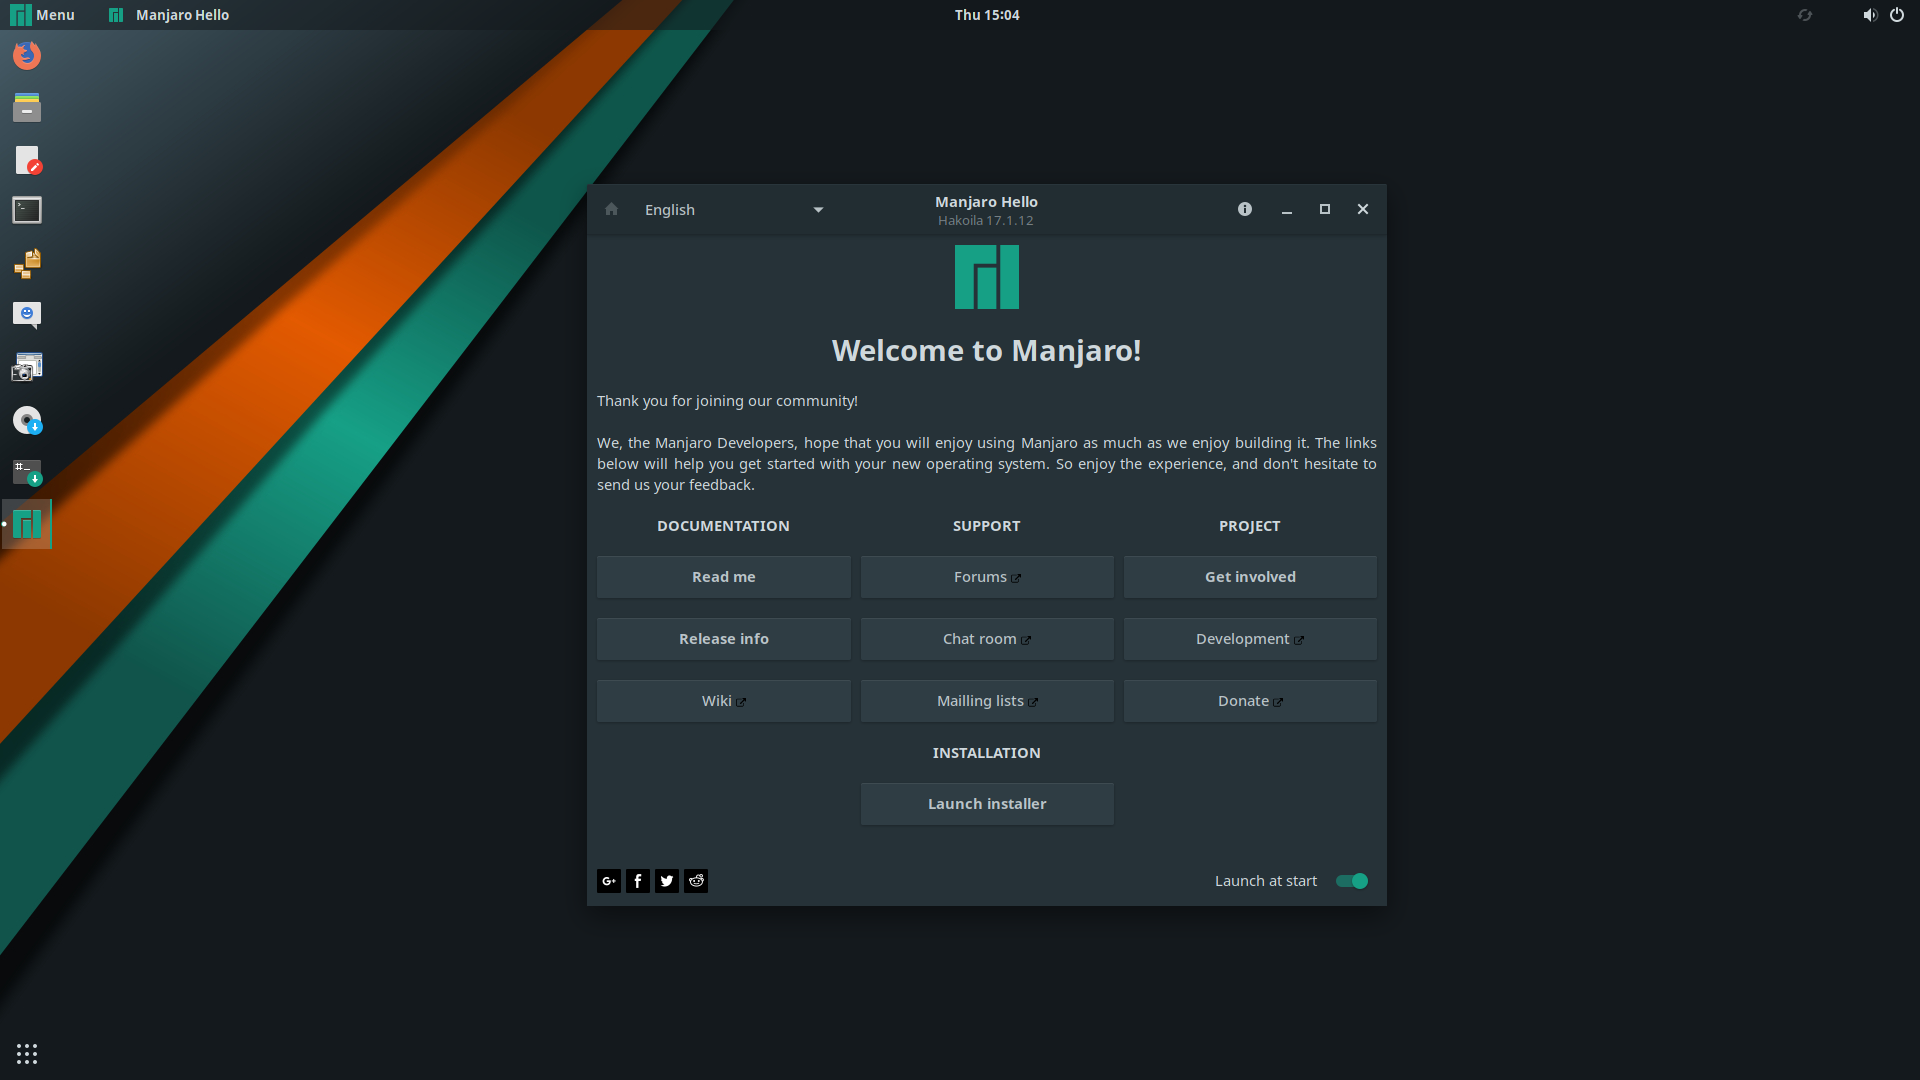
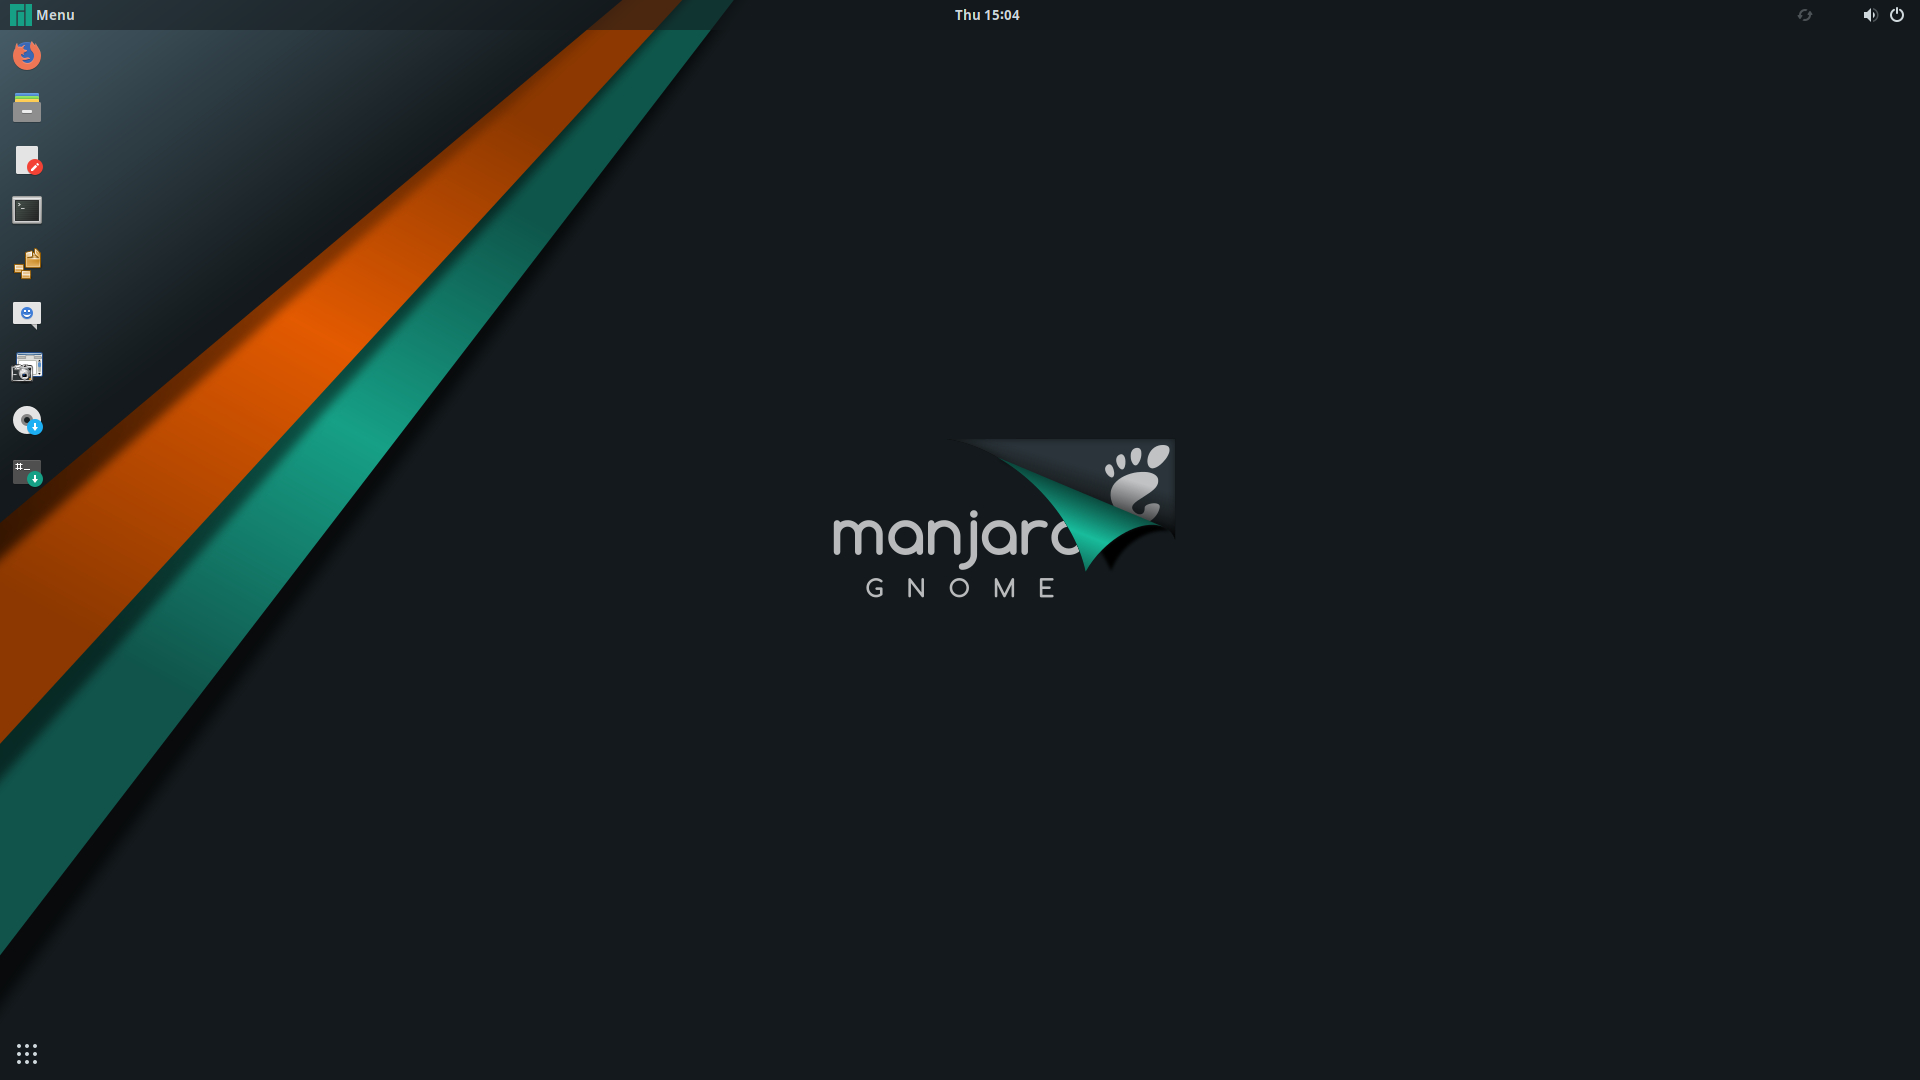
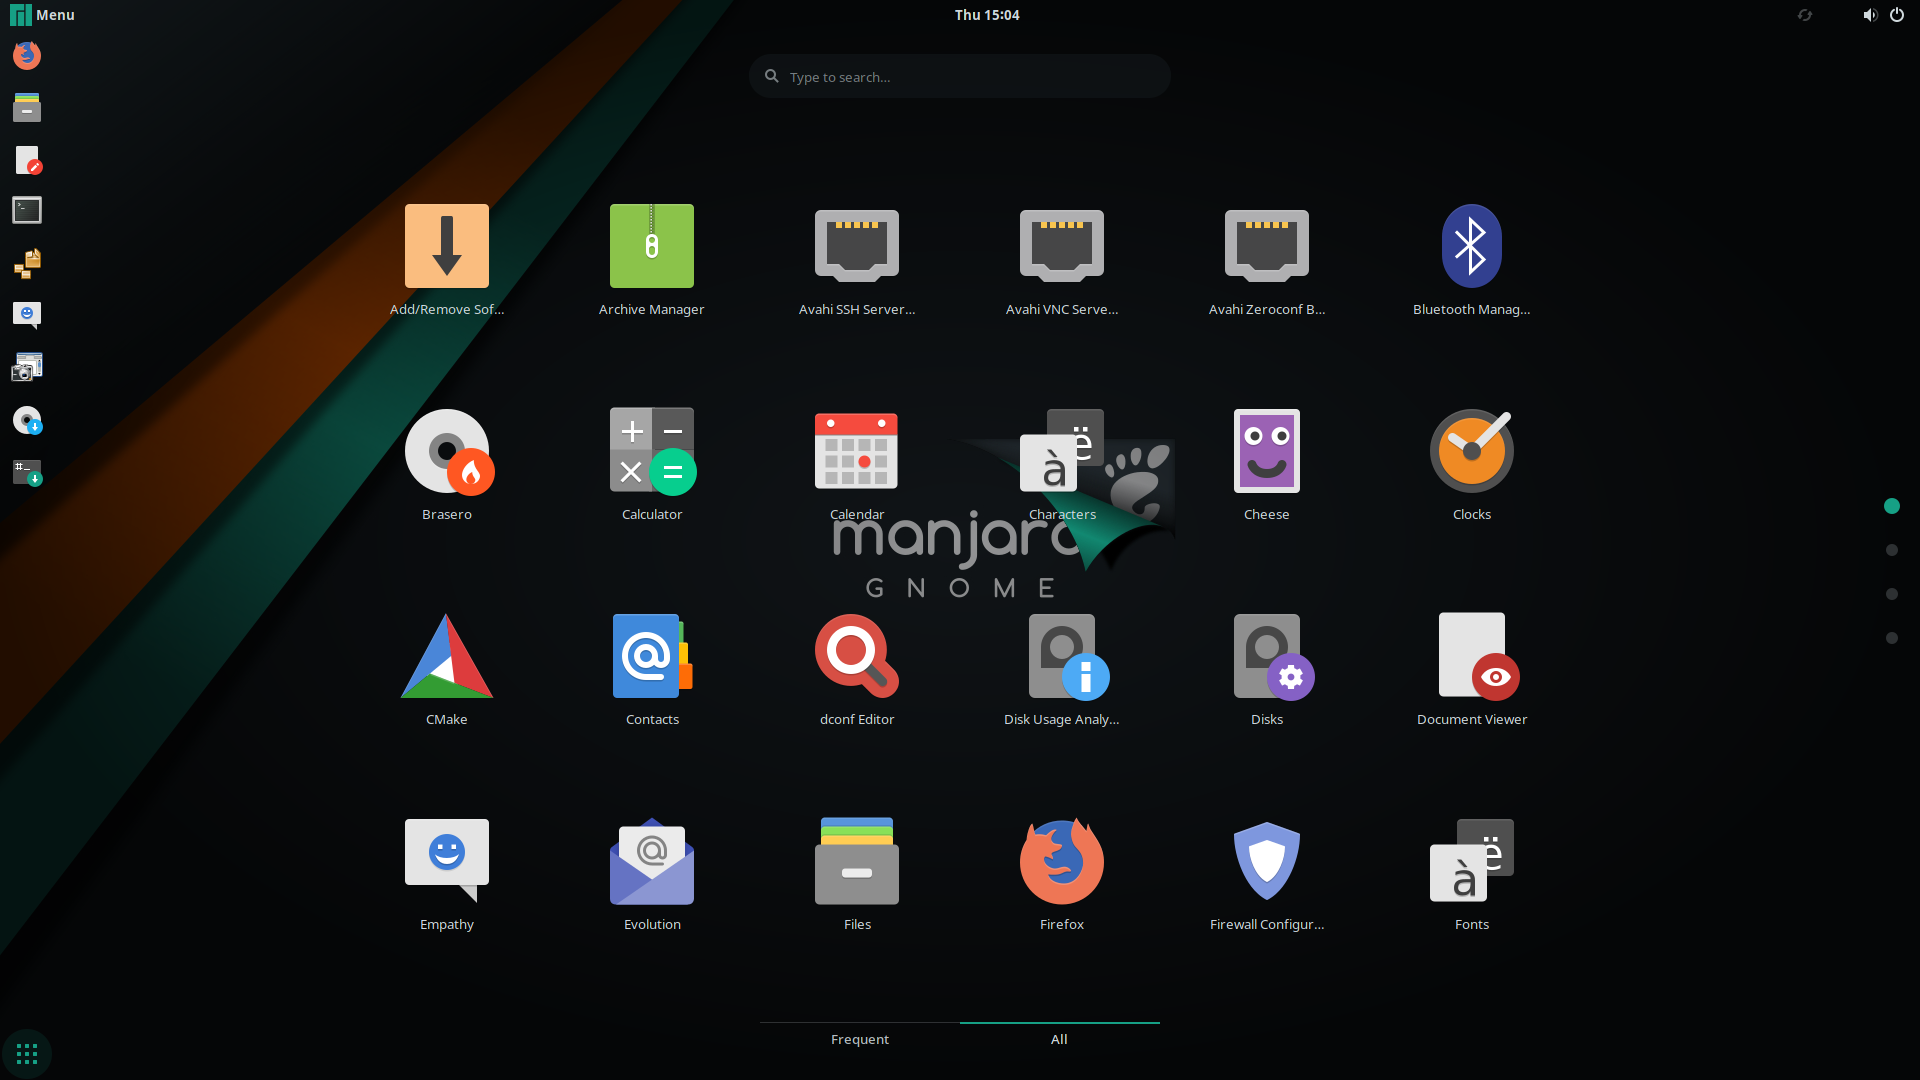
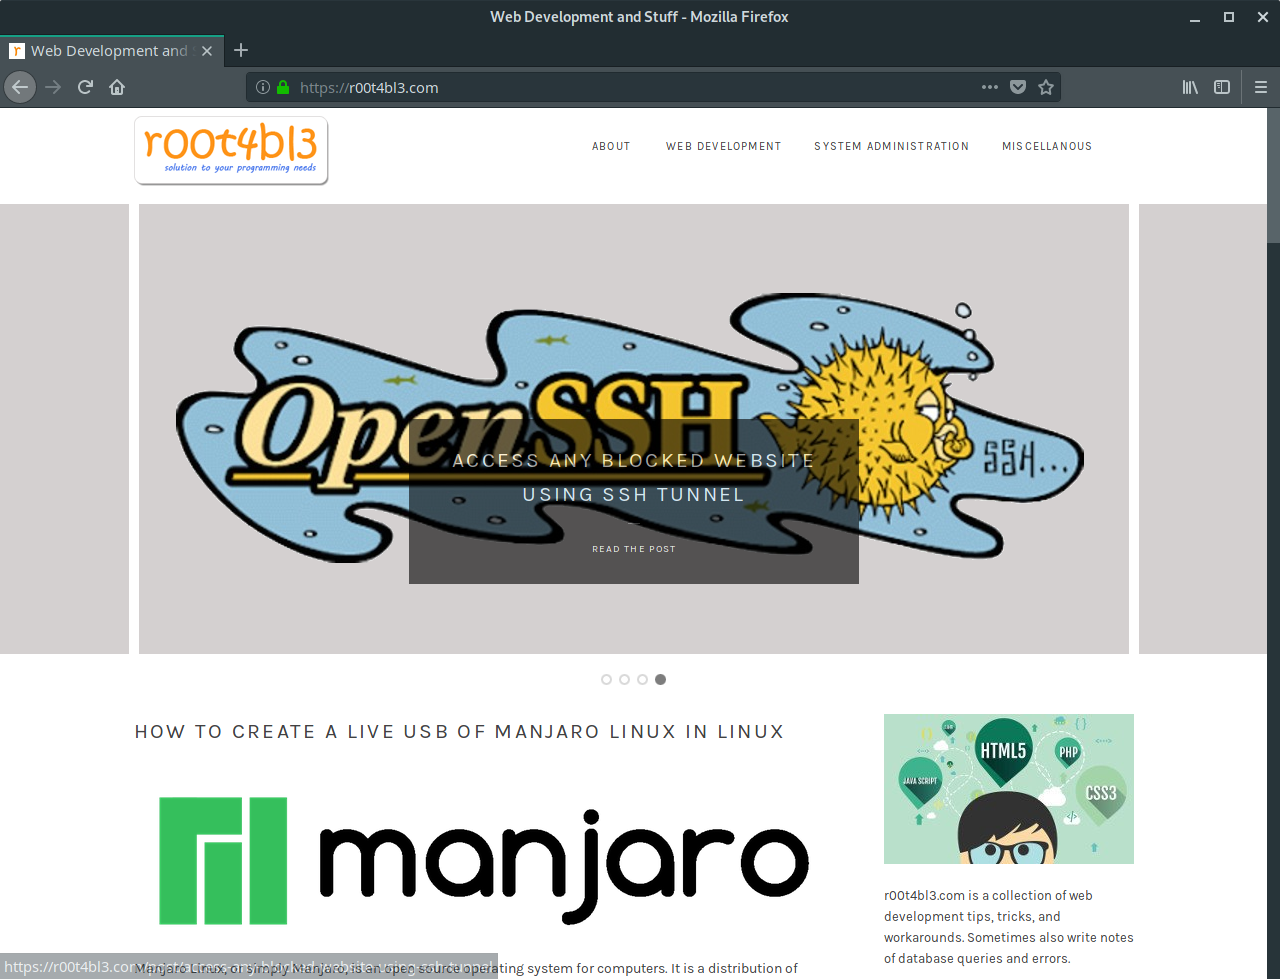
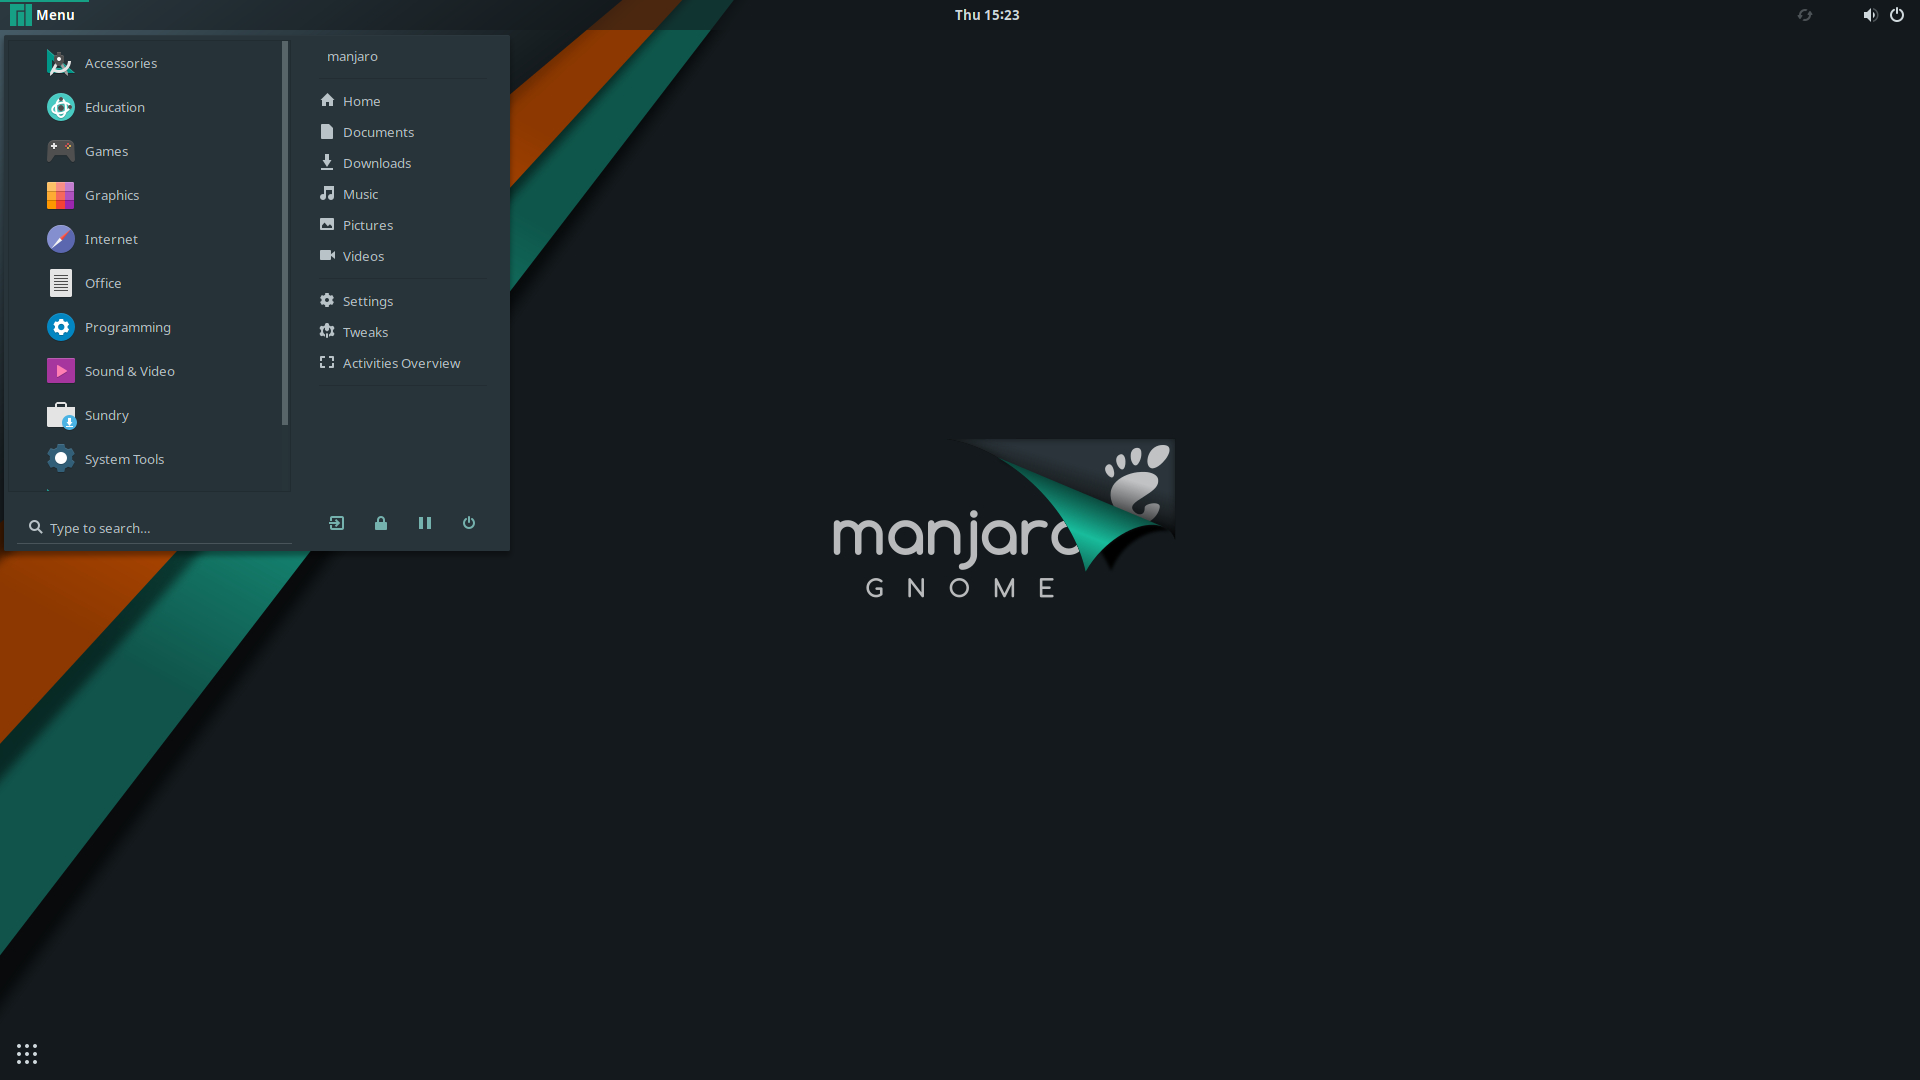
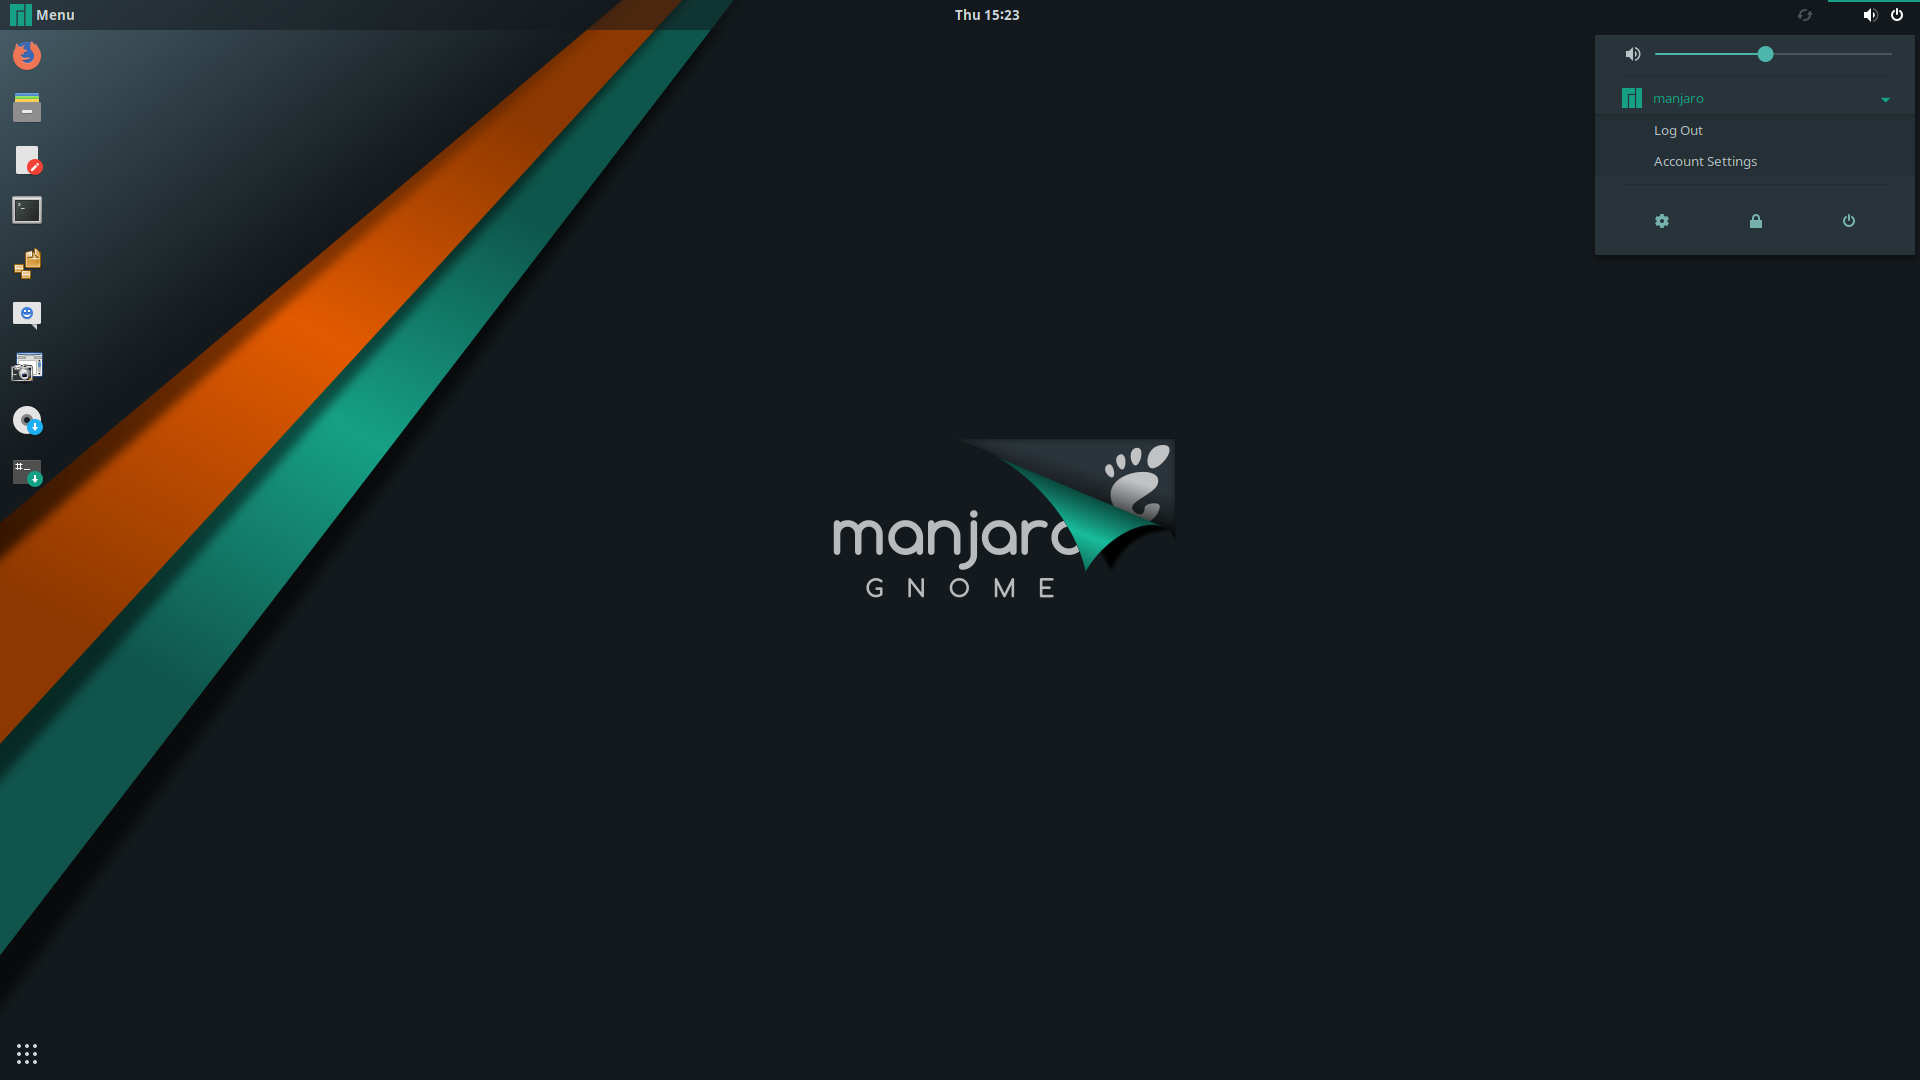
That's it. Once the burning process completed reboot your system and boot from the USB drive by selecting it as the boot device in the BIOS menu (or its UEFI equivalent). I've attached some screenshots of mine:
Final Words
I hope that you now know how to create a live USB of Manjaro Linux. If you run into any issues or have any feedback feel free to drop a comment below.
This only creates a bootable drive. Not a "live" drive. The difference is, that with a "live" drive you can store your changes and install applications, that persist reboots!