Install OpenLDAP Server on Ubuntu 20.04 Focal Fossa

Lightweight Directory Access Protocol (LDAP) is an open, vendor-neutral, industry standard application protocol for accessing and maintaining distributed directory information services over an Internet Protocol (IP) network. Directory services make sharing of information about users, systems, networks, services, and applications throughout the network possible. As examples, directory services may provide any organized set of records, often with a hierarchical structure, such as a corporate email directory.
A common use of LDAP is to provide a central place to store usernames and passwords. This allows many different applications and services to connect to the LDAP server to validate users.
OpenLDAP is a free, open-source implementation of the LDAP, developed by the OpenLDAP Project. It is released under its own BSD-style license called the OpenLDAP Public License.
- OpenLDAP Server Installation
- OpenLDAP Server Configuration
- Installing php-op
- Configuring clients to communicate with your LDAP server (Linux & Windows)
OpenLDAP Server Installation
To install OpenLDAP server, use following command:
$ sudo apt install slapd ldap-utils
You will be prompted to enter the password for the admin entry in your LDAP directory.
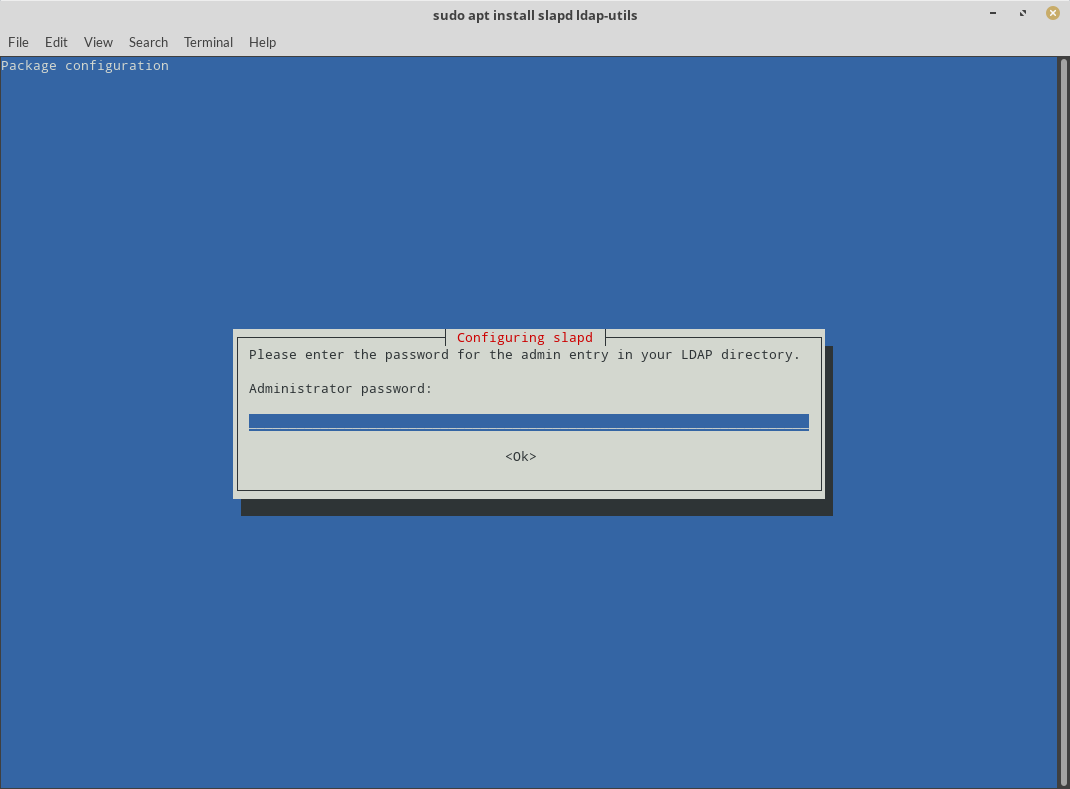
Enter your password and press "Enter" to submit it. It will then ask to verify that you've entered same password.
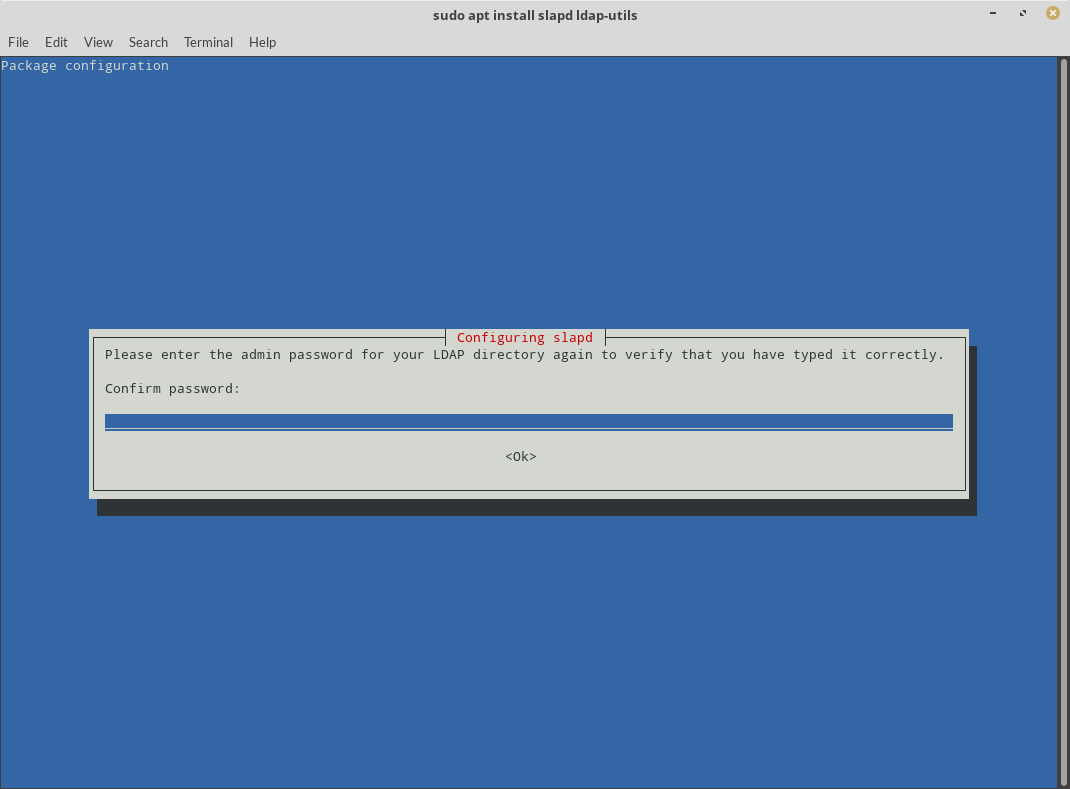
Press "Enter" after you've entered the password. Next, verify that our OpenLDAP server is up and running:
$ sudo systemctl status slapd
The output should be similar with this screenshot. Notice the line that starts with "Active:".
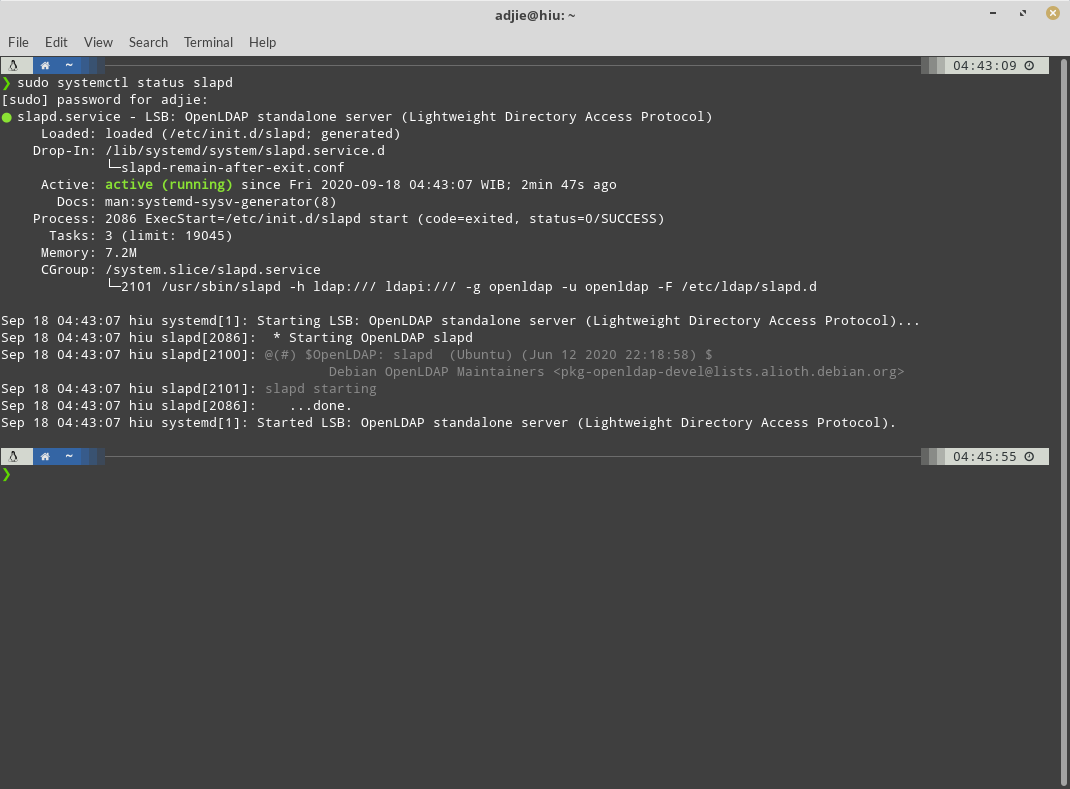
If your screenshot is similar with mine, congratulations! Your new OpenLDAP server is up and running! But please be patient, we still need to configure OpenLDAP before we can actually use it.
OpenLDAP Server Configuration
In *nix world, when it comes to configuration, we usually think that it must be a *.conf file with bazillion syntax and rules available. Fortunately, it's not a case right now. There's a wizard to allow us mere mortals to configure OpenLDAP easily. Back to our the terminal, issue the command:
$ sudo dpkg-reconfigure slapd
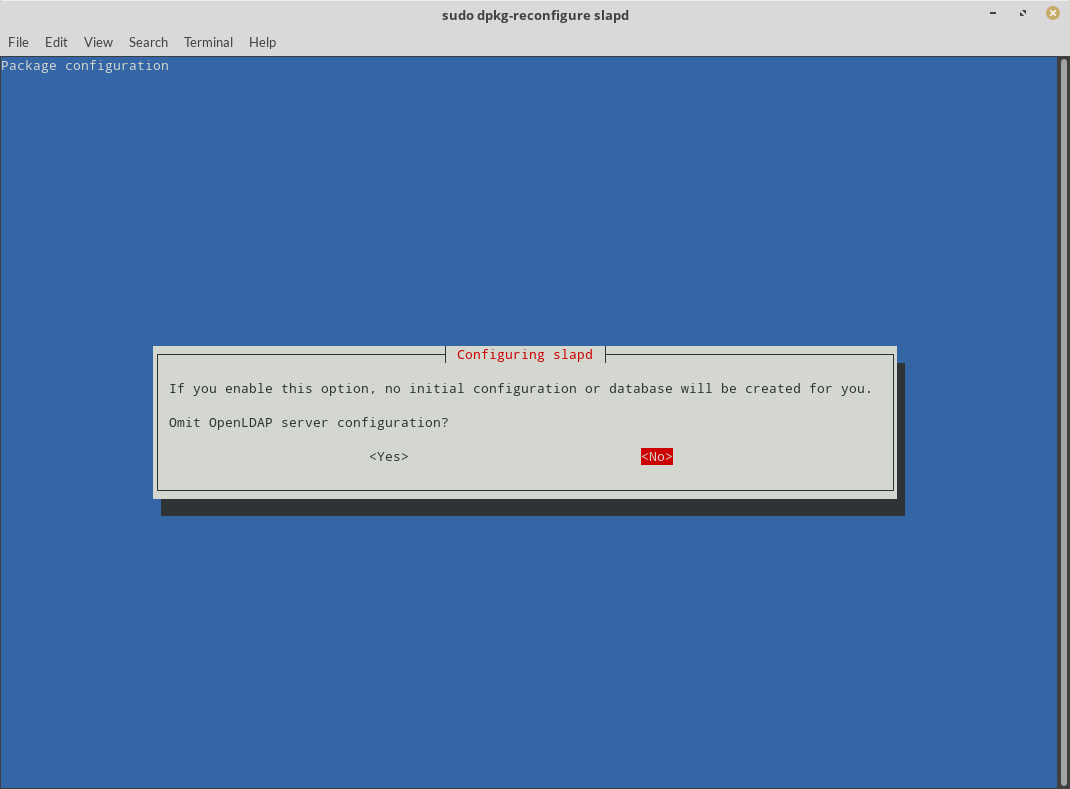
Omit OpenLDAP server configuration? Choose <No>
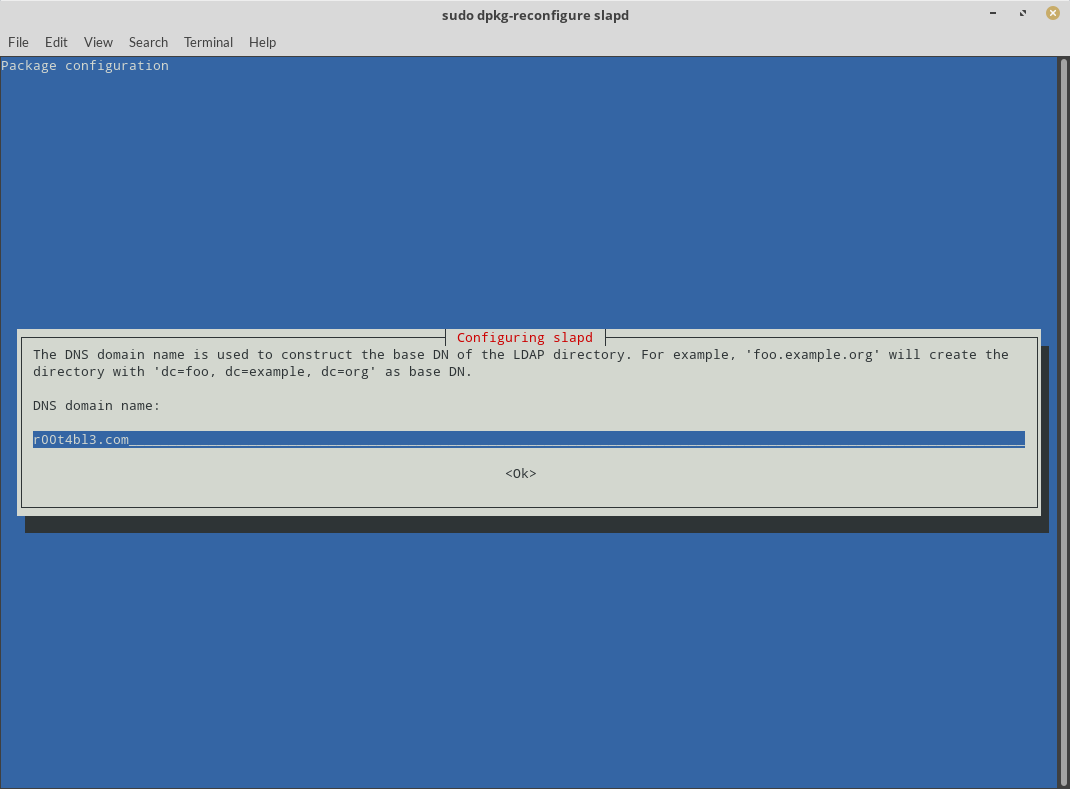
DNS domain name? Enter your domain name here.
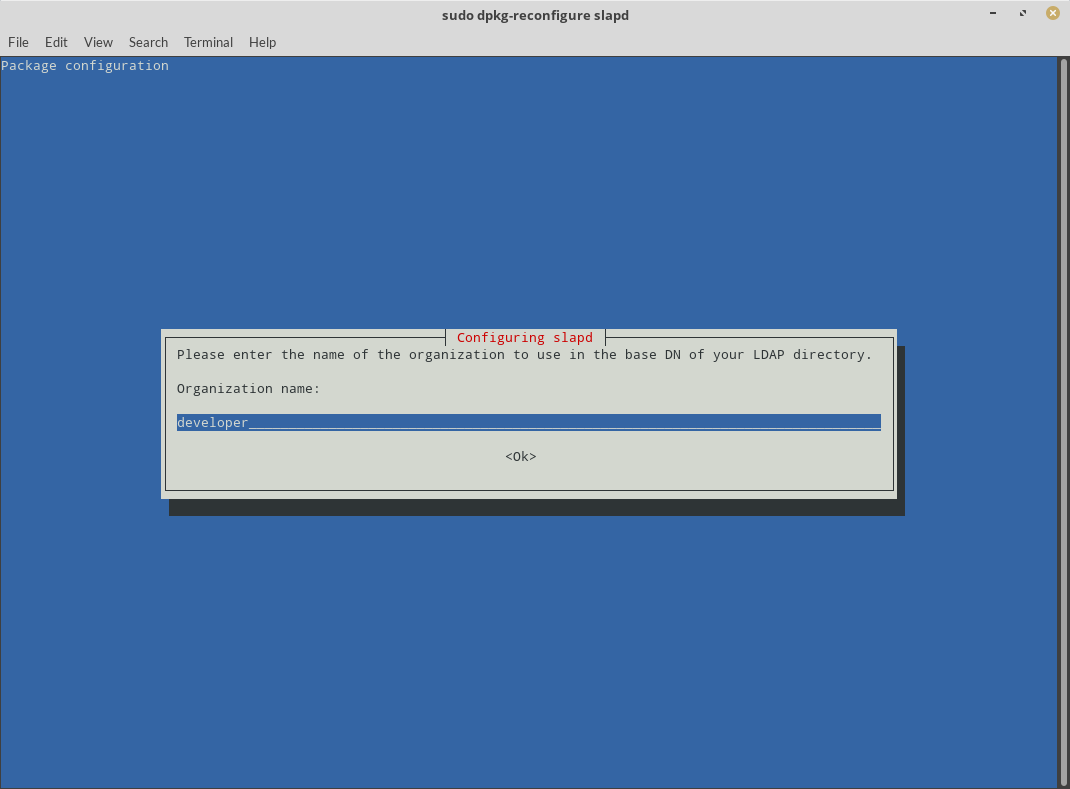
Organization name? Enter your organization name here.

Administrator password? Enter your OpenLDAP Administrator password

Confirm password? Enter your password again to confirm.
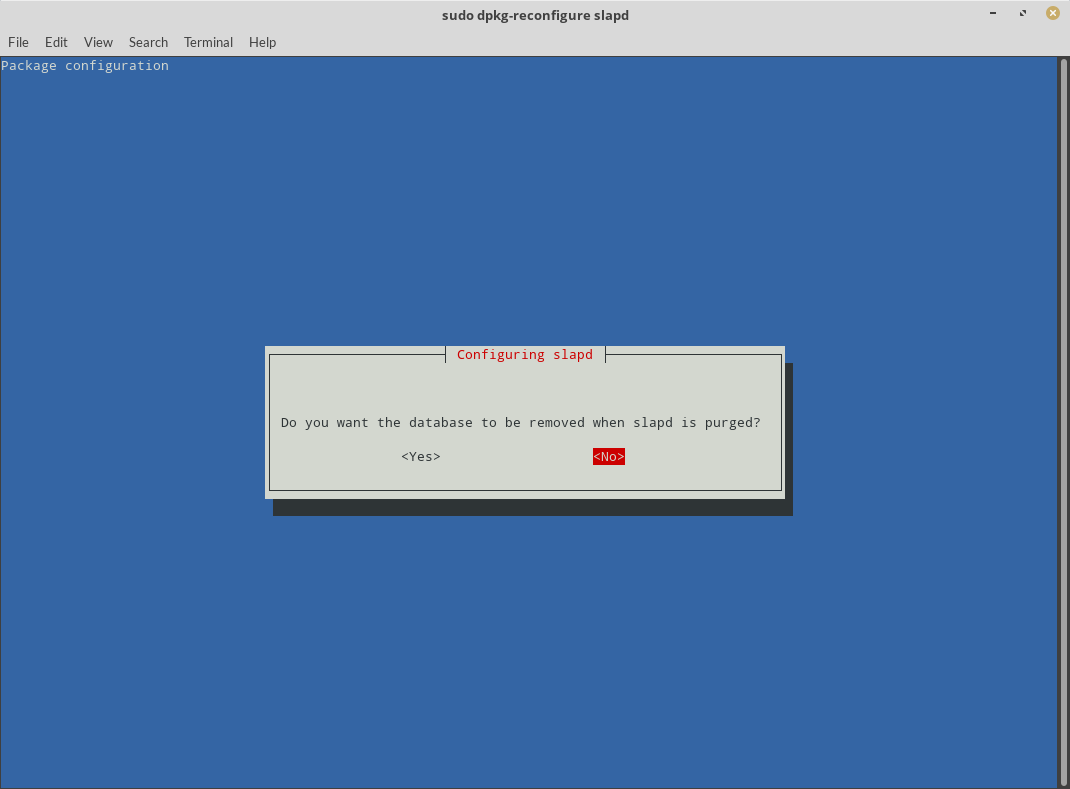
Do you want the database to be removed when slapd is purged? Choose <No>
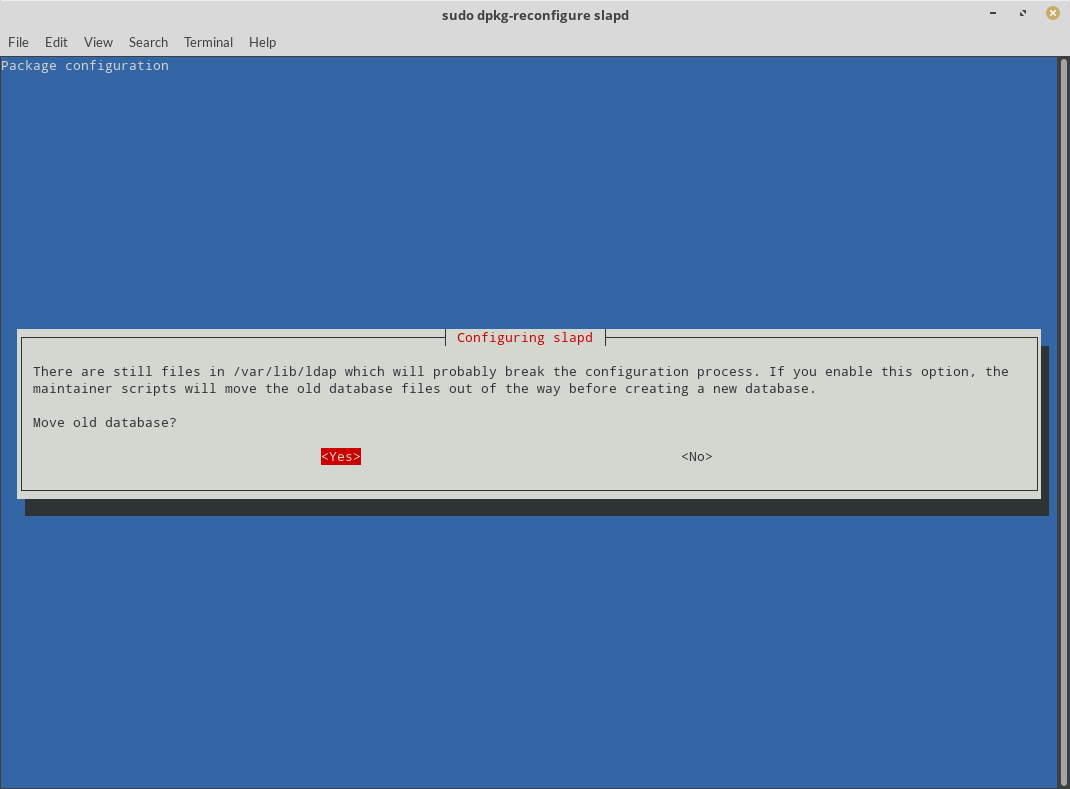
Move old database? Choose <No>
Next, we must open up our external port so that our OpenLDAP server can be accessed from machines other than our local machine. We can do this by running the following command from the terminal:
$ sudo ufw allow ldap
Now we should be good to go. We can test our OpenLDAP instance by running the following command:
$ ldapwhoami -H ldap:// -x
It should return anonymous. This indicates that our OpenLDAP server is responding to queries properly.
Right now you have a working installation of OpenLDAP server on your computer. You might ask how do we manage it on daily basis? How do we add users?
There is no right answer for this because there are some ways to achieve this. For me, I choose web based application. If you're like me and want to manage your OpenLDAP server using web based application, continue with next part.
Install php-ldap (Optional)
We can manage our OpenLDAP server using web based application. In this case, I use directorytree/ldaprecord. It's simple enough for us to get started with.
$ sudo apt install php-ldap
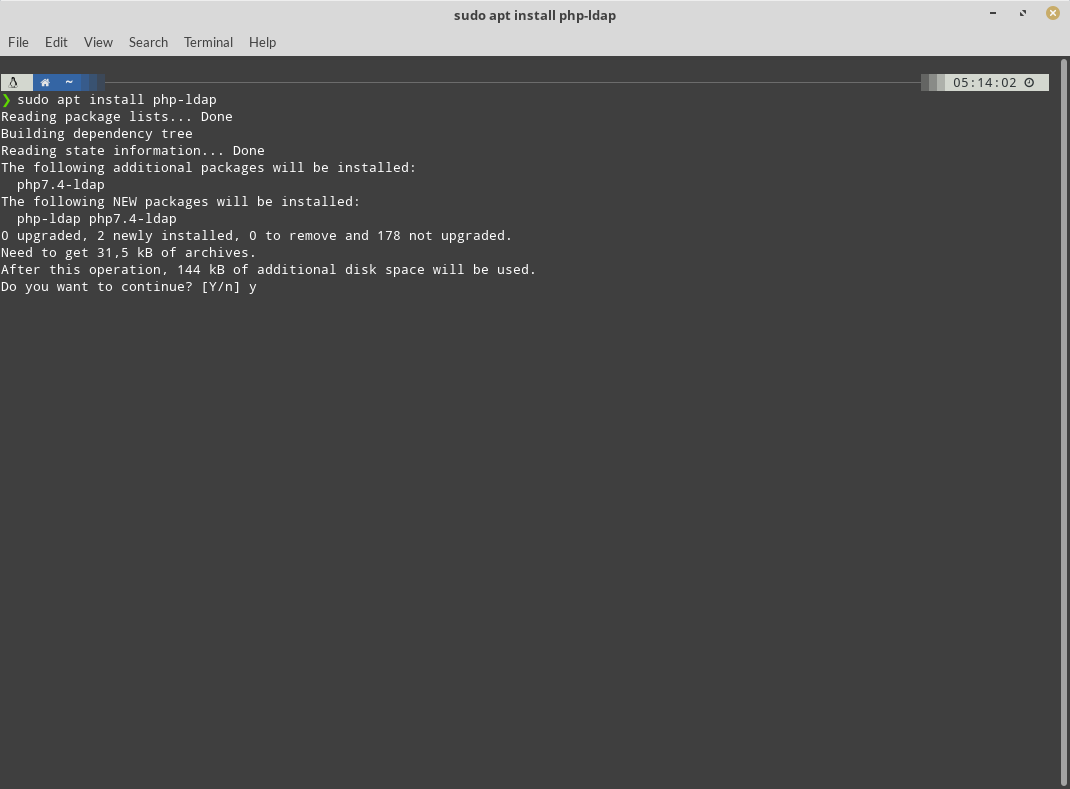
Press "y" and "Enter" to continue with installation.
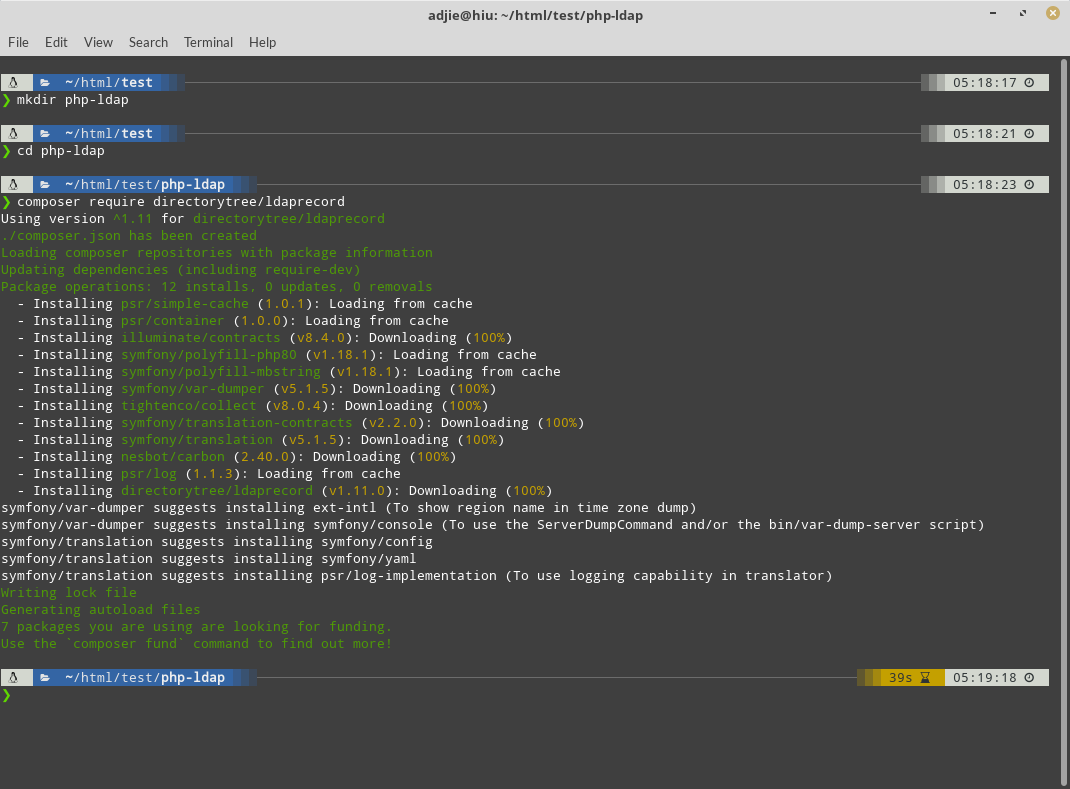
Create a new directory for our new php application. I am using php-ldap for the directory name.
$ mkdir php-ldap
Next, change our working directory to our newly created directory and install directorytree/ldaprecord library using composer.
$ cd php-ldap$ composer require directorytree/ldaprecord
Once the installation process is done, still in php-ldap directory, create a file called index.php. Enter these code:
<?php

require_once 'vendor/autoload.php';

use LdapRecord\Container;
use LdapRecord\Connection;
use LdapRecord\Models\Entry;

// Create a new connection:
$connection = new Connection([
    'hosts' => ['localhost'],
    'port' => 389,
    'base_dn' => 'dc=r00t4bl3,dc=com',
    'username' => 'cn=admin,dc=r00t4bl3,dc=com',
    'password' => 'your-password',
]);

// Add the connection into the container:
Container::addConnection($connection);

// Get all objects:
$objects = Entry::get();

var_dump($objects);
Please note that you need to adjust these values according your previous configuration:
- base_dn
- username
- password
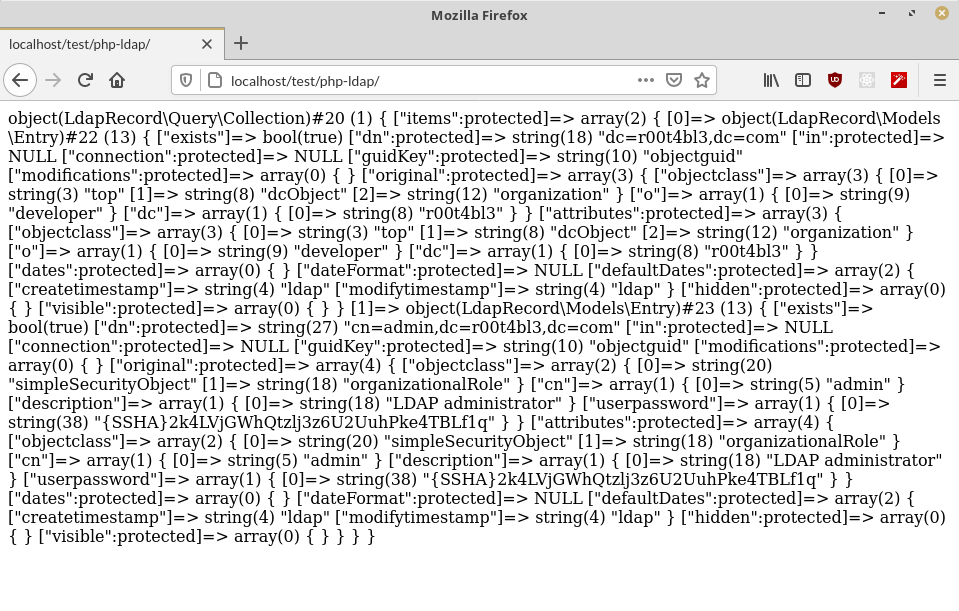
We can test it right away using terminal, but if you have Nginx and php-fpm already installed you can also open it on your web browser. Here's how it looked on my web browser:
 Congratulations. you've successfully installed OpenLDAP server on your computer and learn to access it using PHP. I hope in the next article I'll show you how to authenticate on another computer with OpenLDAP server.