How to Install Oracle (Sun) Java 8 on Linux Mint 18.3 Sylvia
Although there's open source Java available (OpenJDK) and easily available to be installed using simple apt-get command, I prefer the Oracle version. This is pure my personal preference, without considering security, support, etc. You can use this guide to get Oracle Java 8 installed on Linux Mint 18.3 Sylvia. By the time of writing, the latest version of Oracle Java is version 8 update 171.
Oracle Java Installation
Download Oracle JRE
First step is to download Oracle Java to your computer. The download link can be found on Java website: https://www.java.com/en/download/manual.jsp.
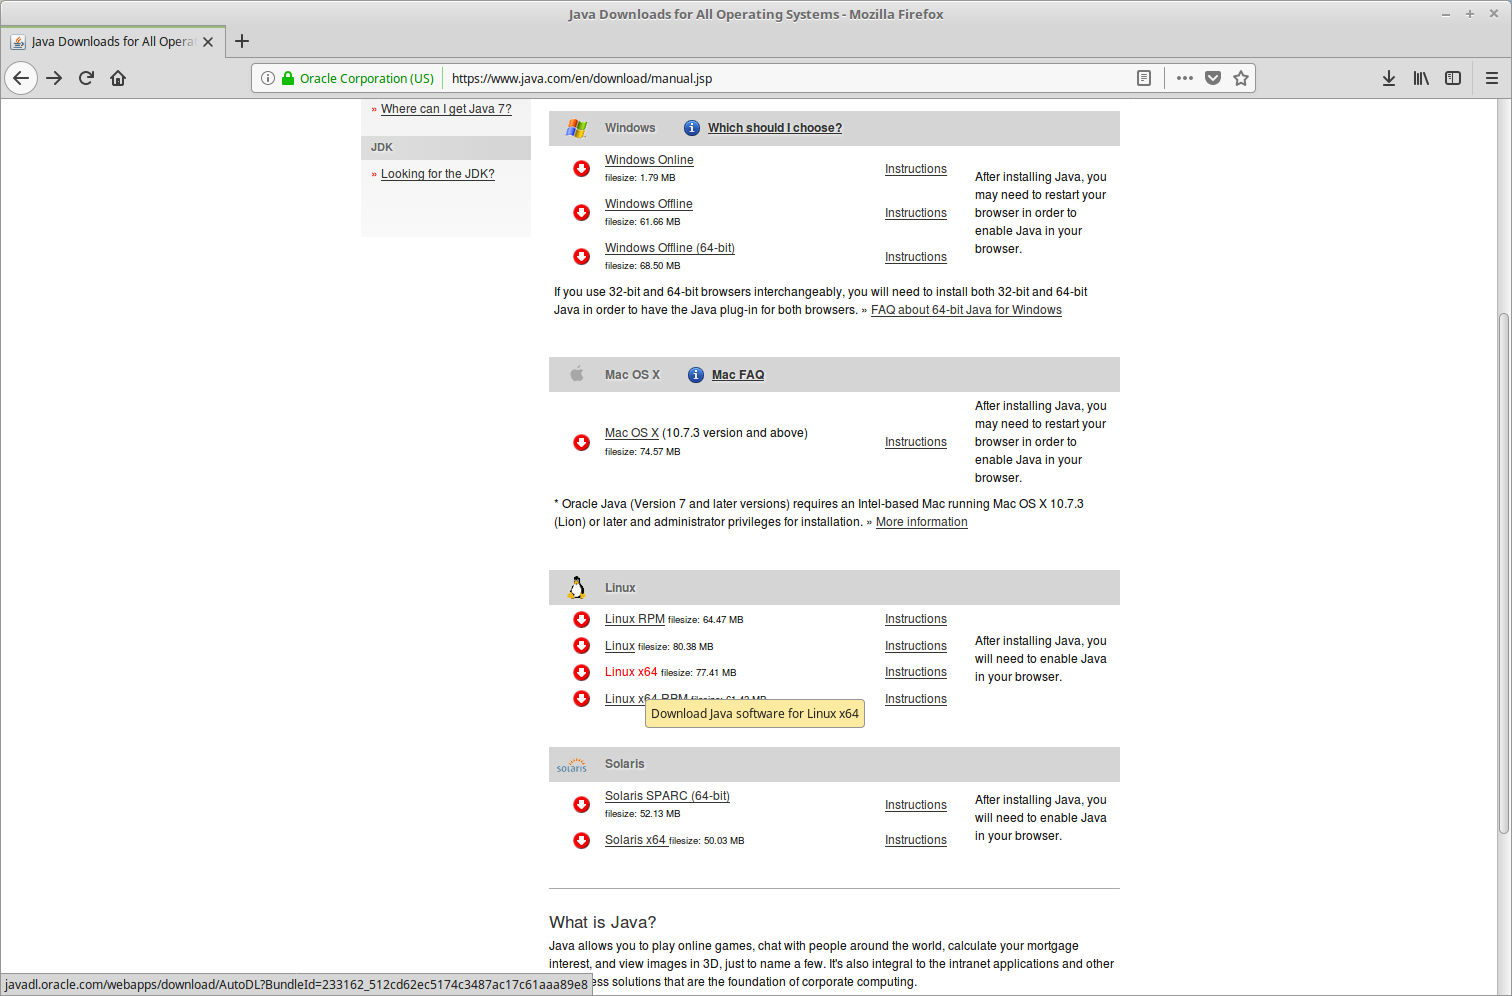
Because my system use 64-bit Linux, I choose Linux64. Before you download the file, notice its byte size provided on the download page on the web site. Once the download has completed, compare that file size to the size of the downloaded file to make sure they are equal.

Installation
Note: The instructions below are for installing version Java 8 Update 171 (8u171). If you are installing another version, make sure you change the version number appropriately when you type the commands at the terminal. Note that, as in the preceding example, the version number is sometimes preceded with the letter u, and sometimes it is preceded with an underbar, for example, jre1.8.0_73.
Create Installation Directory
Create a directory under /opt with name java. You can use another name for the installation directory, this is just an example. Fire up terminal window and type the command:
$ sudo mkdir -p -v /opt/java
and press "Enter". If you haven't run sudo before or your sudo session expired, you will need to type your password. You won't see anything when you type it, not even dots will show, this is normal.
Extract Downloaded File
Next step is go to the Downloads folder and unpack the compressed JRE file that you just downloaded. Note: these command below assume that you've downloaded JRE to ~/Downloads directory. Supply the following command(s):
$ cd
$ cd Downloads
$ tar -xvzf jre-8u171-linux-x64.tar.gz
Move the unpacked contents of the JRE file into the system folder that you created above (/opt/java), with the following command:
$ sudo mv -v jre1.8.0_171/ /opt/java
Environment Setup
Now you'll want to tell the system, that there's a new Java version available. We will use update-alternatives command to do this:
$ sudo update-alternatives --install "/usr/bin/java" "java" "/opt/java/jre1.8.0_171/bin/java" 1
Note: If you updating from a previous Java version and you have removed the files manually, then you'll need to execute the above command twice, because you'll get an error message the first time.
Next step is let the system know that the new Java must be the default:
$ sudo update-alternatives --set java /opt/java/jre1.8.0_171/bin/java
Tips and Tricks
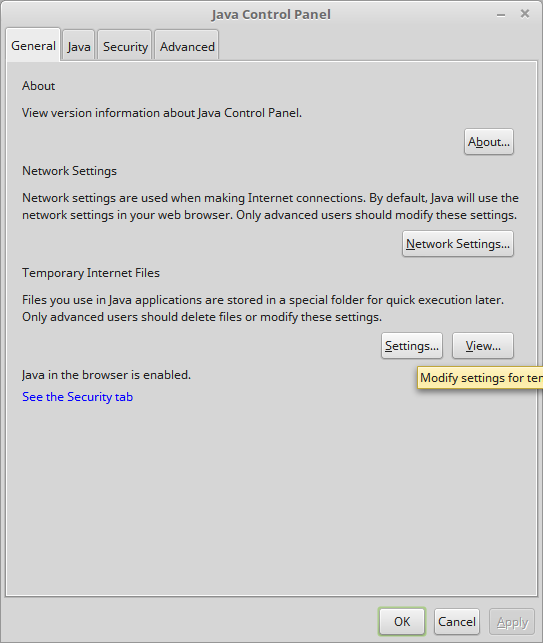
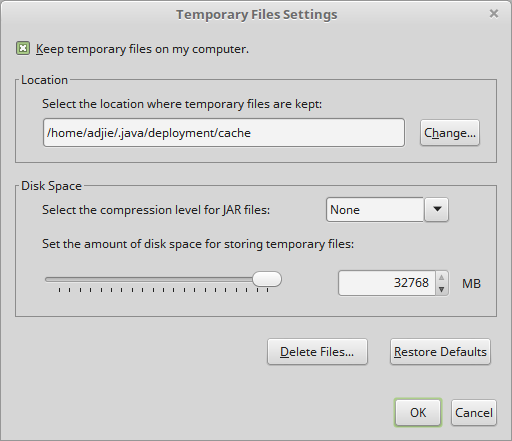
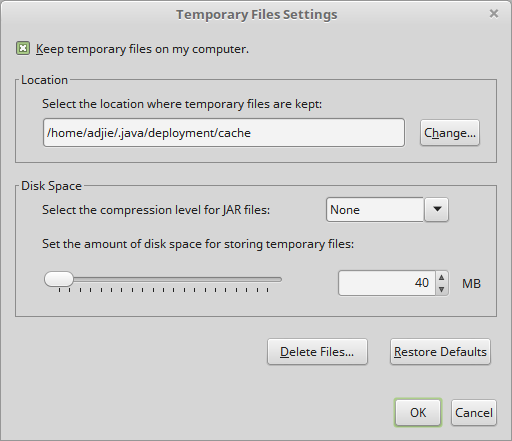
By default, Java allows itself to use a crazy maximum amount of disk space for the cache. If disk space on your system rather limited, then you could limit disk usage as follows:
$ /opt/java/jre1.8.0_171/bin/ControlPanel
Removal
Later on, it's possible that you wish to remove JRE. To remove a manually installed JRE is very easy, by removing the folder /opt/java recursively:
sudo rm -rf /opt/java
Final Words
I hope that you now know how to install Oracle Java 8 on Linux Mint 18.3 Sylvia. From here you can try to download sample projects on Github or try some tutorials on internet. If you run into any issues or have any feedback feel free to drop a comment below.

Worked great, thank you! Only problem I encountered was, despite knowing better, I started typing jrel instead of jre1. Maybe give us numpties a courtesy heads up!