How to Boot into Single User Mode in CentOS 7
Single User Mode (sometimes known as Maintenance Mode) is a mode in Unix-like operating systems boots into a single user (superuser) where only few services are started at system boot just to provide basic functionality. This mode used mainly for maintenance of multi-user environments and perform certain critical tasks. Some tasks may require exclusive access to shared resources.
Some of those tasks are:
- Running fsck to check and repair damaged disk partitions
- Reset root password
- Fix “failed to mount /etc/fstab” error
In my case, the system just display a black screen after booting process finished. This happened after I update my system packages.
How to Boot into Single User Mode
Turn system on and wait until GRUB boot menu shows up
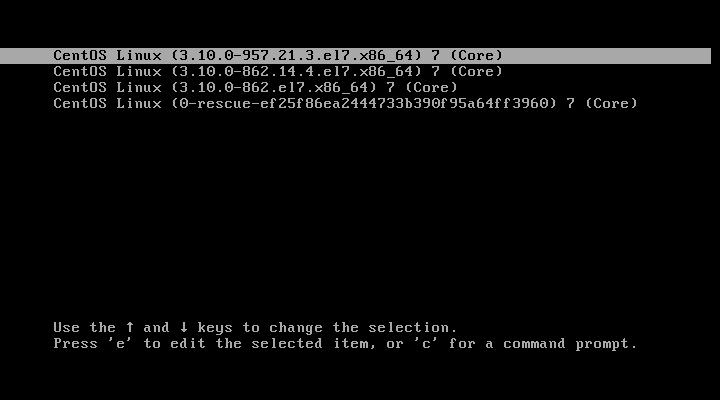
Select kernel version and modify
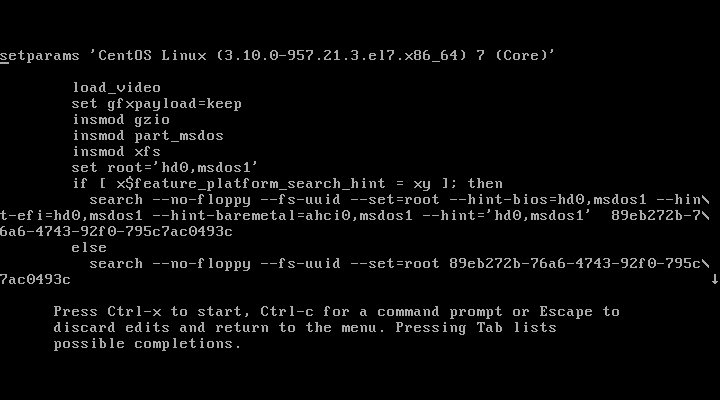
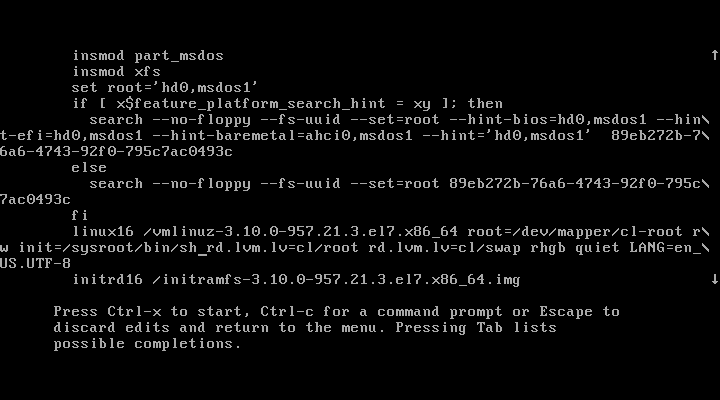
Use the ↓ key to find the kernel line (starts with "linux16"), then change the argument ro to rw init=/sysroot/bin/sh as shown in the picture below.
Mount root partition
Your CentOS filesystem is located on /sysroot. To mount this filesystem as your root partition use this command:
# chroot /sysroot
Do the maintenance task
At this point, you can perform all the necessary low-level system maintenance tasks.
Reboot
Once you are done with your maintenance task, reboot the system using this command.
# reboot -f
Final Words
I hope that you now know how to boot into single user mode on Centos 7. If you run into any issues or have any feedback feel free to drop a comment below.