How to Install MariaDB Server on Windows 10 Using Windows Subsystem for Linux (WSL2)

Update 06062021: Added php-fpm installation
MariaDB is an open-source relational database management system, commonly used as an alternative for MySQL as the database portion of the popular LAMP (Linux, Apache, MySQL, PHP/Python/Perl) stack. MariaDB is developed and maintained by the original developers of MySQL and by the open-source community. It is intended to be a drop-in replacement for MySQL.
This time I'll share how I install MariaDB server on Windows 10 using Windows Subsystem for Linux (WSL 2). The distribution used as an example is Ubuntu 20.04 LTS (Focal Fossa).
Note: This installation process assumes you never installed MariaDB or MySQL into your WSL 2 distribution. Otherwise, you might need to backup your existing database(s) first.
Prerequisites
First, make sure we have all dependencies satisfied. We need to Install software-properties-common and apt-transport-https packages:
$ sudo apt install software-properties-common apt-transport-https -yIf they're already installed, your terminal should similar with below:
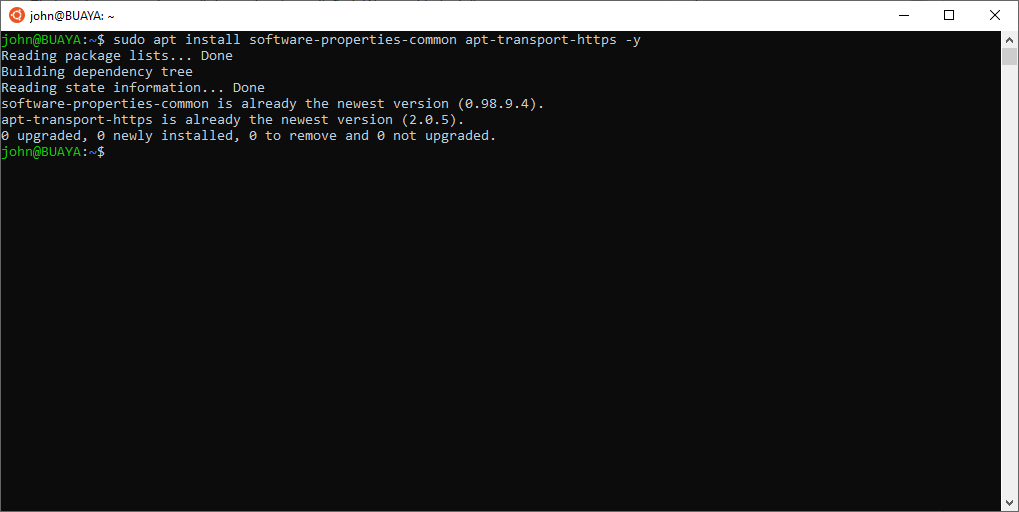
Now we're ready to continue with next steps.
Add MariaDB apt Repository
Next step is to configure apt repository on our system. Basically, we'll need to:
- Download MariaDB GPG public keys into our system and verify it's validity.
- Import these GPG public keys into our system. This is necessary to verify the signature of MariaDB software packages.
- Create MariaDB repository file.
- Update your system's package information.
- Installation process and verification.
Note: We'll using MariaDB version 10.5. If you want to use another version, just change the version number.
Download MariaDB keyring GPG Public Keys
We'll use curl to complete this step. On your terminal, enter command below:
$ curl -LsSO https://downloads.mariadb.com/MariaDB/mariadb-keyring-2019.gpg
After download process completed, let's verify it:
$ curl -LsS https://downloads.mariadb.com/MariaDB/mariadb-keyring-2019.gpg.sha256 | sha256sum -c
mariadb-keyring-2019.gpg: OK
Next step is adding trusted package signing keys into our system. Make sure you are using sudo this time.
$ sudo mv mariadb-keyring-2019.gpg /etc/apt/trusted.gpg.d/ && chmod 644 /etc/apt/trusted.gpg.d/mariadb-keyring-2019.gpgCreate MariaDB Repository File
We'll create a file called /etc/apt/sources.list.d/mariadb.list. Update the version below with your preferred version number.
# MariaDB Server# To use a different major version of the server, or to pin to a specific minor version, change URI below.
deb http://downloads.mariadb.com/MariaDB/mariadb-10.5/repo/ubuntu focal main
deb http://downloads.mariadb.com/MariaDB/mariadb-10.5/repo/ubuntu focal main/debug
MariaDB 10.5 Installation
Now we're ready to continue with the installation process itself. On your terminal, enter this command:
$ sudo apt update
$ sudo apt upgrade
$ sudo apt install mariadb-server
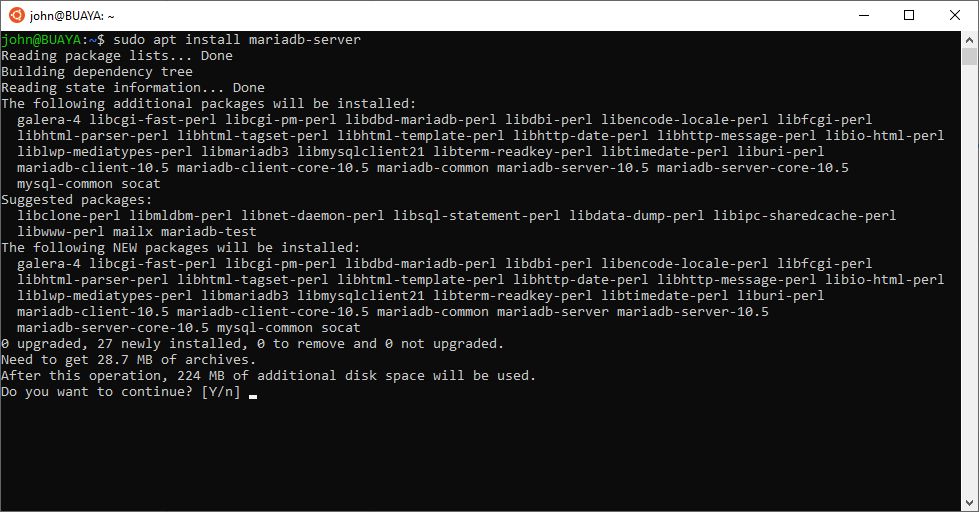
It will ask for confirmation. Press "Y" followed by "Enter" to continue with MariaDB 10.5 installation. It will take a few seconds to complete, depends on your internet connection.
After installation finished, let's run the server using this command:
$ sudo service mariadb start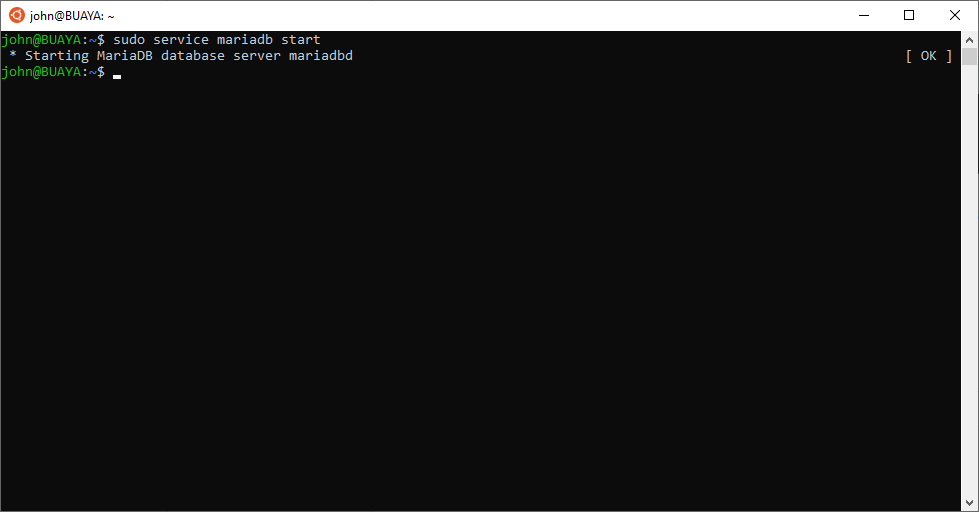
Verify Installation
Once the installation process finished, we should verify that we've correctly installed MariaDB 10.5. At your shell, type:
$ mysql --version
You should see something like this:

MariaDB configuration
Usually the first thing you would've done after MariaDB installation is setting up a password for unprotected superuser account. This is not the case now. But if you want to do it anyway, to set root password just type this command:
$ sudo mysql
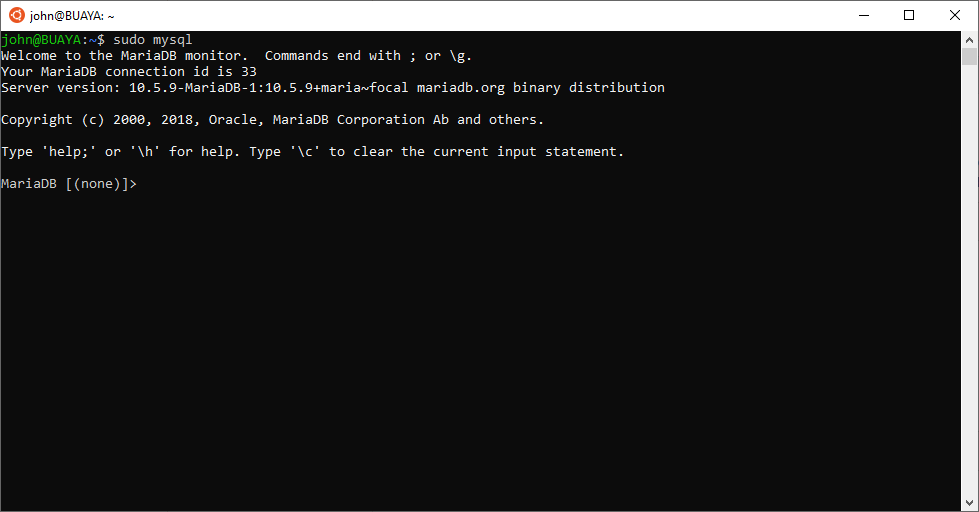
Your terminal will change to MariaDB terminal. It's like a terminal where you can enter your SQL commands there. To set root password, enter this command:
MariaDB [(none)]> ALTER USER root@localhost IDENTIFIED VIA mysql_native_password USING PASSWORD("verysecret");
Change "verysecret" with your preferred password.
If you've forgotten your root password, no problem — you can still connect using sudo and change the password.
Add User
It's better to add another user as an administrative user other than root. Let's back to our MariaDB terminal and enter below commands to create one.
$ sudo mysql -p
Note that right now we're using
-poption. This is a must because we have set a password for root user in previous step. MariaDB will ask for password then.
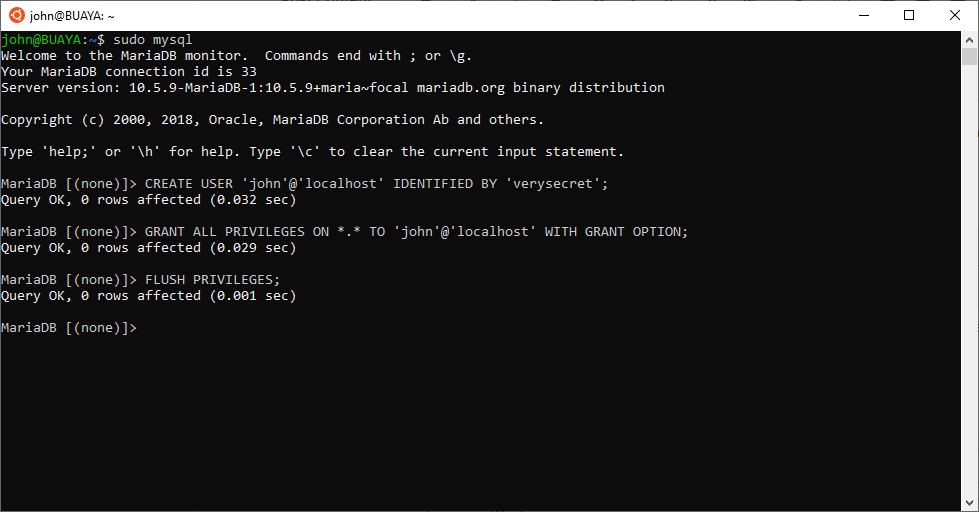
On MariaDB terminal, enter these command:
MariaDB [(none)]> CREATE USER 'john'@'localhost' IDENTIFIED BY 'verysecret';
MariaDB [(none)]> GRANT ALL PRIVILEGES ON *.* TO 'john'@'localhost' WITH GRANT OPTION;
MariaDB [(none)]> FLUSH PRIVILEGES;
As usual, change "verysecret" with your preferred password. To logout from MariaDB terminal, press Ctrl-D.
Bonus - Install PhpMyAdmin
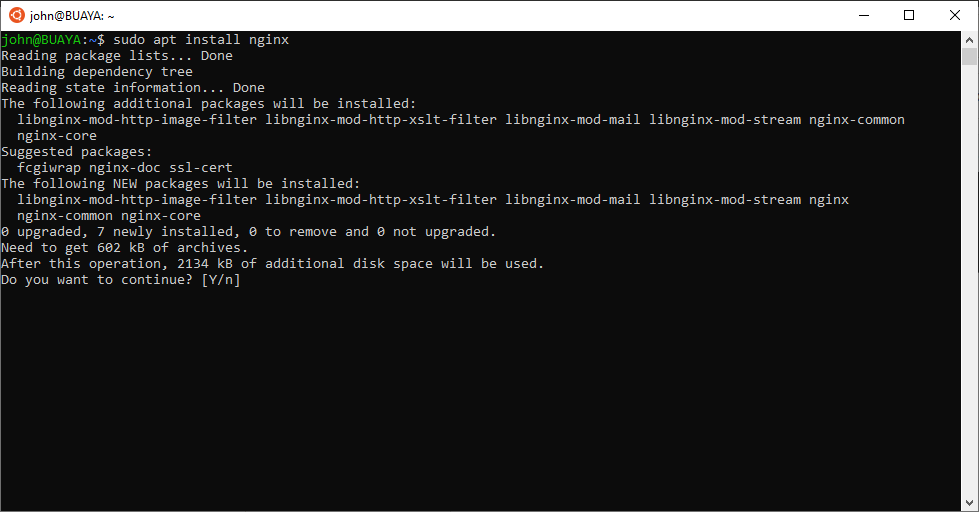
Install Nginx web server:
$ sudo apt install nginxPress "Y" followed by "Enter". The installation process will started.
Once the download is done, we can start Nginx web server using this command:
$ sudo service nginx start
* Starting nginx nginx [ OK ]
Fire up your favorite web browser and open this url: http://localhost. You should see something like below:
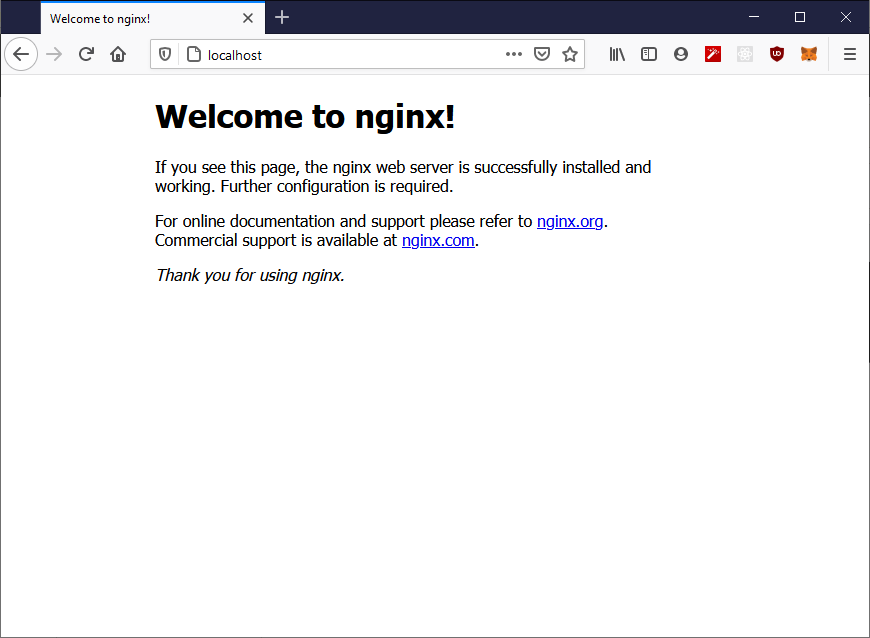
If you're seeing similar output, you're ready to continue with next steps.
By default, Nginx on Ubuntu stores it's html files under /var/www/html directory. To be able to write into this directory we must change this directory permission and ownership to www-data.
$ sudo chown www-data:www-data /var/www/html$ sudo chmod 775 /var/www/html
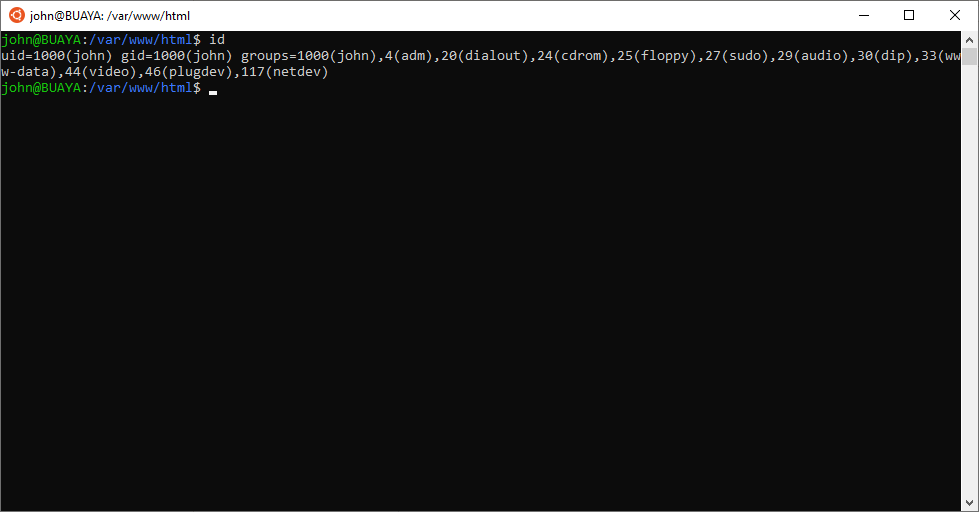
Next we should add ourselves into www-data group. Enter this command:
$ sudo usermod -aG www-data johnChange john with your username as necessary.
Close your current Ubuntu terminal and re-open it. Make sure we're already on www-data group.
Next step is PHP-FPM installation. Type this command in your terminal:
$ sudo apt install php-fpmNow that we've installed:
- Nginx - web server
- PHP-FPM - our favorite scripting language
- MariaDB - database server
we're ready to install PhpMyAdmin application. First, we need to download it first. Go to PhpMyAdmin's website and choose your preferred version.
Once you have selected your preferred version, copy its download link. We'll paste it into our terminal to download using curl. As the time of this writing, their latest version is 5.1.0.
$ cd /var/www/html
$ curl -LsSO https://files.phpmyadmin.net/phpMyAdmin/5.1.0/phpMyAdmin-5.1.0-english.zip
Once download process finished, we need to extract it and rename it into a more readable name.
$ unzip phpMyAdmin-5.1.0-english.zipIf you received an error message like "Command 'unzip' not found", it means the unzip package hasn't installed on your system yet. As usual, we can install a package using apt install .
$ sudo apt install unzip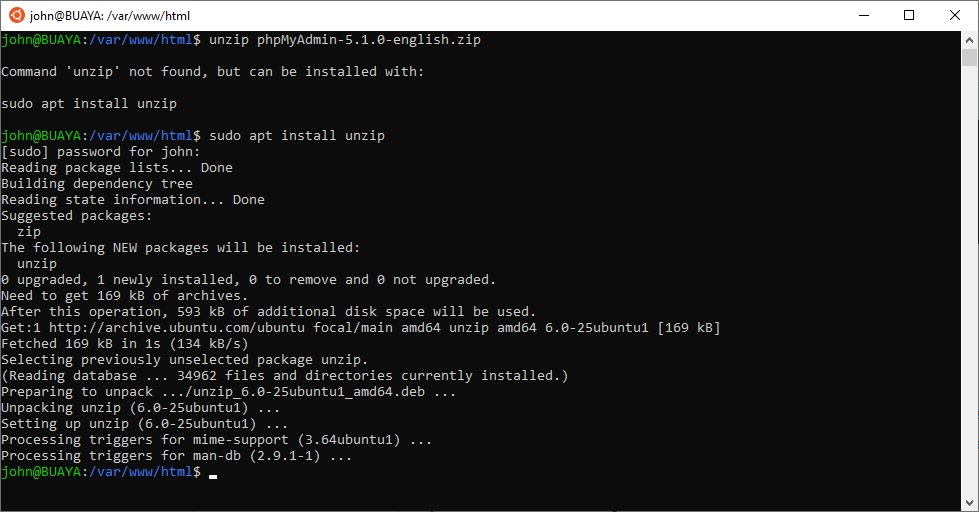
Once the installation process finished, we can re-run the unzip command:
$ unzip phpMyAdmin-5.1.0-english.zipIn this example, I'm renaming it to pma for easier typing in web browser's address bar.
$ mv phpMyAdmin-5.1.0-english pmaLet's test it to see whether we've successfully installed PhpMyAdmin or not. Back to our web browser, enter this URL: http://localhost/pma. If on previous step you're using another name, you should adjust the URL too.
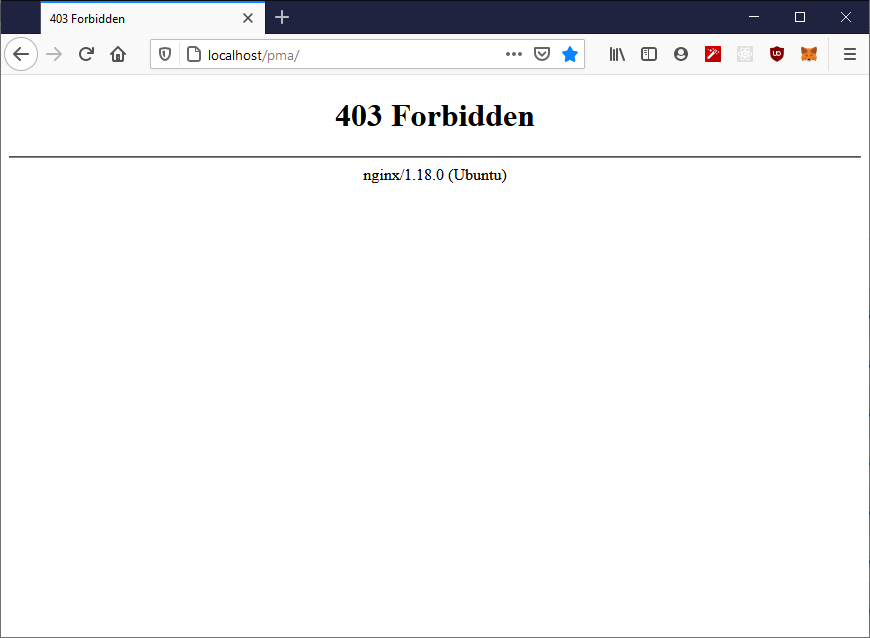
Whoops! 403 Forbidden error! It seems that we still need to change some configuration. For this particular case, Nginx cannot find index.html file and directory listing aren't enabled.
Being a php application, we need Nginx to search for index.php in pma directory. To achieve this, let's change Nginx's configuration file here: /etc/nginx/sites-available/default
Find this line:
index index.html index.htm index.nginx-debian.html;and add index.php:
index index.php index.html index.htm index.nginx-debian.html;Next, search for these lines:
#location ~ \.php$ {
# include snippets/fastcgi-php.conf;
#
# # With php-fpm (or other unix sockets):
# fastcgi_pass unix:/var/run/php/php7.4-fpm.sock;
# # With php-cgi (or other tcp sockets):
# fastcgi_pass 127.0.0.1:9000;
#}We need to remove some comments:
location ~ \.php$ {
include snippets/fastcgi-php.conf;
# With php-fpm (or other unix sockets):
fastcgi_pass unix:/var/run/php/php7.4-fpm.sock;
# # With php-cgi (or other tcp sockets):
# fastcgi_pass 127.0.0.1:9000;
}Save the file and reload Nginx web server daemon. You also need to start PHP-FPM and MariaDB daemons if it hasn't started.
$ sudo service nginx reload$ sudo service php7.4-fpm start
$ sudo service mariadb start
Let's refresh our web browser.

Whoops! It seems there's still something need to be done. From the error, we need to install mysqli's PHP extension. Let's install it:
$ sudo apt install php-mysqliWhen the installation finished, reload PHP-FPM daemon:
$ sudo service php7.4-fpm reloadNow let's get back to our web browser and refresh it.
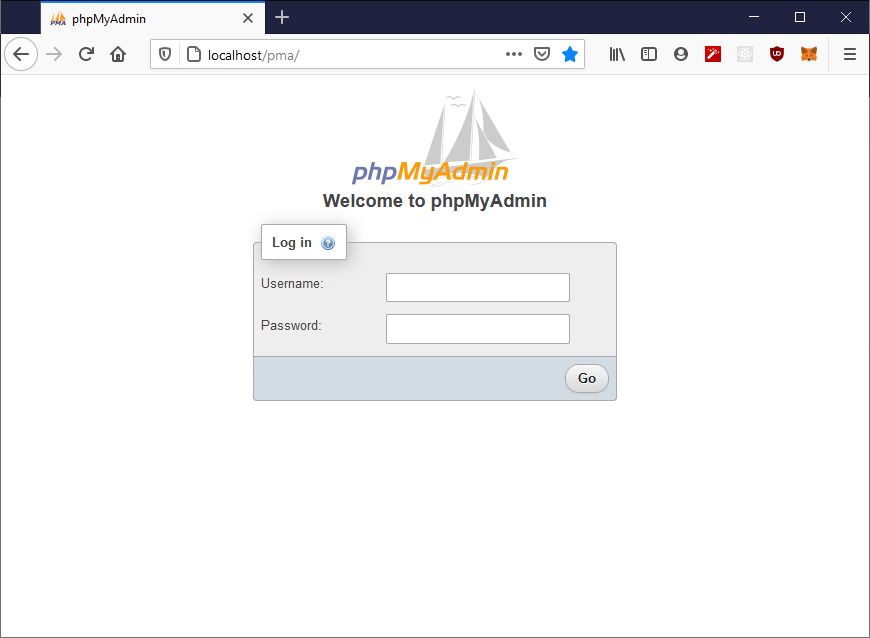
Voila! We've successfully installed PhpMyAdmin into our Ubuntu 20.04 in WSL 2.
Final Words
I hope that you now know how to install MariaDB Server 10.5 on Windows 10 using WSL 2. If you run into any issues or have any feedback feel free to drop a comment below.


Hi, thanks for the guide! I'm following it, but i can't find how to create mariadb repository file. This is what i'm getting:
Command 'deb' not found, did you mean:
command 'dab' from deb bsdgames (2.17-29)
command 'dcb' from deb iproute2 (5.15.0-1ubuntu2)
command 'dex' from deb dex (0.9.0-1)
command 'deb3' from deb quilt (0.66-2.1)
command 'edb' from deb edb-debugger (1.3.0-1)
command 'debi' from deb devscripts (2.22.1ubuntu1)
command 'dub' from deb dub (1.27.0-2)
command 'derb' from deb icu-devtools (70.1-2)
command 'debc' from deb devscripts (2.22.1ubuntu1)
Try: sudo apt install <deb name>
Please, help me!
These lines are the content of /etc/apt/sources.list.d/mariadb.list file:
# MariaDB Server
# To use a different major version of the server, or to pin to a specific minor version, change URI below.
deb http://downloads.mariadb.com/MariaDB/mariadb-10.5/repo/ubuntu focal main
deb http://downloads.mariadb.com/MariaDB/mariadb-10.5/repo/ubuntu focal main/debug
Thanks for the guide, the only part missing is the install of the php7.4 package.
Thank you. I've updated the article as needed.